· deepdives · 7 min read
Unlocking New Hardware Possibilities with the WebUSB API
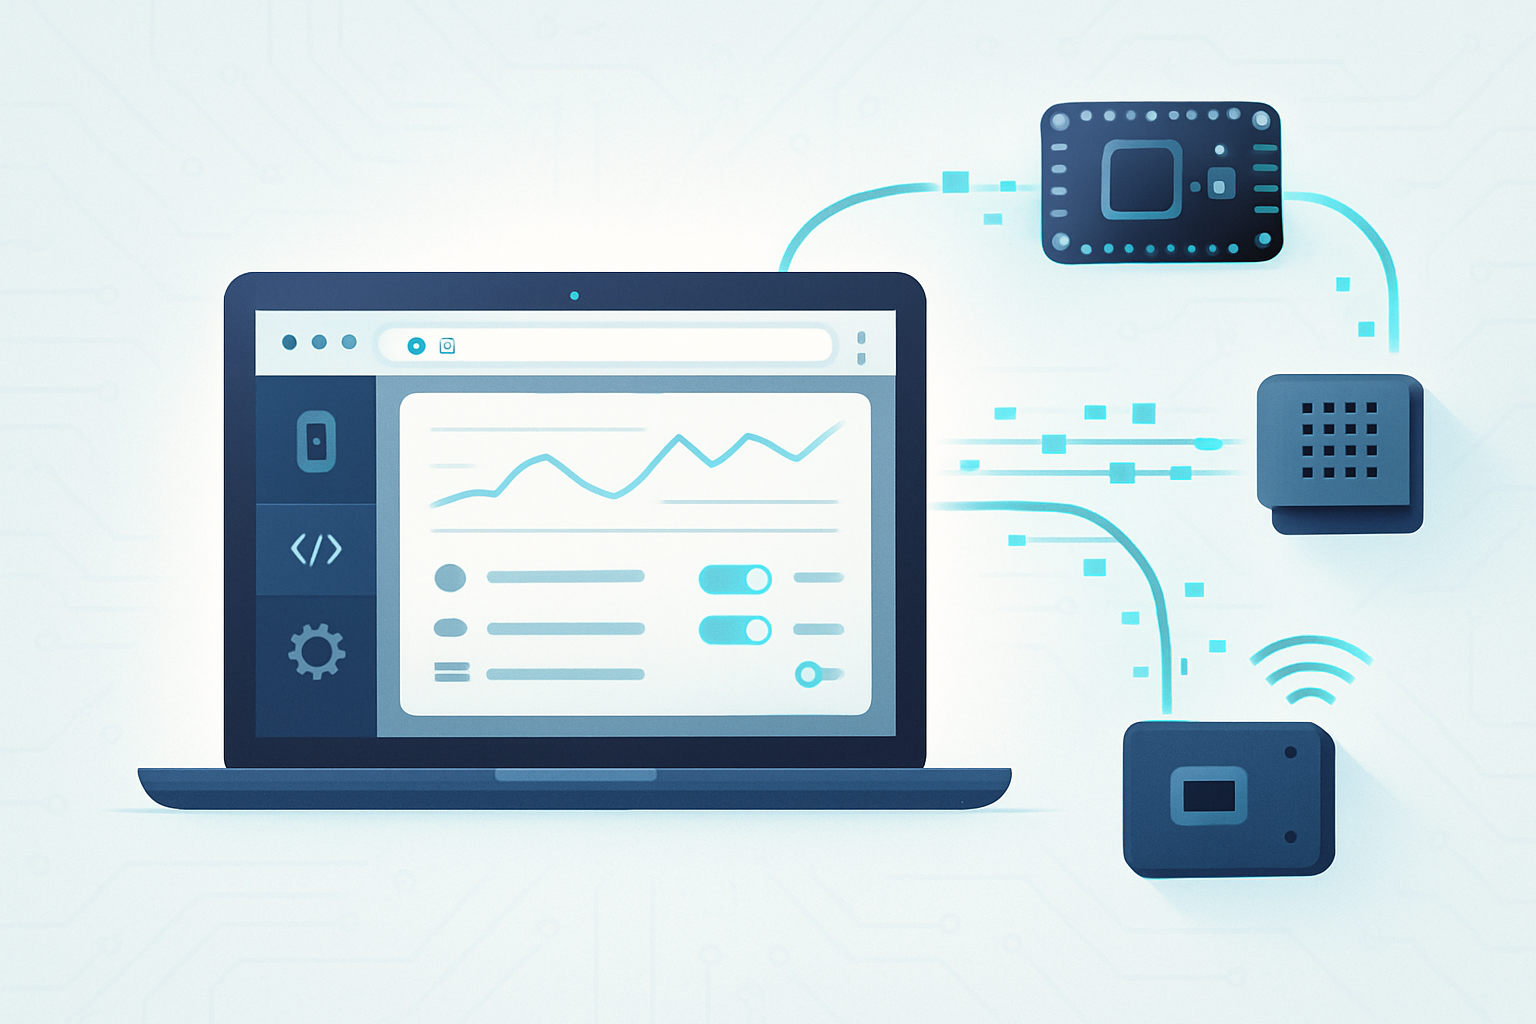
Explore how the WebUSB API brings direct USB device access to web applications - from interactive IoT device control and data transfer to firmware updates and debugging. Learn how it works, see code examples, and discover best practices and limitations.
Introduction
The browser has steadily evolved from a document viewer into a powerful runtime. One of the most exciting frontiers is direct access to hardware from web pages. The WebUSB API enables web applications to speak directly to USB devices, unlocking new possibilities for IoT dashboards, device configuration UIs, firmware update tools, and hands-on education tools - all without installing native apps.
This article walks through what WebUSB is, why it matters, how to get started, real-world use cases, sample code, security considerations, and best practices for building robust web-to-hardware integrations.
What is the WebUSB API?
WebUSB is a browser API that lets web pages request and communicate with USB devices connected to the user’s machine. The API exposes USB concepts such as devices, configurations, interfaces, and endpoints directly to JavaScript through navigator.usb.
Key references:
- WebUSB specification: https://wicg.github.io/webusb/
- MDN WebUSB documentation: https://developer.mozilla.org/en-US/docs/Web/API/USB
- Google developer overview: https://developers.google.com/web/updates/2016/03/access-usb-devices-on-the-web
Why WebUSB matters
- Lower friction: Users can connect devices directly from a web page without installing drivers or native applications.
- Rapid iteration: Developers can ship device UIs and diagnostics instantly alongside cloud services.
- Cross-platform reach: Modern Chromium-based browsers on desktop and Android support the API, enabling wide distribution of hardware tools.
- Education and onboarding: Students and hobbyists can interact with microcontrollers and sensors directly in the browser, simplifying first-time setup.
How WebUSB works (overview and security)
WebUSB operates with strict security rules:
- HTTPS-only: Pages must be served over HTTPS (or localhost) to access
navigator.usb. - User gesture required: Actions like
navigator.usb.requestDevice()must be triggered by a user gesture (click). This prevents silent device enumeration. - Origin-scoped permissions: When a user allows a site to access a device, the permission is scoped to that origin.
- Filters: You specify
filters(vendor and/or product IDs) to narrow which devices are offered to the user, minimizing accidental access requests. - Driver considerations: On some platforms (e.g., Windows), a device may need to expose a WinUSB-compatible interface or use a special descriptor to allow browser access instead of an OS driver.
The API also emits connect and disconnect events so pages can respond when devices appear or disappear.
Browser support and prerequisites
- Chrome and Chromium-based browsers: best support (desktop and Android).
- Other browsers: check current compatibility; WebUSB is not universally supported.
Always feature-detect before using:
if (!('usb' in navigator)) {
  console.warn('WebUSB is not available in this browser');
}
Getting started: a minimal example
Below is a minimal flow: request a device with filters, open it, claim an interface, and exchange data.
// Request a device (requires a user gesture)
const filters = [{ vendorId: 0x2341 }]; // example: Arduino vendorId
const device = await navigator.usb.requestDevice({ filters });

// Open and select configuration
await device.open();
if (device.configuration === null) {
  await device.selectConfiguration(1);
}

// Claim interface (interfaceNumber depends on device)
await device.claimInterface(2);

// Send a control transfer (example)
await device.controlTransferOut({
  requestType: 'vendor',
  recipient: 'interface',
  request: 0x01,
  value: 0x0001,
  index: 2,
});

// Read from an endpoint
const result = await device.transferIn(5, 64); // endpointNumber, length
const bytes = new Uint8Array(result.data.buffer);
console.log('Received:', bytes);

// Close when done
await device.close();
Notes:
vendorIdandproductIdare optional but recommended in filters to keep the chooser targeted.interfaceNumberand endpoint numbers depend on your device’s USB descriptors.
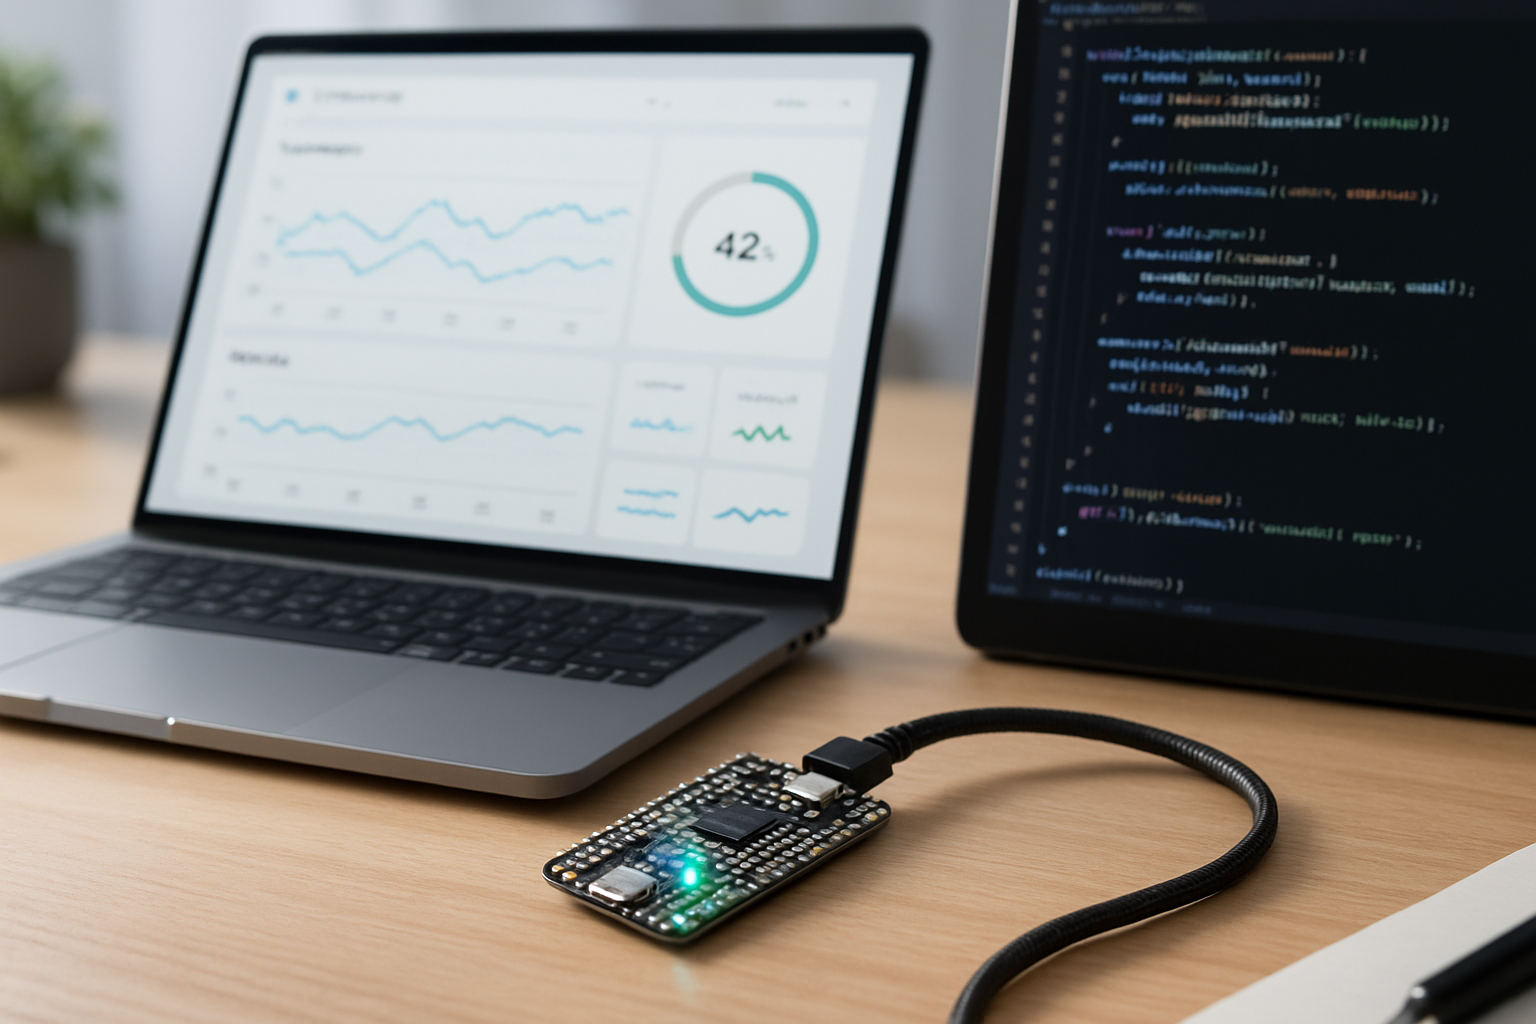
Example: A tiny IoT control panel
Imagine a small sensor node that exposes a USB interface for configuration. You can build a web UI to connect and set Wi-Fi credentials, change sampling rates, and stream telemetry.
High-level flow:
- User clicks “Connect” button →
requestDevice()opens chooser. - Page opens device and claims interface.
- Page exchanges a simple JSON-over-USB protocol (or binary) with the device to configure it.
- Site stores device permission and offers reconnect next time with
navigator.usb.getDevices().
Example of sending a JSON payload via a bulk OUT endpoint and receiving a response:
async function sendJson(device, endpointOut, endpointIn, obj) {
  const text = JSON.stringify(obj);
  const encoder = new TextEncoder();
  await device.transferOut(endpointOut, encoder.encode(text));
  const result = await device.transferIn(endpointIn, 512);
  const decoder = new TextDecoder();
  return JSON.parse(decoder.decode(result.data));
}

// Usage:
const response = await sendJson(device, 4, 5, {
  cmd: 'set_wifi',
  ssid: 'MyNet',
  pass: 'secret',
});
console.log(response);
This pattern is great when the device exposes a simple serial-like protocol over USB bulk endpoints.
Advanced use cases
- Firmware updates (DFU): Implement Device Firmware Update (DFU) procedures over USB to deliver firmware updates directly from a web page. Some projects combine WebUSB with the DFU class or vendor-specific bootloaders.
- USB MIDI and audio: WebUSB can complement WebMIDI and WebAudio for plugin-less audio instruments or diagnostics for MIDI hardware.
- Diagnostics and flashing for custom hardware: Provide a one-click flashing tool from a website for embedded devices used in labs or maker communities.
- Educational tooling: Interactive microcontroller lessons where the hardware is configured and controlled in-browser with instant feedback.
Real-world considerations and limitations
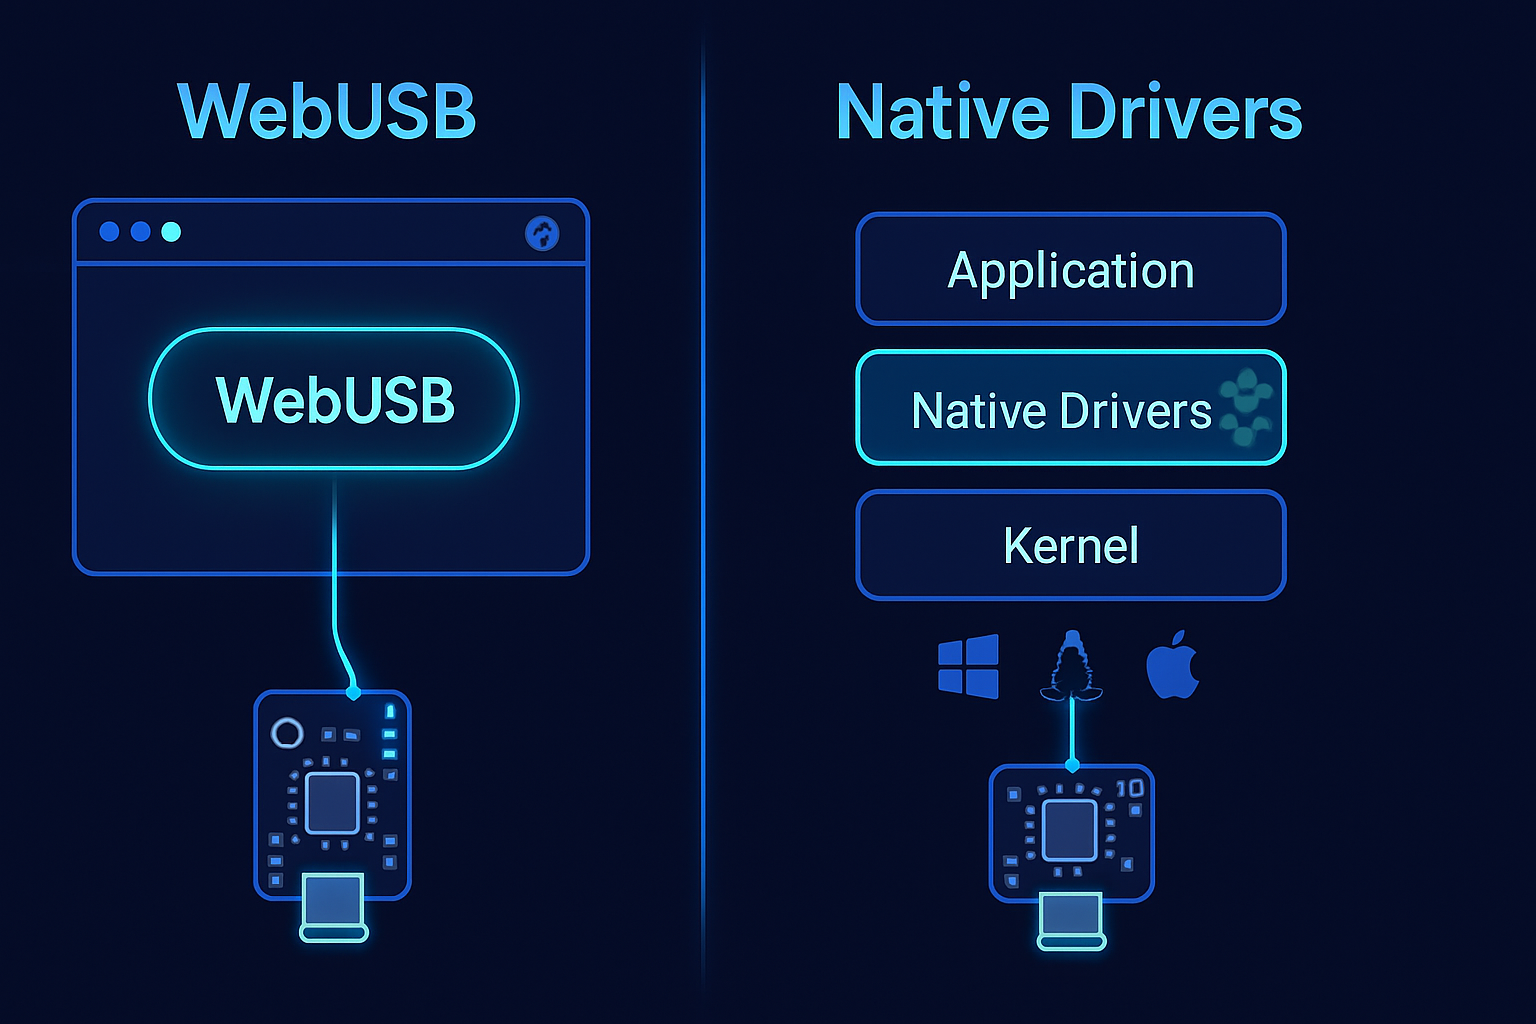
- Driver conflicts: On Windows, if the OS binds a device to a kernel driver (e.g., a native serial driver), the browser may not be able to access it. Devices intended for WebUSB may need a WinUSB interface or a custom driverless descriptor (e.g., the Chrome WebUSB Landing Page descriptor) so the browser can claim the interface.
- Vendor drivers: Some devices intentionally ship with proprietary drivers; those drivers will block browser access until changed.
- Endpoint complexity: Composite USB devices and class-specific behaviors add complexity. You must carefully match interfaces and endpoints used by the device.
- Browser differences: Behavior may differ across browsers and versions. Test across the browsers and platforms your users will use.
- Permissions and UX: Users may be wary of granting USB permissions. Make UIs clear about what the connection does and present minimal, explicit requests.
Best practices
- Use filters: Narrow the chooser with vendorId/productId to avoid confusing users.
- Provide fallbacks: If WebUSB isn’t available, offer downloadable native tools or fallback to Web Serial / WebHID if appropriate (Web Serial on MDN).
- Keep sessions short: Open the device only when needed and close it when idle. Respect battery-powered or time-sensitive devices.
- Inform the user: Show clear prompts when devices are requested or disconnected.
- Reconnect handling: Handle the
connectanddisconnectevents onnavigator.usbso your app can gracefully reattach.
navigator.usb.addEventListener('connect', e => {
  // device is now available
});

navigator.usb.addEventListener('disconnect', e => {
  // device was removed
});- Test on real hardware: Emulators won’t catch descriptor mismatches and driver-binding issues.
Example: Handling device reconnection and saved devices
If a user previously granted permission, you can call navigator.usb.getDevices() to discover allowed devices without prompting.
const devices = await navigator.usb.getDevices();
for (const device of devices) {
  await device.open();
  // resume session
}
This helps build a better reconnect experience.
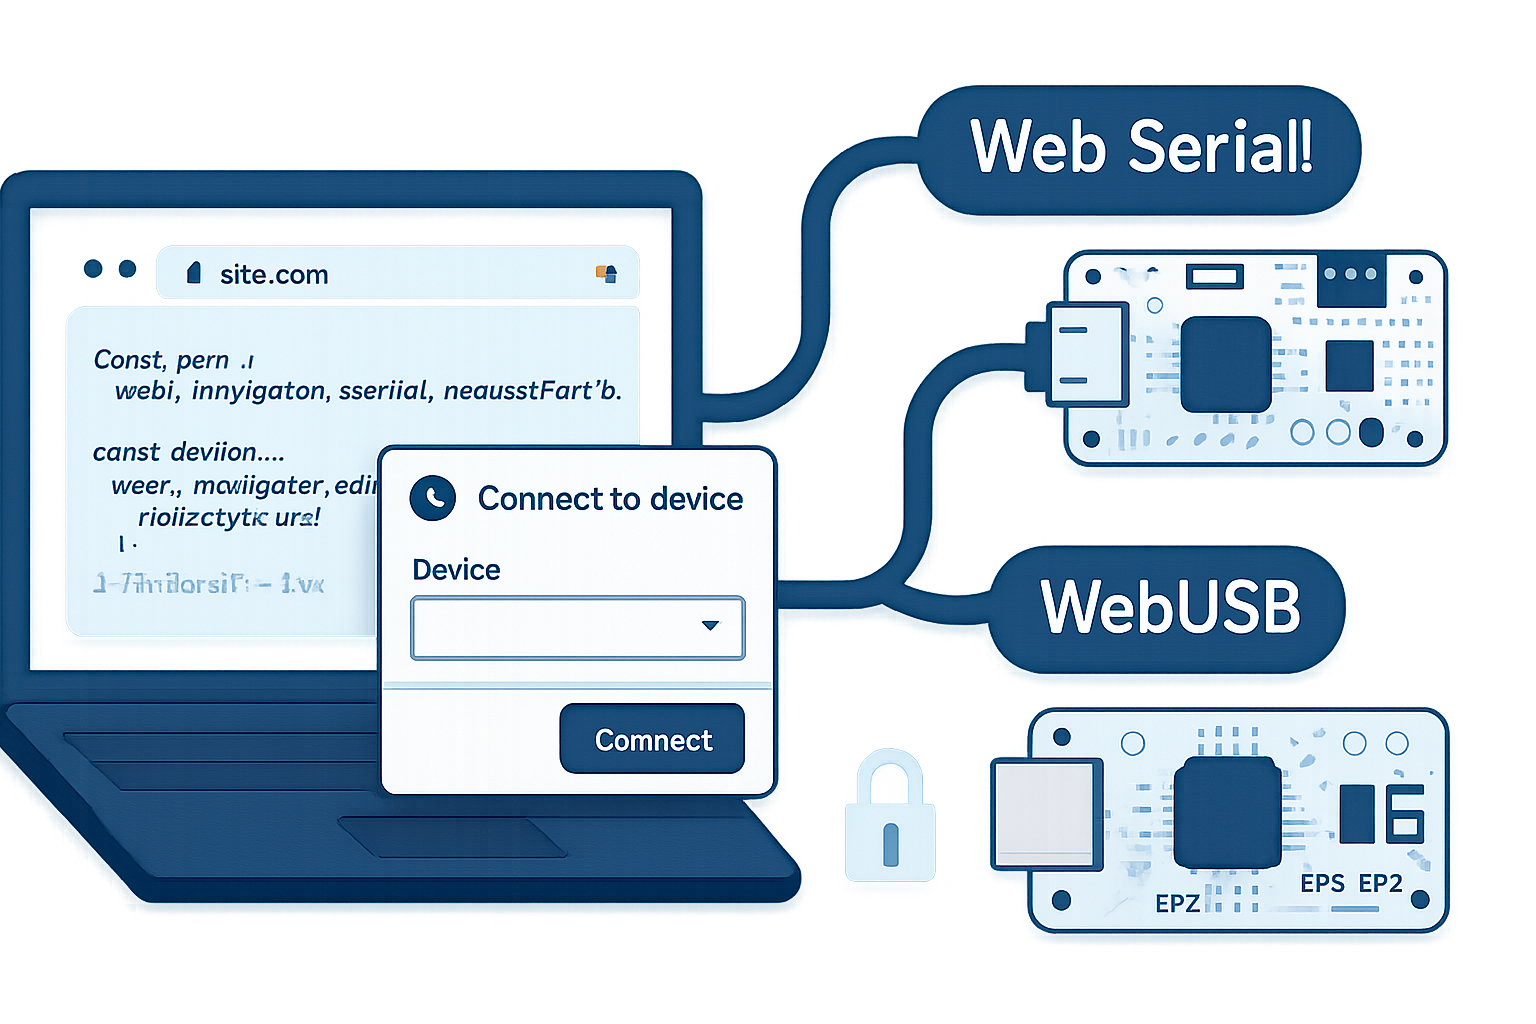
When to use WebUSB vs alternatives
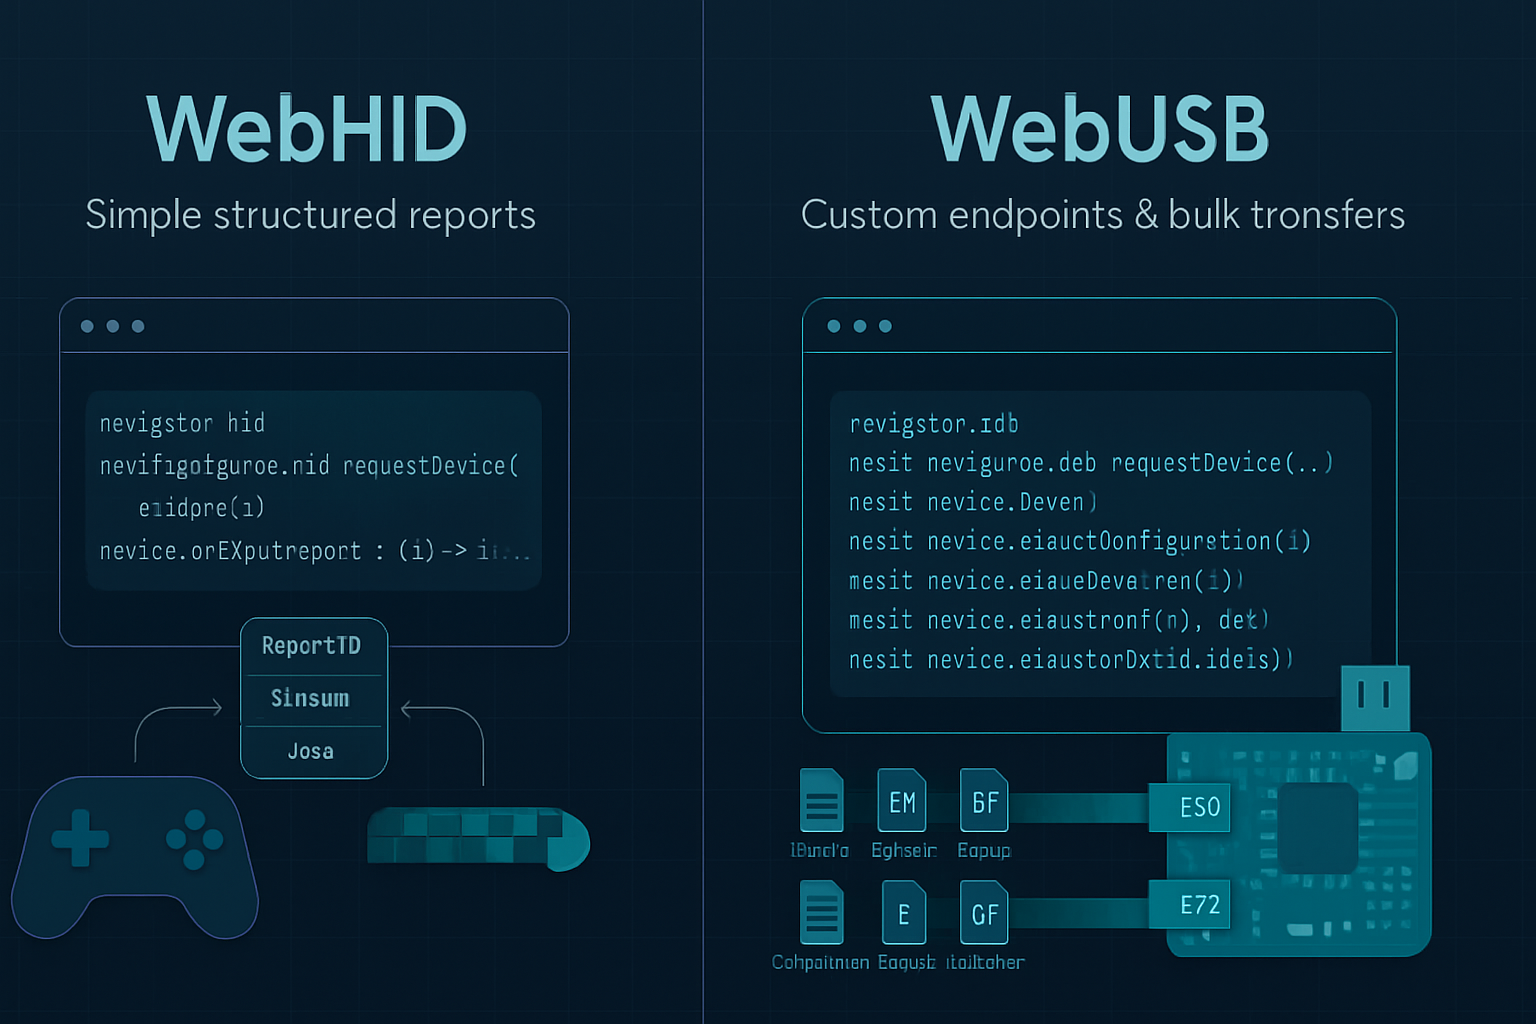
- Web Serial: If your device exposes a USB CDC-ACM serial interface and you want a simpler serial API, the Web Serial API may be more appropriate.
- WebHID: For devices that implement HID (keyboards, gamepads, some sensors), WebHID provides a higher-level HID model.
- Native apps: If you need deep OS integration or guaranteed cross-platform driver support, a native app might still be required.
Choose the API that matches your device class and use case.
Security and privacy reminders
- Never attempt to enumerate all devices silently - the browser prevents this, but design your UI to avoid confusing permission prompts.
- Limit the actions you perform after connecting - request explicit user intent for sensitive operations like firmware updates.
- Consider cryptographic authentication if your device supports it (e.g., challenge-response) to ensure the device is genuine and authorized.
Conclusion
The WebUSB API brings a new dimension to web applications: direct, programmatic access to USB hardware. It unlocks compelling workflows for IoT device configuration, telemetry, firmware updates, and education - all within the convenience of a web page. While there are platform and driver-related limitations to consider, careful device design and thoughtful UX let developers deliver powerful, secure hardware integrations to users without native installers.
If you’re building hardware or tools that benefit from low-friction device access, WebUSB is worth exploring. Start small with a configuration UI or diagnostics tool, and iterate toward richer experiences like over-the-web firmware updates and streaming telemetry panels.
References
- WebUSB spec (WICG): https://wicg.github.io/webusb/
- MDN WebUSB: https://developer.mozilla.org/en-US/docs/Web/API/USB
- Google Developers - Access USB devices on the web: https://developers.google.com/web/updates/2016/03/access-usb-devices-on-the-web
- WebUSB GitHub (examples and discussions): https://github.com/WICG/webusb