· deepdives · 7 min read
Diving Deep into the WebUSB API: Unlocking Direct Communication with Hardware Devices
Learn how the WebUSB API lets web pages talk directly to USB hardware. This in-depth guide explains how WebUSB works, shows step-by-step examples for printers and microcontrollers, covers permissions, security, debugging and platform quirks, and links to helpful resources.
What you’ll be able to do after reading this
Build web apps that communicate directly with USB hardware - print receipts to thermal printers, read sensors from microcontrollers, and control bespoke peripherals - all from the browser. Short setup. A bit of firmware awareness. No native app required. The browser becomes your device interface.
Why WebUSB matters - outcome first
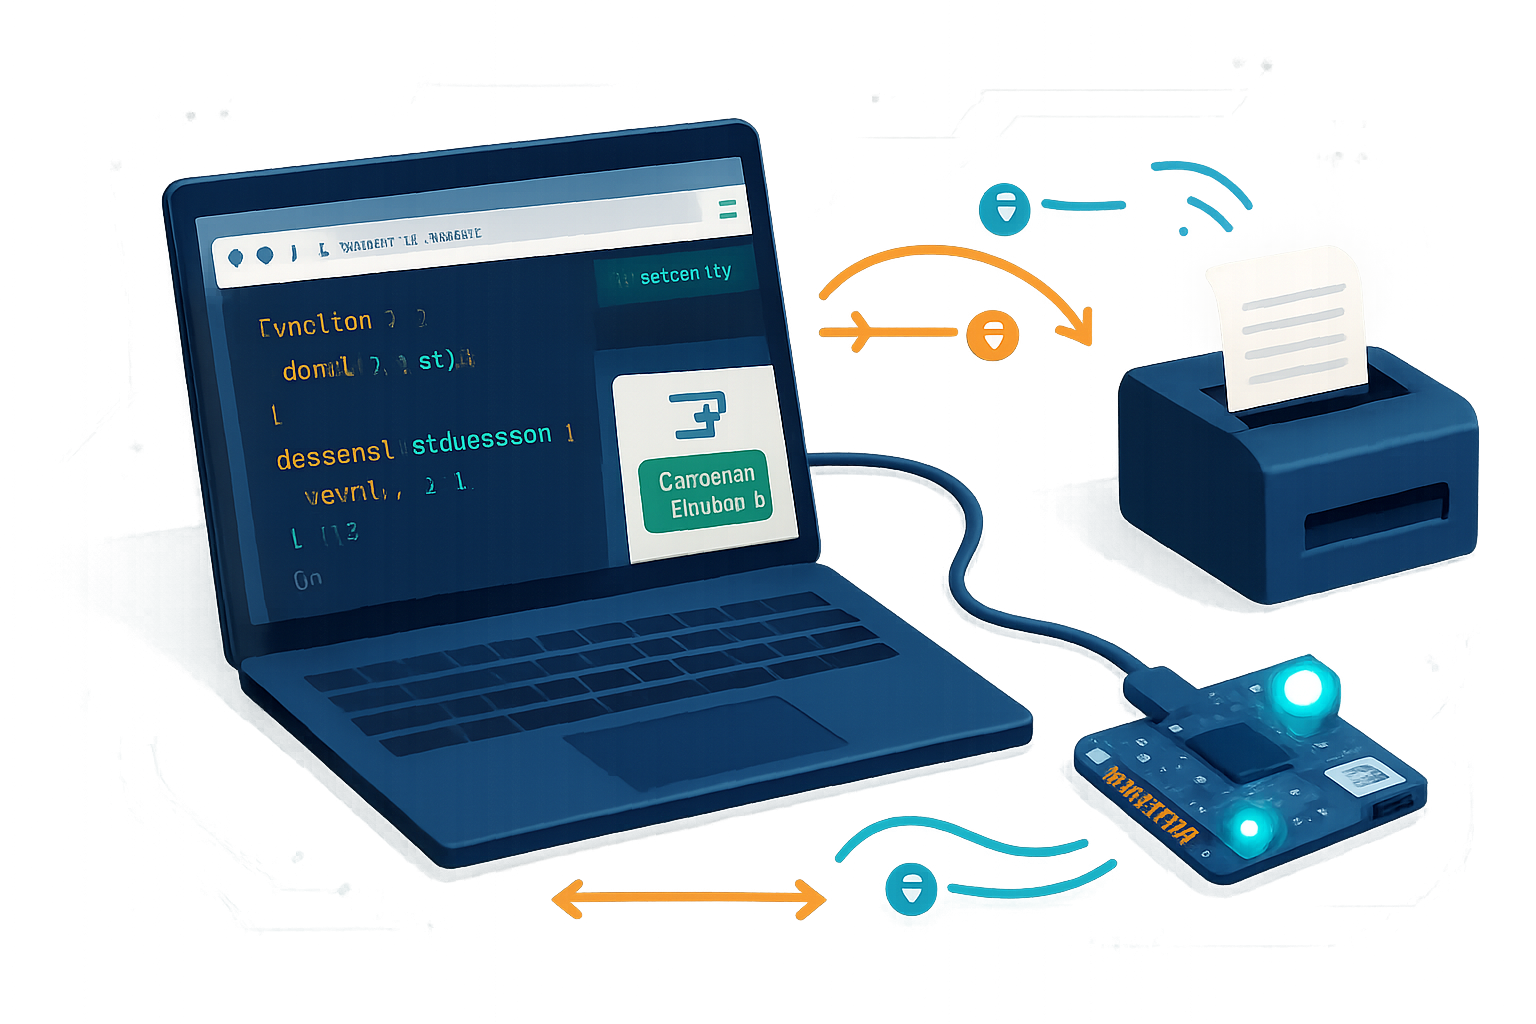
Imagine clicking a button in a web page and having a connected device respond instantly. No drivers to install. No native packaging. Just HTTPS, a button, and your hardware talking with JavaScript. That’s the outcome WebUSB enables. It’s not magic. It’s a modern bridge between the web platform and USB devices - with careful security safeguards.
What WebUSB is (briefly)
WebUSB is a browser API that exposes low-level USB device access to web pages running in secure contexts (HTTPS). It gives JavaScript the ability to: discover devices, request user permission, open the device, claim interfaces, and perform control/bulk/interrupt transfers.
- API: navigator.usb
- Typical flow: requestDevice → open → selectConfiguration → claimInterface → transferIn/transferOut or controlTransfer
Learn more from the spec and MDN:
- WebUSB specification: https://wicg.github.io/webusb/
- MDN WebUSB overview: https://developer.mozilla.org/en-US/docs/Web/API/USB
Browser & platform realities (short but important)
- Chrome and Chromium-based browsers provide the most complete support. Other browsers have limited or no support.
- Web pages must be served over HTTPS (or localhost).
- Requesting device access requires a user gesture (e.g., click).
- On Linux you may need udev rules so non-root users can access a device.
- On Windows you may need to replace the device driver with WinUSB (tools such as Zadig). See below for tips.
Security and permission model - what to expect
- Permission is origin-scoped and user-consented. A user must explicitly grant each site access to a device.
- The API will not allow silent enumeration without consent; the user explicitly chooses devices via the browser chooser dialog.
- Use filters to limit device options shown to users.
- Some devices can include a WebUSB landing page descriptor to improve UX if firmware authorizes origins.
Read about security in the spec: https://wicg.github.io/webusb/#security-considerations
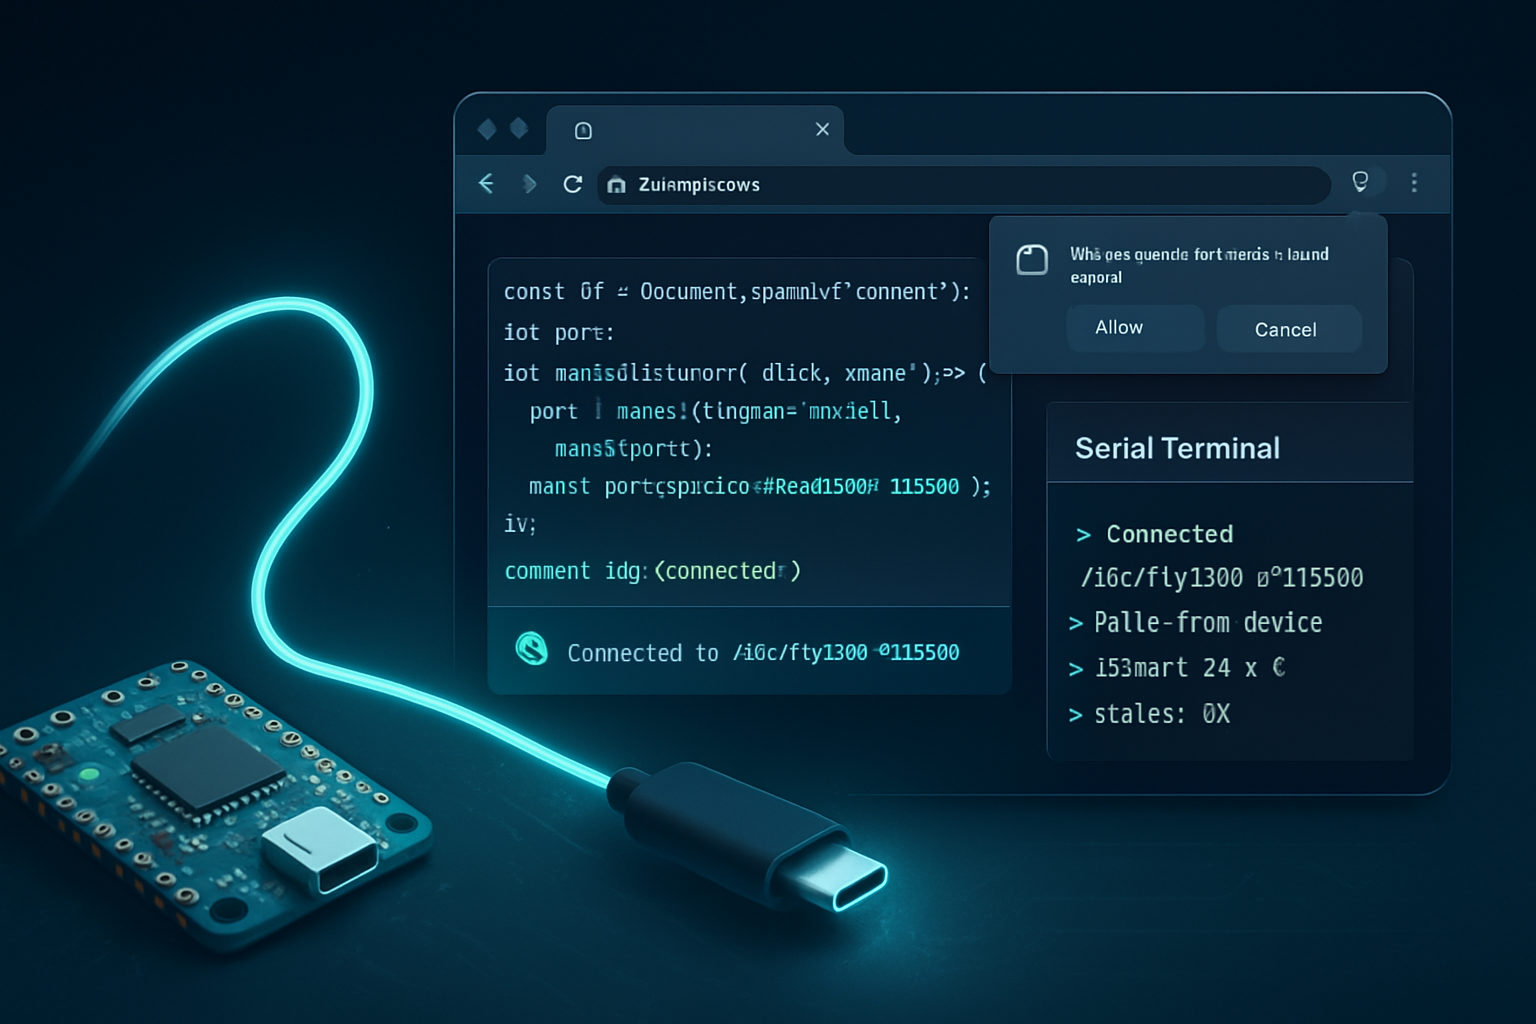
Basic WebUSB workflow (step-by-step)
- Request a device (user chooses device):
const filters = [
  // Prefer filters: use vendorId/productId for narrow chooser
  { vendorId: 0x2341 }, // example: Arduino vendor
  // Or use empty filters to allow all devices (not recommended)
];

const device = await navigator.usb.requestDevice({ filters });- Open the device and prepare it:
await device.open();
if (device.configuration === null) {
  // Many devices require selecting configuration 1. Adapt as needed.
  await device.selectConfiguration(1);
}

// Choose the interface number you want to use (inspect device.configuration)
const ifaceNumber = 0; // example
await device.claimInterface(ifaceNumber);- Inspect endpoints and perform transfers:
// Find an OUT endpoint number for writing
const iface = device.configuration.interfaces.find(
  i => i.interfaceNumber === ifaceNumber
);
const alternate = iface.alternates[0];
const outEndpoint = alternate.endpoints.find(e => e.direction === 'out');
const outEndpointNumber = outEndpoint.endpointNumber;

// Send raw bytes
const data = new Uint8Array([0x1b, 0x40]); // ESC @ (reset printer) as example
await device.transferOut(outEndpointNumber, data);

// Read data (from IN endpoint)
const inEndpoint = alternate.endpoints.find(e => e.direction === 'in');
if (inEndpoint) {
  const result = await device.transferIn(inEndpoint.endpointNumber, 64);
  const bytes = new Uint8Array(result.data.buffer);
  console.log(bytes);
}- Release and close when done:
await device.releaseInterface(ifaceNumber);
await device.close();
Example: Printing to a thermal/ESC-POS printer
Thermal receipt printers commonly expose a bulk OUT endpoint that accepts ESC/POS commands. The general approach: open, claim the interface, and send ESC/POS bytes using transferOut.
Important: endpoint numbers and interface indices vary by device - inspect device.configuration to discover them.
Example code that prints “Hello from WebUSB” using ESC/POS:
async function printEscPos(device, ifaceNumber = 0) {
  await device.open();
  if (!device.configuration) await device.selectConfiguration(1);
  await device.claimInterface(ifaceNumber);

  const iface = device.configuration.interfaces.find(
    i => i.interfaceNumber === ifaceNumber
  );
  const outEp = iface.alternates[0].endpoints.find(e => e.direction === 'out');
  if (!outEp) throw new Error('No OUT endpoint found');

  const text = 'Hello from WebUSB\n';
  // Convert string to bytes (simple ASCII). For real use, use proper encodings.
  const encoder = new TextEncoder();
  const payload = encoder.encode(text);

  // Example: reset printer then print text then cut (cut command depends on printer)
  const resetCmd = new Uint8Array([0x1b, 0x40]); // ESC @
  await device.transferOut(outEp.endpointNumber, resetCmd);
  await device.transferOut(outEp.endpointNumber, payload);

  // Optional: some printers accept a cut command
  // const cutCmd = new Uint8Array([0x1d, 0x56, 0x41, 0x10]);
  // await device.transferOut(outEp.endpointNumber, cutCmd);

  await device.releaseInterface(ifaceNumber);
  await device.close();
}
Notes:
- Use the TextEncoder for plain text. For images, format to printer-specific raster or ESC/POS image commands.
- Some printers expect CRLF or specific line feeds.
- If printing fails, inspect device.configuration and endpoints, and ensure the device driver on the OS isn’t holding the device.
Example: Talking to a microcontroller (sensor/command exchange)
Microcontrollers can present many USB classes. If the MCU exposes a custom vendor interface (recommended for WebUSB), you can read and write arbitrary endpoints.
This example assumes the device exposes a vendor-specific interface with one IN and one OUT bulk endpoint.
async function readSensor(device, ifaceNumber = 1) {
  await device.open();
  if (!device.configuration) await device.selectConfiguration(1);
  await device.claimInterface(ifaceNumber);

  const iface = device.configuration.interfaces.find(
    i => i.interfaceNumber === ifaceNumber
  );
  const alt = iface.alternates[0];
  const inEp = alt.endpoints.find(e => e.direction === 'in');
  const outEp = alt.endpoints.find(e => e.direction === 'out');
  if (!inEp || !outEp) throw new Error('Endpoints not found');

  // Request reading (vendor-specific control request example)
  // Or use bulk transfer protocol your firmware expects.
  // Here: we'll send a simple command and read the reply.
  const cmd = new TextEncoder().encode('READ_TEMP');
  await device.transferOut(outEp.endpointNumber, cmd);

  const reply = await device.transferIn(inEp.endpointNumber, 64);
  const data = new TextDecoder().decode(reply.data.buffer);
  console.log('sensor reply:', data);

  await device.releaseInterface(ifaceNumber);
  await device.close();
}
Important caveat: Many microcontrollers present as CDC-ACM (USB serial) devices. WebUSB does not automatically expose CDC function devices as a serial port; for serial communication prefer the Web Serial API which is purpose-built for virtual COM devices. See alternatives below.
Example: Using control transfers
Control transfers are useful for device-specific management (e.g., toggling modes, fetching descriptors). Example:
// vendor control transfer out
await device.controlTransferOut(
  {
    requestType: 'vendor',
    recipient: 'device',
    request: 0x01,
    value: 0x0001,
    index: 0x0000,
  },
  new Uint8Array([0x01])
);

// vendor control transfer in (read 64 bytes)
const res = await device.controlTransferIn(
  {
    requestType: 'vendor',
    recipient: 'device',
    request: 0x02,
    value: 0x0000,
    index: 0x0000,
  },
  64
);
console.log(new Uint8Array(res.data.buffer));
Device connect/disconnect events
You can react to device hotplug events:
navigator.usb.addEventListener('connect', event => {
  // A device was connected. You may prompt the user or auto-handle.
  console.log('USB device connected', event.device);
});

navigator.usb.addEventListener('disconnect', event => {
  console.log('USB device disconnected', event.device);
});
Practical debugging & platform tips
- Inspect device metadata in devtools console: console.log(device) after requestDevice.
- If the OS driver has claimed the device, the browser may not be able to claim it. On Windows, use Zadig to replace the driver with WinUSB for testing.
- On Linux, add a udev rule so your user can access the device without sudo. Example rule (replace vendor/product IDs):
SUBSYSTEM=="usb", ATTR{idVendor}=="abcd", ATTR{idProduct}=="1234", MODE="0666"- If you get permission errors, ensure the browser has the device permission and the device is not already claimed by another driver.
Best practices & firmware considerations
- Use vendor-specific interfaces or explicitly provide a WebUSB descriptor if you control firmware. That avoids conflicts with platform kernel drivers (CDC/HID) and avoids requiring driver replacement.
- Keep a simple, documented transfer protocol (command/response, length prefixing, checksums) for reliable parsing.
- Use small transfer sizes and handle partial transfers; check transferIn.result and transferOut.status.
- Provide a friendly landing page in device firmware using the WebUSB landing page descriptor to guide users for initial pairing; see the WebUSB spec for details.
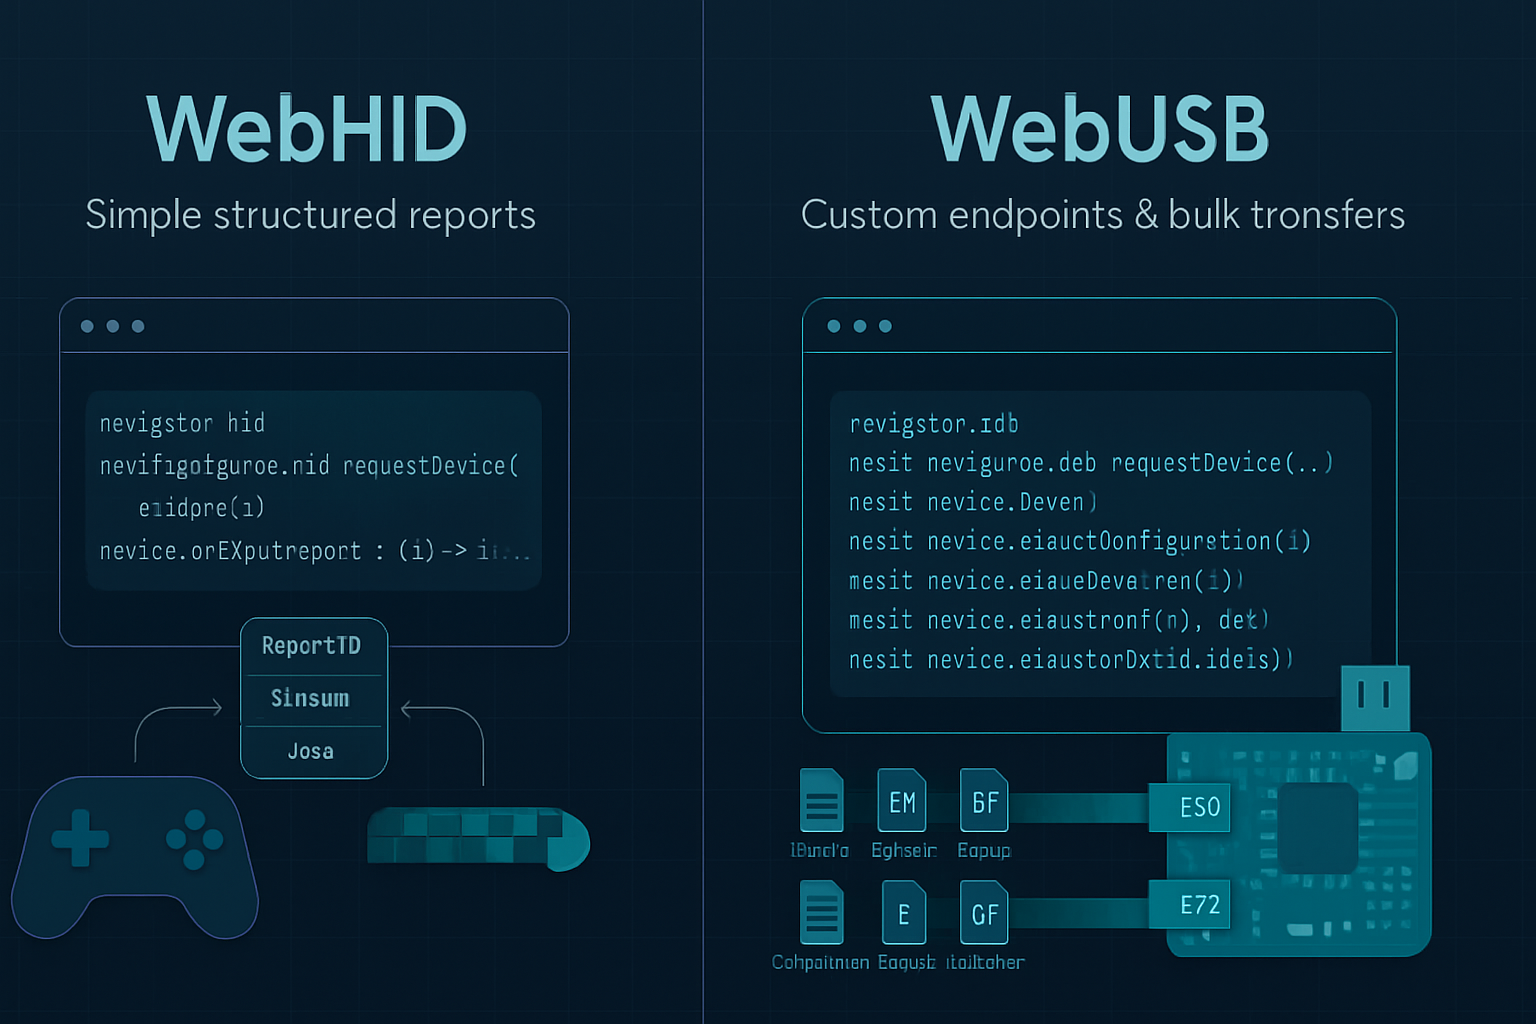
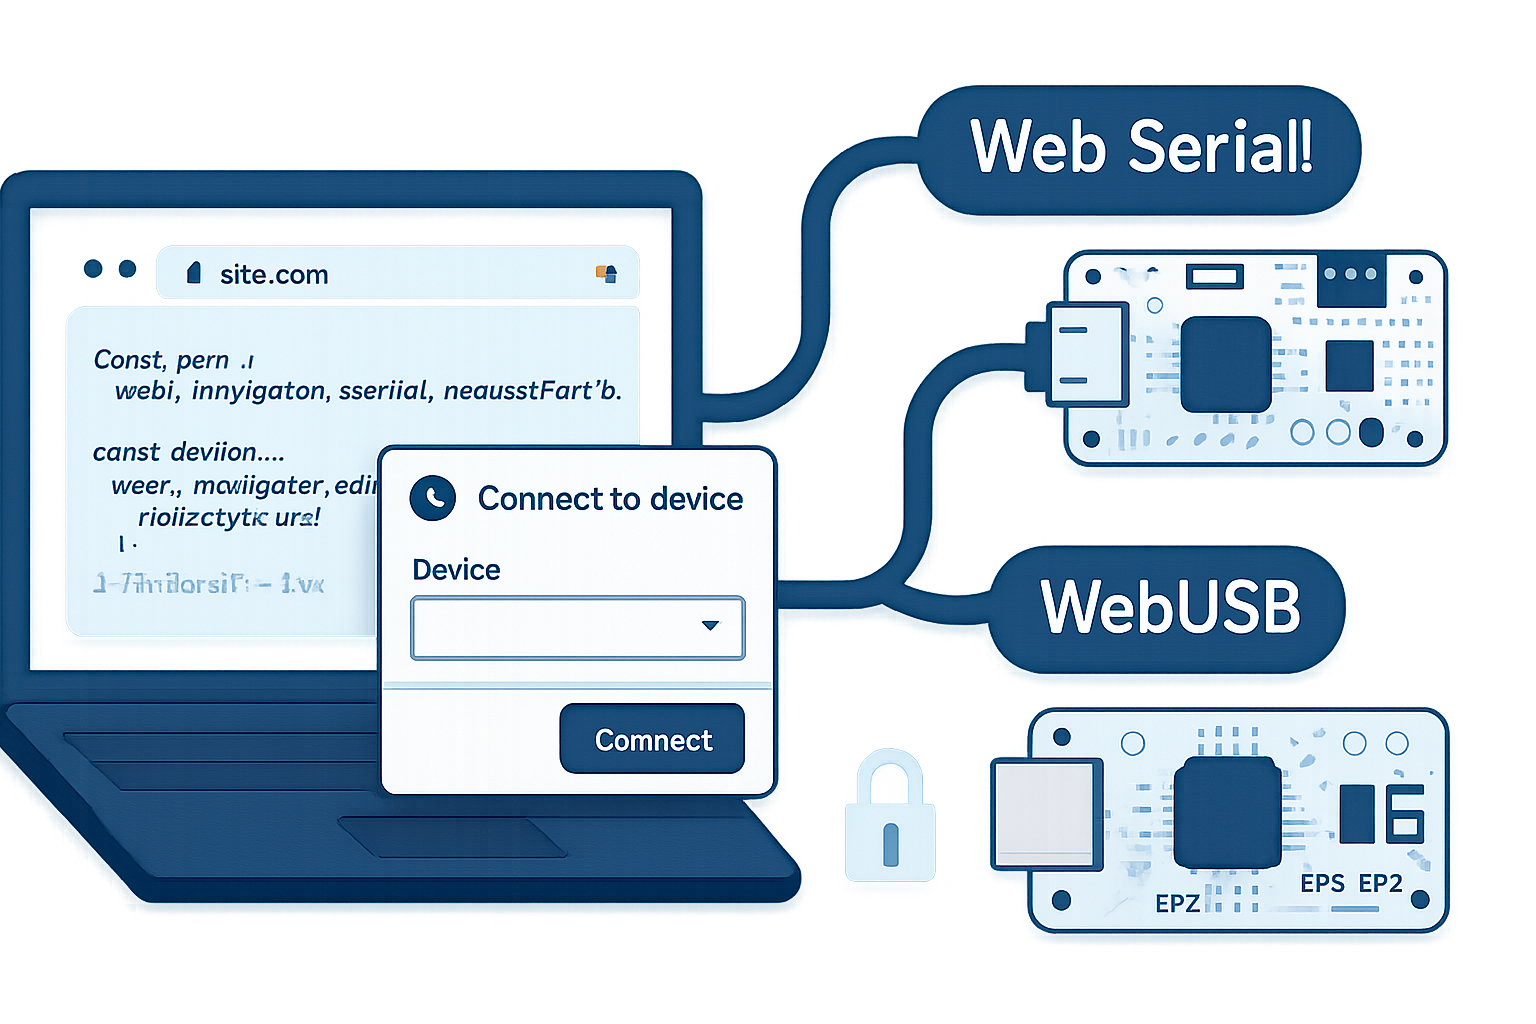
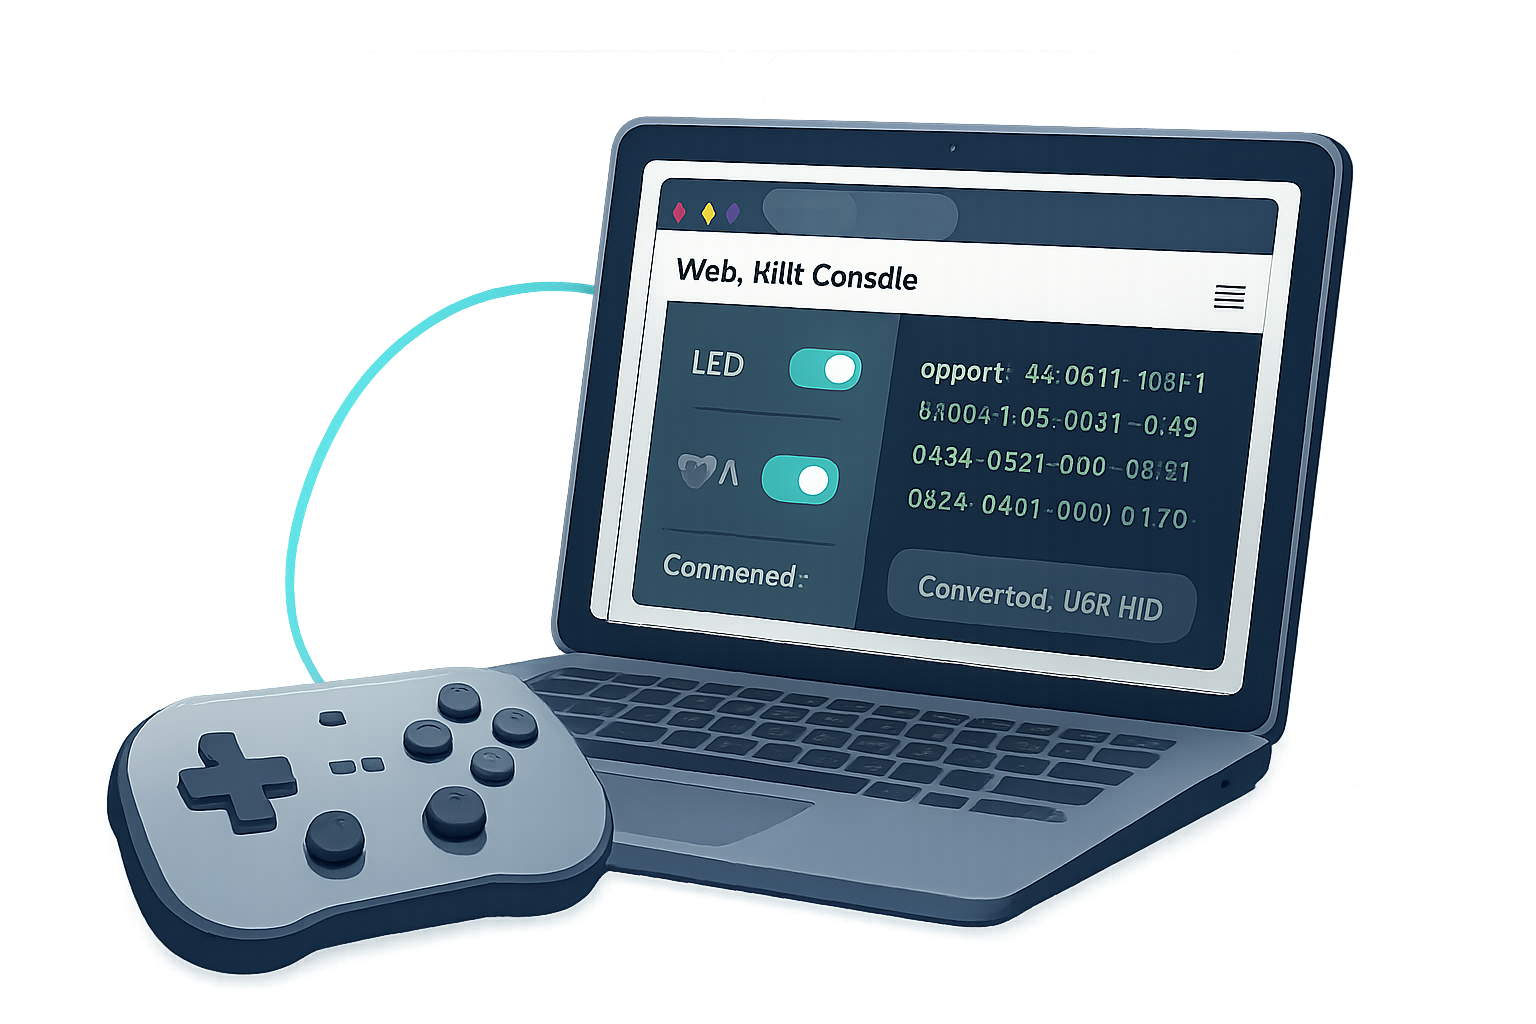
When WebUSB is not the right tool
Virtual COM / Serial devices: use the Web Serial API - it’s designed for CDC-ACM devices and provides simple read/write streams.
HID devices with standard HID descriptors: use the WebHID API - it maps to HID reports.
Resources:
- Web Serial: https://developer.mozilla.org/en-US/docs/Web/API/Serial
- WebHID overview: https://developer.mozilla.org/en-US/docs/Web/API/HID
Example checklist before shipping
- Does your firmware expose a vendor interface or WebUSB descriptor? If not, can you change it?
- Are udev and driver instructions documented for developers/testers?
- Do you use filters in requestDevice to narrow choices for users?
- Do you gracefully handle browser/device disconnects and recover?
- Are you running over HTTPS and handling errors with clear UX?
Resources and further reading
- WebUSB spec - https://wicg.github.io/webusb/
- MDN: WebUSB API - https://developer.mozilla.org/en-US/docs/Web/API/USB
- WebUSB samples / demos and community resources: https://github.com/webusb
- Chrome Platform Status & docs for WebUSB - search Chrome Platform Status for latest compatibility notes
Final note
WebUSB unlocks powerful possibilities: native-like device control with web reach and immediate deployability. Use it when you need direct USB access from a web app, design your firmware with web clients in mind, and respect the user’s security boundaries. When done right, you can deliver seamless, immediate hardware interactions straight from the browser.