· deepdives · 8 min read
Unlocking the Future of Web Development: A Deep Dive into WebHID API
A practical, in-depth guide to the WebHID API: how it works, real-world projects (custom macro pads, game controllers), code examples, security and compatibility notes, and debugging tips for integrating hardware with the web.

Why WebHID matters
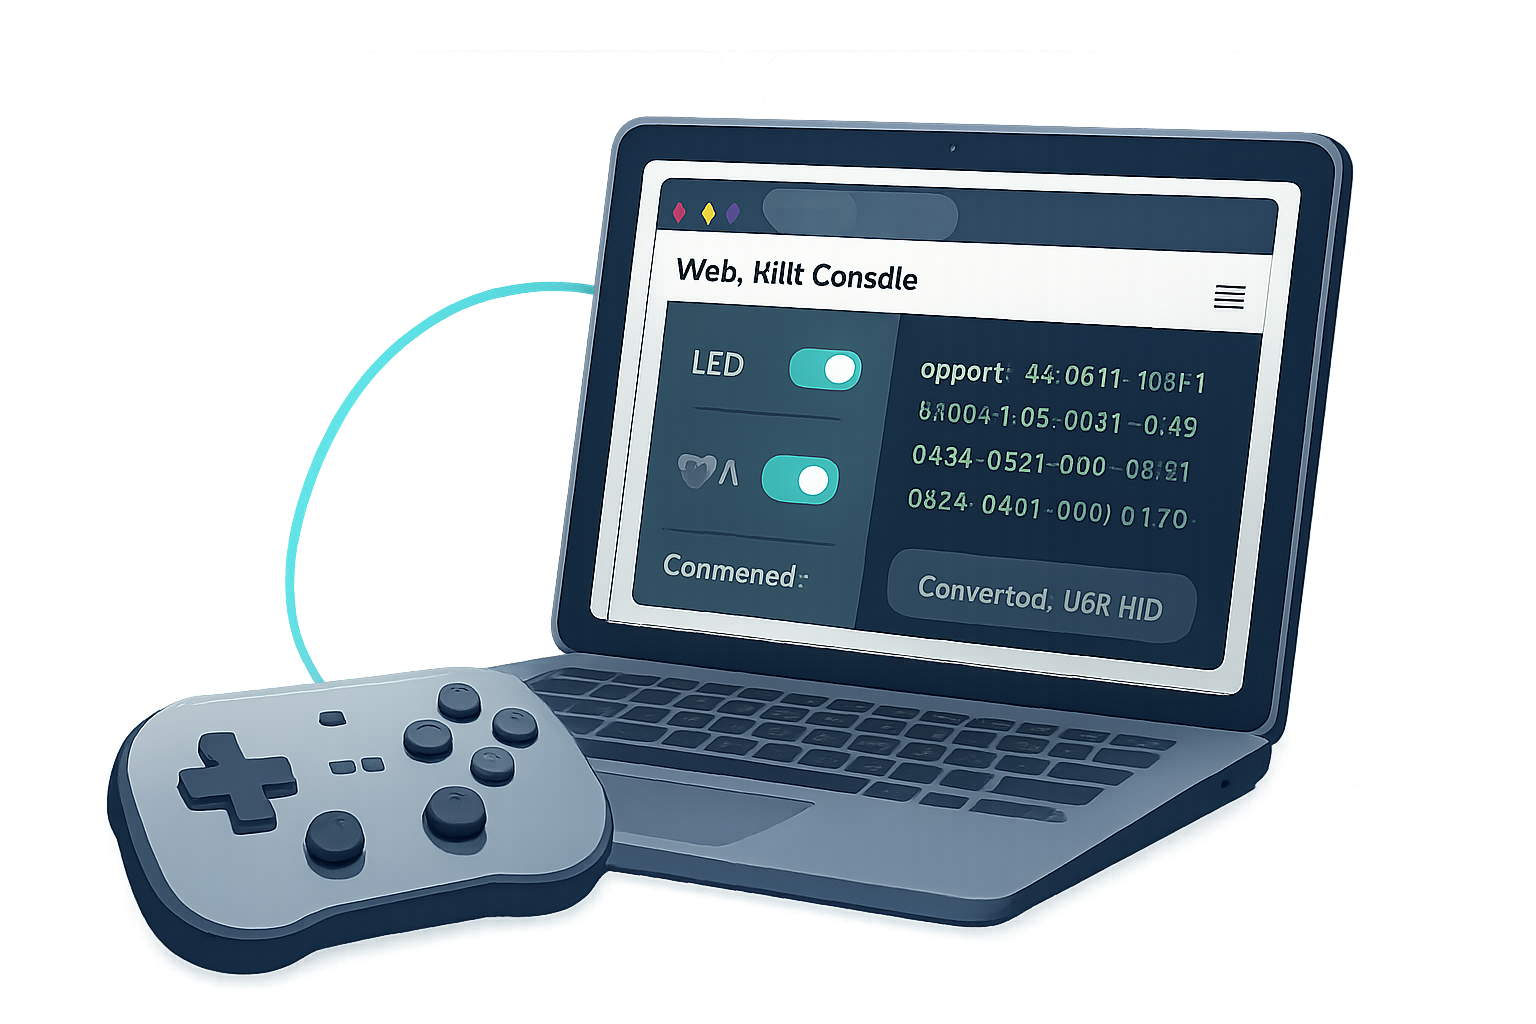
Web applications used to be limited to what the browser DOM and standard APIs allowed. The WebHID API changes that by letting web pages communicate directly with Human Interface Devices (HID) - keyboards, gamepads, macro pads, custom controllers and many vendor-specific USB devices - using familiar JavaScript patterns. This opens new possibilities for rich gaming UIs, custom peripherals (think Stream Deck-like macro pads), accessibility tools, interactive installations, and device configuration dashboards.
Key advantages:
- Low friction: runs in the browser (no native drivers required for many HID devices).
- Fine-grained control: read input reports and send output/feature reports.
- Secure-by-design: user permission is required, and access is scoped per-origin.
Useful references:
- WebHID spec: https://w3c.github.io/webhid/
- MDN WebHID docs: https://developer.mozilla.org/en-US/docs/Web/API/WebHID_API
- USB HID info: https://usb.org/hid
Quick primer: HID concepts you should know
- Report: a packet of data sent between host and device (input, output, or feature report).
- Report ID: small integer identifying the report format when a device supports multiple reports.
- Report descriptor: device-side metadata describing report layouts (you may need to consult this to parse data).
- Usage pages/usages: HID organization for controls (e.g., Generic Desktop, Game Controls, Vendor-defined).
If you have no descriptor, you can inspect incoming reports and infer layout by testing. Tools like the official HID descriptor tool or third-party parsers help but are not always required for vendor-specific devices.
Browser support and security basics
- WebHID is available in Chromium-based browsers on desktop (Chrome, Edge, Opera). Support in other browsers has historically been limited - check the MDN compatibility table before shipping production features.
- WebHID requires a secure context (HTTPS) and a user gesture to request devices.
- Permission is granted per-origin and can be enumerated via
navigator.hid.getDevices()for previously allowed devices.
Getting started: connect to a device
Minimal flow:
- Ask the user to pick a device (permission dialog).
- Open the device with
device.open(). - Listen for
inputreportevents and/or send output/feature reports.
Example: request a specific vendor/product or allow user choice via filters:
// Request device (must be called from a user gesture e.g. click)
const filters = [
  // Optional: limit to known vendor/product. Remove filters to show all HID devices.
  { vendorId: 0x1234, productId: 0x5678 },
];

const devices = await navigator.hid.requestDevice({ filters });
if (!devices || devices.length === 0) return; // user cancelled

const device = devices[0];
await device.open();
console.log(
  'Opened',
  device.productName,
  device.vendorId.toString(16),
  device.productId.toString(16)
);

// Listen for input reports
device.addEventListener('inputreport', event => {
  const { data, reportId } = event; // data is a DataView
  // Parse data here
  console.log('inputreport', reportId, new Uint8Array(data.buffer));
});
Notes:
navigator.hid.getDevices()returns devices previously granted to the origin.- Call
device.close()when you’re done (e.g., on page unload).
Parsing reports: decode bytes with DataView
Most device data comes in raw bytes. Use DataView to parse types and endianness.
Example: parse a joystick-style 3-axis device whose input report is 8 bytes: X (int16), Y (int16), Z (int16), buttons (uint8)
device.addEventListener('inputreport', event => {
  const dv = event.data; // DataView
  const reportId = event.reportId;

  const x = dv.getInt16(0, true); // little-endian
  const y = dv.getInt16(2, true);
  const z = dv.getInt16(4, true);
  const buttons = dv.getUint8(6);

  // decode button bits
  const buttonStates = [];
  for (let i = 0; i < 8; i++) buttonStates.push(Boolean(buttons & (1 << i)));

  // Use x,y,z and buttonStates in your app
  updateGameInput({ x, y, z, buttonStates });
});
Tips:
- Experiment by logging raw bytes (
new Uint8Array(data.buffer)) and map values to expected ranges. - For complex descriptors, use the device vendor’s documentation or HID descriptor parsers.
Sending data to devices: output & feature reports
Many devices accept control signals (e.g., LED states, vibration, backlight). WebHID exposes:
device.sendReport(reportId, data)- send an output report to the device.device.sendFeatureReport(reportId, data)anddevice.receiveFeatureReport(reportId)- request or provide feature reports.
Example: toggle an LED on a custom macro pad where report ID is 1 and data is a single byte mask:
async function setLedMask(device, mask) {
  const reportId = 1; // check device docs
  const data = new Uint8Array([mask]);
  await device.sendReport(reportId, data);
}

// usage
await setLedMask(device, 0b0011); // turn on first two LEDs
Feature report example (read persistent state or device settings):
// Receive feature report
const featureDataView = await device.receiveFeatureReport(2);
// parse with DataView methods
const setting = featureDataView.getUint8(0);

// Send feature report
await device.sendFeatureReport(2, new Uint8Array([0x01, 0x02]));
Real-world projects and examples
Below are two practical examples (macro pad and web-based game controller) showing how WebHID can be used end-to-end.
1) Custom macro pad (Stream Deck-style)
Goal: Build a browser UI that listens for button presses on a simple HID-based macro pad and sends LED updates (per-button illumination).
Core steps:
- Let the user select the macro pad via
requestDevice(). - Parse input reports for button index and pressed/released state.
- Maintain a mapping of button -> action and provide a web UI for configuring shortcuts.
- Send output reports to set LED colors or animations.
Simplified input handling:
device.addEventListener('inputreport', event => {
  const dv = event.data;
  const buttonIndex = dv.getUint8(0);
  const pressed = !!dv.getUint8(1);
  handleButton(buttonIndex, pressed);
});

function handleButton(index, pressed) {
  if (!pressed) return;
  const action = shortcuts[index];
  if (action.type === 'keystroke') sendKeystroke(action.keys);
  else if (action.type === 'macro') runMacro(action.macroId);
}
LED control example (send RGB for button i):
async function setButtonColor(device, buttonIndex, r, g, b) {
  const reportId = 1;
  // assume device expects: [buttonIndex, r, g, b]
  await device.sendReport(reportId, new Uint8Array([buttonIndex, r, g, b]));
}
UX improvements:
- Provide realtime preview when user assigns an action.
- Offer safe defaults and require confirmation before sending system-level keystrokes.
2) Web-based gaming enhancements: custom controller adapter
Use case: A specialized arcade stick or flight yoke connects as a vendor-specific HID device. You want to use it in a browser game that expects Gamepad API input.
Approach:
- Read HID input reports and translate them into synthetic Gamepad-like events inside your app.
- Normalise axes to [-1, 1] and expose button booleans.
- For multiplayer or input abstraction, implement a small adapter layer and publish a standardized input object to the game loop.
Example adapter (simplified):
function parseControllerReport(dataView) {
  return {
    axes: [
      dataView.getInt16(0, true) / 32767, // X
      dataView.getInt16(2, true) / 32767, // Y
    ],
    buttons: Array.from({ length: 8 }, (_, i) =>
      Boolean(dataView.getUint8(4) & (1 << i))
    ),
  };
}

device.addEventListener('inputreport', e => {
  const state = parseControllerReport(e.data);
  gameInput.setControllerState(device.productId, state); // deliver to your game
});
Possible improvements:
- Provide calibration UI (deadzone, sensitivity curves).
- Use
requestAnimationFrameto integrate into the game loop smoothly.
Design patterns and best practices
- Permission & device lifecycle
- Request device only on a user gesture. Provide a clear “Connect device” UI and explain why permission is needed.
- Call
device.close()on unload and handledevice.ongotdevicechanges (usenavigator.hid.addEventListener('connect')and'disconnect').
- Graceful fallback
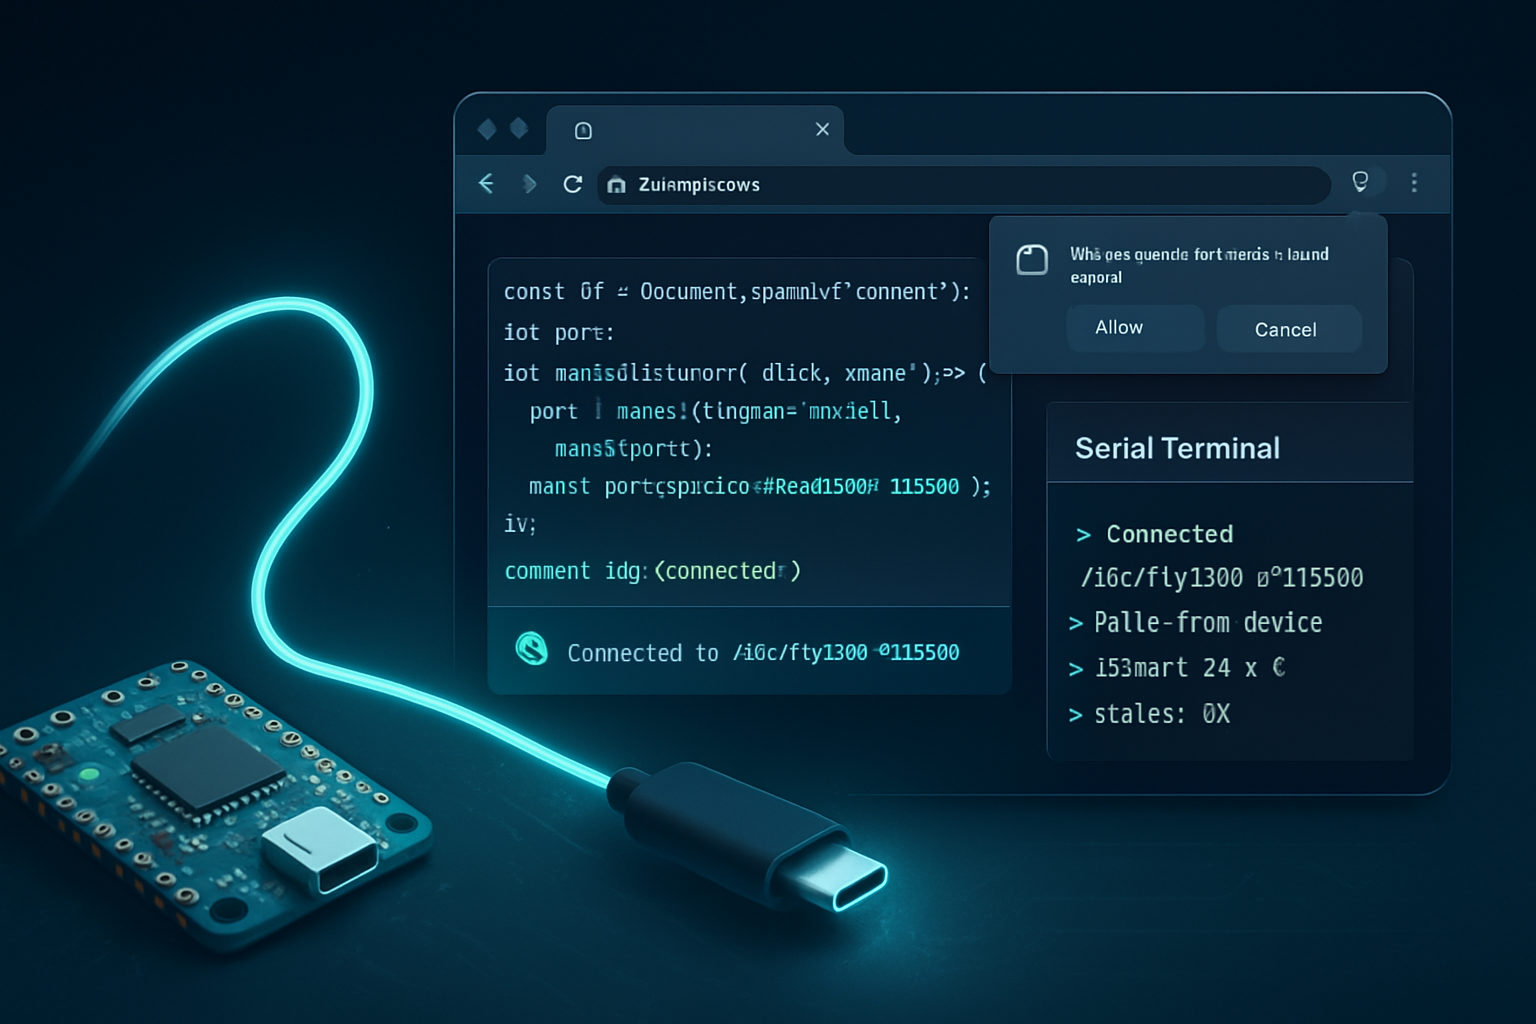
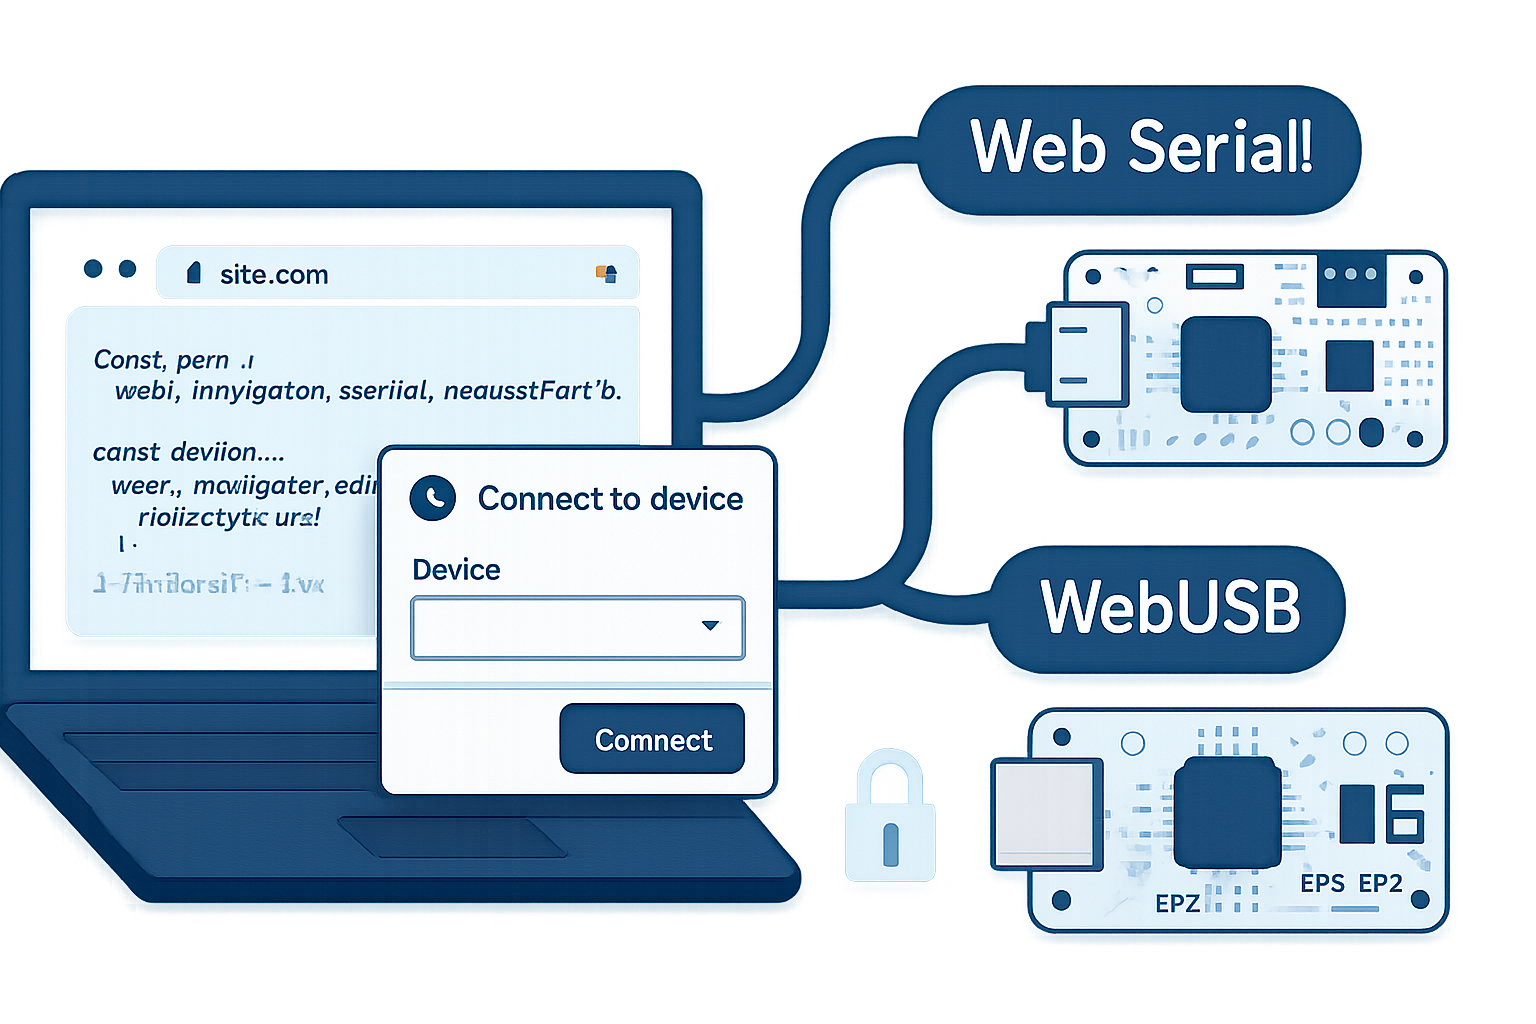
- Provide a fallback path if WebHID is not available: Gamepad API, WebUSB, or a simple keyboard/mouse control scheme.
- Performance & event handling
- Keep
inputreporthandlers fast. Offload heavy work to workers or batch updates. - Debounce noisy inputs and apply rate limiting for UI updates.
- UX and safety
- Avoid unsolicited system-level actions (e.g., auto-sending keystrokes or file operations without explicit user action).
- Expose clear controls for pairing, disconnecting, and resetting devices.
Debugging tips & tools
- Log raw bytes during development (
new Uint8Array(event.data.buffer)). - Use Chrome DevTools console and network panels to monitor code execution and state.
- Inspect device properties (vendorId/productId/productName) to confirm correct device selection.
- When descriptors are unclear, use desktop tools to inspect USB traffic (e.g., USBPcap + Wireshark on Windows). For macOS/Linux, system utilities (ioreg, lsusb) help identify VID/PID and interfaces.
- If reporting mismatched behavior across browsers, check browser-specific limitations and the MDN compatibility notes.
Security & privacy considerations
- Always disclose what data your app reads from the device and how it will be used. HID data can contain sensitive inputs.
- Only request the filters you need; avoid broad requests unless necessary.
- Remember that permissions are per-origin and may persist; provide a UI to let users revoke access (they can also revoke from browser settings).
When not to use WebHID
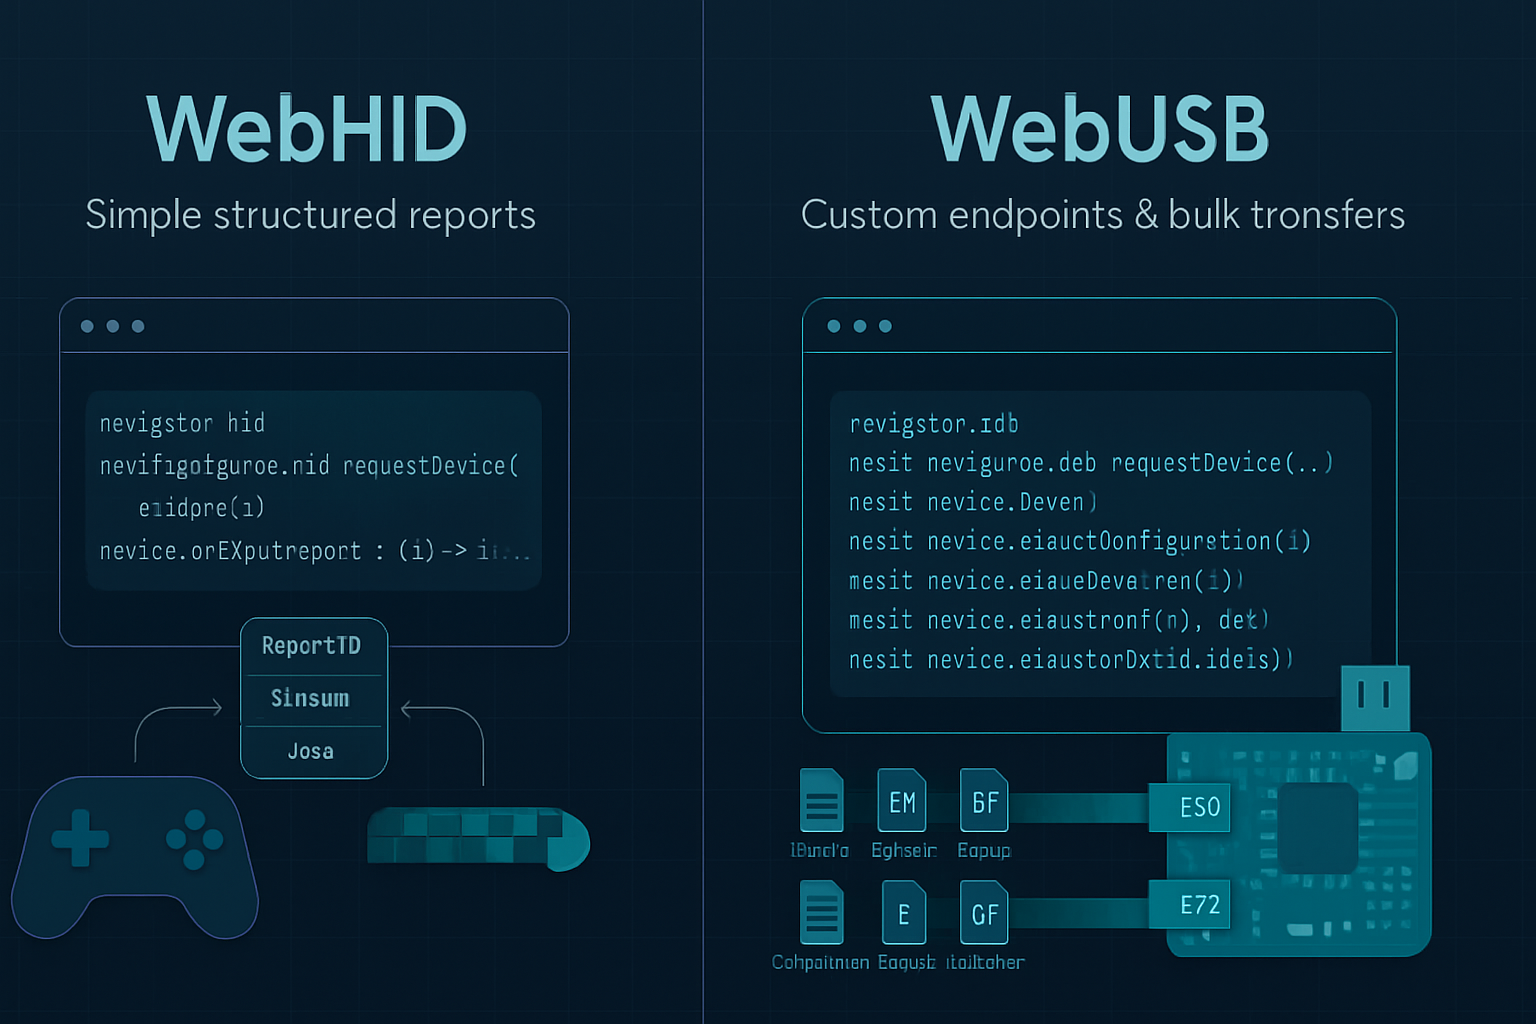
- If you need bulk transfers for non-HID USB usage, WebUSB may be more appropriate.
- If you require cross-platform native performance or background device access outside of browser sessions, consider a native app or an electron-based bridge.
Example: Minimal full flow (connect, read, send)
// onConnect button click
async function connect() {
  const devices = await navigator.hid.requestDevice({ filters: [] });
  if (!devices.length) return;

  const device = devices[0];
  await device.open();

  device.addEventListener('inputreport', e => {
    console.log('report', e.reportId, new Uint8Array(e.data.buffer));
  });

  // set an initial LED mask if supported
  try {
    await device.sendReport(1, new Uint8Array([0xff]));
  } catch (err) {
    console.warn('sendReport not supported or failed', err);
  }

  // record device for later use and close on unload
  window.myDevice = device;
}

window.addEventListener('beforeunload', () => {
  if (window.myDevice && window.myDevice.opened) window.myDevice.close();
});
Next steps and where to experiment
- Try connecting an inexpensive vendor-defined HID device (many maker boards present as HID) and log raw reports to learn formats.
- Build a simple macro pad UI with color previews and button mapping and share a small demo on GitHub.
- For game devs: prototype a translator that maps a vendor HID to your game’s input layer and test latency vs native controllers.
Useful example repos and samples:
- WICG WebHID examples: https://github.com/WICG/webhid
- MDN documentation & examples: https://developer.mozilla.org/en-US/docs/Web/API/WebHID_API
Conclusion
The WebHID API brings hardware control and creativity directly into web applications, enabling developers to build rich, hardware-aware experiences without writing native drivers. Whether you’re creating a Stream Deck-style macro pad, enhancing web-based games with custom controllers, or building unique interactive installations, WebHID provides the primitives you need. Pay attention to security, user permission UX, and cross-browser compatibility, and you’ll be able to unlock a new class of device-integrated web apps.