· deepdives · 6 min read
Getting Started with the Web Serial API: A Step-by-Step Guide
Learn how to connect to serial devices directly from the browser using the Web Serial API. This step-by-step guide covers setup, permissions, reading and writing data, binary transfers, error handling, use cases, and example code you can drop into a web page.
Outcome first: in under 30 minutes you’ll be able to connect a USB serial device (like an Arduino or a microcontroller board) to your browser, send commands, and read live telemetry - all without installing native drivers or extra software.
What this guide gives you
- A clear understanding of how the Web Serial API works and when to use it.
- Working code examples for connecting, reading, and writing serial data from the browser.
- Practical tips for binary data, framing, error handling, and debugging.
Read on and you’ll move from zero to a working browser-based serial client you can extend into dashboards, device configurators, firmware uploaders, or simple control panels.
What is the Web Serial API?
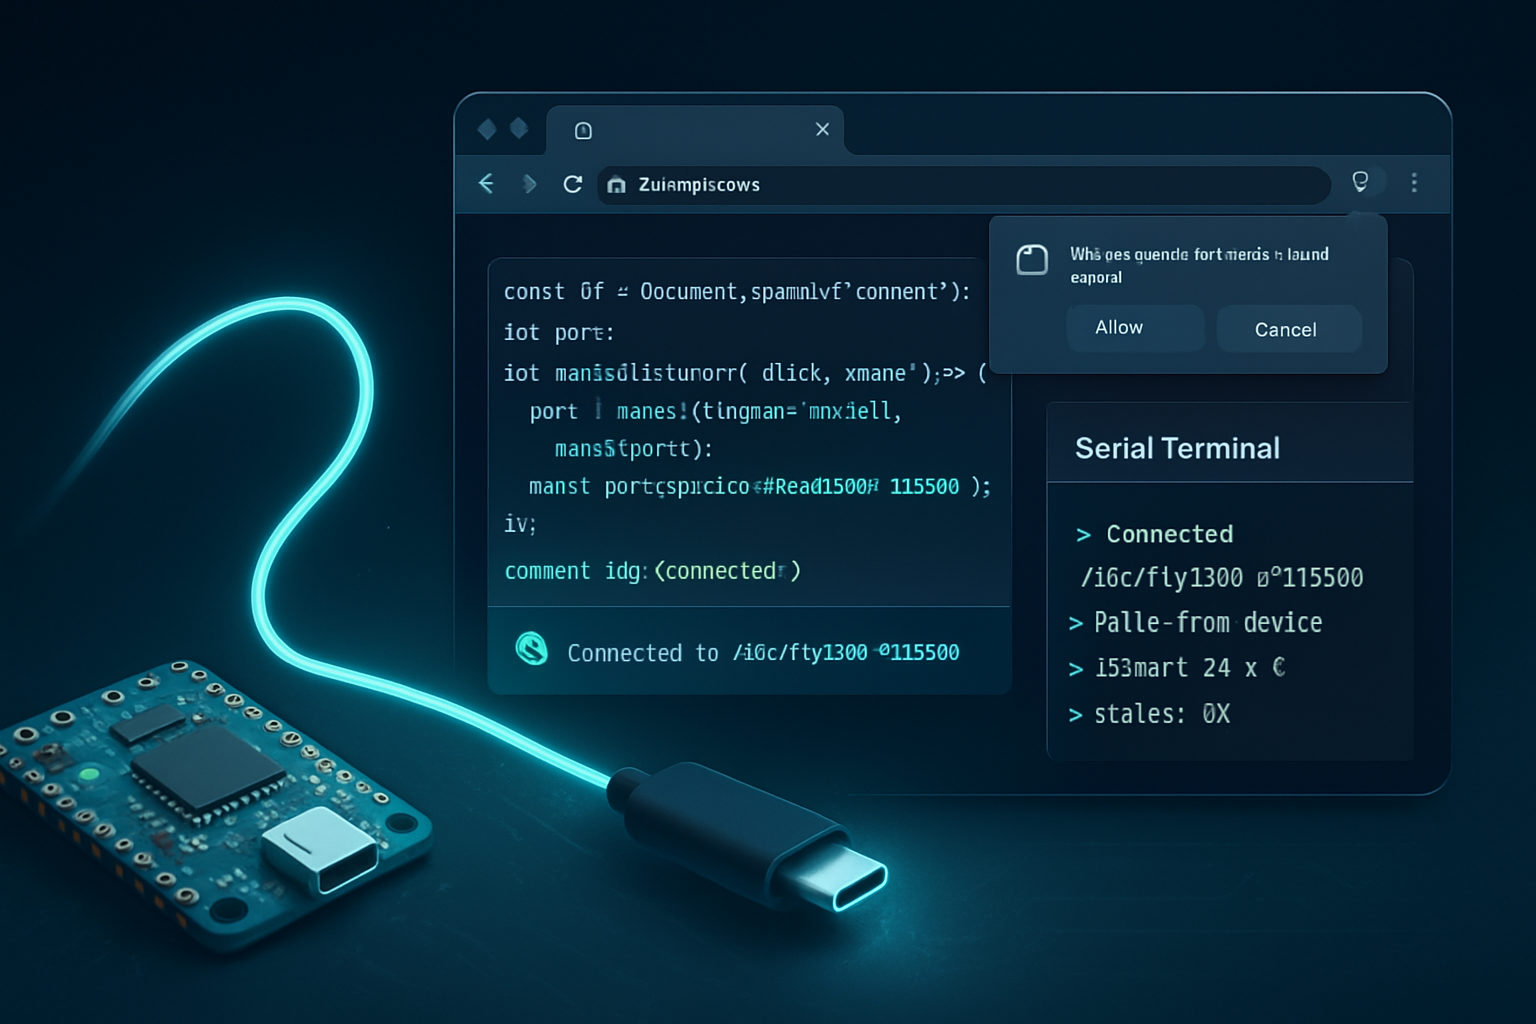
The Web Serial API exposes serial ports (UART-like devices) to web pages so they can exchange data with connected hardware via the browser. It uses modern web streams for reading and writing and respects a strict permissions model enforced by the browser. For official docs see the MDN reference and the specification:
- MDN Web Serial API: https://developer.mozilla.org/en-US/docs/Web/API/Serial
- WICG Serial spec: https://wicg.github.io/serial/
- Example repository: https://github.com/GoogleChrome/samples/tree/gh-pages/web-serial
Requirements & browser support
- Secure context: your page must be served over HTTPS or run on localhost.
- Chromium-based browsers: full support is available in recent Chrome and Edge builds. Other browsers may not support it (feature detection required).
Feature detection quick check:
if ('serial' in navigator) {
  // Web Serial API is available
} else {
  // Not available
}
High-level flow
- Feature-detect navigator.serial.
- Use navigator.serial.requestPort() to prompt the user to pick a port (user gesture required).
- Open the port with port.open({ baudRate }).
- Read from port.readable via streams and write with port.writable.
- Close the port when done.
Permissions are granted by the user and can be persisted for an origin. You can check previously granted ports with navigator.serial.getPorts().
Basic example: connect, read lines, and write text
Below is a complete example (HTML + JS) for a simple app that connects to a serial device, reads newline-terminated text lines, and writes text entered into an input. It uses the TextDecoderStream/TextEncoderStream helper to convert between bytes and strings.
<!-- index.html (simplified) -->
<button id="connect">Connect</button>
<button id="disconnect" disabled>Disconnect</button>
<textarea id="log" rows="10" cols="60" readonly></textarea>
<input id="cmd" placeholder="Type command..." />
<button id="send" disabled>Send</button>

<script>
  const connectButton = document.getElementById('connect');
  const disconnectButton = document.getElementById('disconnect');
  const sendButton = document.getElementById('send');
  const log = document.getElementById('log');
  const cmd = document.getElementById('cmd');

  let port;
  let reader;
  let inputDone;
  let outputDone;
  let inputStream;
  let outputStream;

  function appendLog(line) {
    log.value += line + '\n';
    log.scrollTop = log.scrollHeight;
  }

  connectButton.addEventListener('click', async () => {
    try {
      // Prompt user to select any serial port.
      port = await navigator.serial.requestPort();
      await port.open({ baudRate: 9600 });

      // Setup reader (text lines)
      const decoder = new TextDecoderStream();
      inputDone = port.readable.pipeTo(decoder.writable);
      inputStream = decoder.readable.pipeThrough(
        new TransformStream(new LineBreakTransformer())
      );

      reader = inputStream.getReader();

      readLoop();

      // Setup writer
      const encoder = new TextEncoderStream();
      outputDone = encoder.readable.pipeTo(port.writable);
      outputStream = encoder.writable;

      appendLog('Connected');
      connectButton.disabled = true;
      disconnectButton.disabled = false;
      sendButton.disabled = false;
    } catch (e) {
      appendLog('Error: ' + e);
    }
  });

  disconnectButton.addEventListener('click', async () => {
    if (reader) {
      await reader.cancel();
      await inputDone.catch(() => {});
      reader = null;
    }
    if (outputStream) {
      await outputStream.getWriter().close();
      await outputDone;
      outputStream = null;
    }
    await port.close();
    appendLog('Disconnected');
    connectButton.disabled = false;
    disconnectButton.disabled = true;
    sendButton.disabled = true;
  });

  sendButton.addEventListener('click', async () => {
    const writer = outputStream.getWriter();
    await writer.write(cmd.value + '\n');
    writer.releaseLock();
  });

  async function readLoop() {
    while (true) {
      const { value, done } = await reader.read();
      if (done) {
        break;
      }
      appendLog(value);
    }
  }

  // Transform stream to emit lines
  class LineBreakTransformer {
    constructor() {
      this.buffer = '';
    }
    transform(chunk, controller) {
      this.buffer += chunk;
      const lines = this.buffer.split('\n');
      this.buffer = lines.pop();
      for (const line of lines) {
        controller.enqueue(line);
      }
    }
    flush(controller) {
      controller.enqueue(this.buffer);
    }
  }
</script>
Drop that file on an HTTPS server (or run on localhost) and try connecting to a serial device that sends newline-delimited text.
Key APIs and snippets explained
navigator.serial.requestPort([filters])
- Prompts the user to select a device.
filterscan limit to particular vendor/product ids.
- Prompts the user to select a device.
navigator.serial.getPorts()
- Returns a list of ports that the user has already granted the site access to.
port.open({ baudRate, dataBits, stopBits, parity, bufferSize, flowControl })
- Opens the port.
baudRateis required; others are optional.
- Opens the port.
port.readable and port.writable
- Streams you can use with the standard Streams API. Use TextDecoderStream/TextEncoderStream for text.
port.close()
- Close the port and release system resources.
navigator.serial.addEventListener(‘connect’ | ‘disconnect’, handler)
- Optional: listen for serial device hotplug events (supported in some browsers).
Binary data, framing, and performance
For binary protocols (e.g., firmware upload or sensor binary frames), use the raw streams and Uint8Array:
// Writing binary
const writer = port.writable.getWriter();
const data = new Uint8Array([0x01, 0x02, 0xff]);
await writer.write(data);
writer.releaseLock();

// Reading binary (example)
const reader = port.readable.getReader();
try {
  while (true) {
    const { value, done } = await reader.read();
    if (done) break;
    // value is a Uint8Array chunk
    processChunk(value);
  }
} finally {
  reader.releaseLock();
}
Be mindful that the stream may split a logical message across multiple chunks. Implement framing (length-prefix, sentinel bytes, or newline) or a TransformStream to reassemble frames.
Handling disconnects, cleanup, and errors
- Always cancel readers and close writers before calling port.close().
- Use try/catch around asynchronous IO and provide a visible status for the user.
- If another application holds the serial port, port.open() will fail.
- Call reader.releaseLock() and writer.releaseLock() where appropriate to avoid deadlocks.
Example: cleanly closing everything
if (reader) {
  await reader.cancel();
  reader.releaseLock();
}
if (writer) {
  writer.releaseLock();
}
await port.close();
Permission behavior and privacy
- requestPort will always show a chooser controlled by the user - sites cannot access ports silently.
- getPorts returns previously granted ports for the origin.
- A user can revoke permission through browser UI. Sites should handle permission loss.
Fallbacks and polyfills
There is no true cross-browser polyfill that magically makes Web Serial available where the browser doesn’t support it, because serial access requires native bindings. Typical fallbacks:
- Use a small native helper (a local daemon) that exposes serial ports over WebSocket and connect from the page to that WebSocket.
- Offer a native app or Electron wrapper for desktop builds.
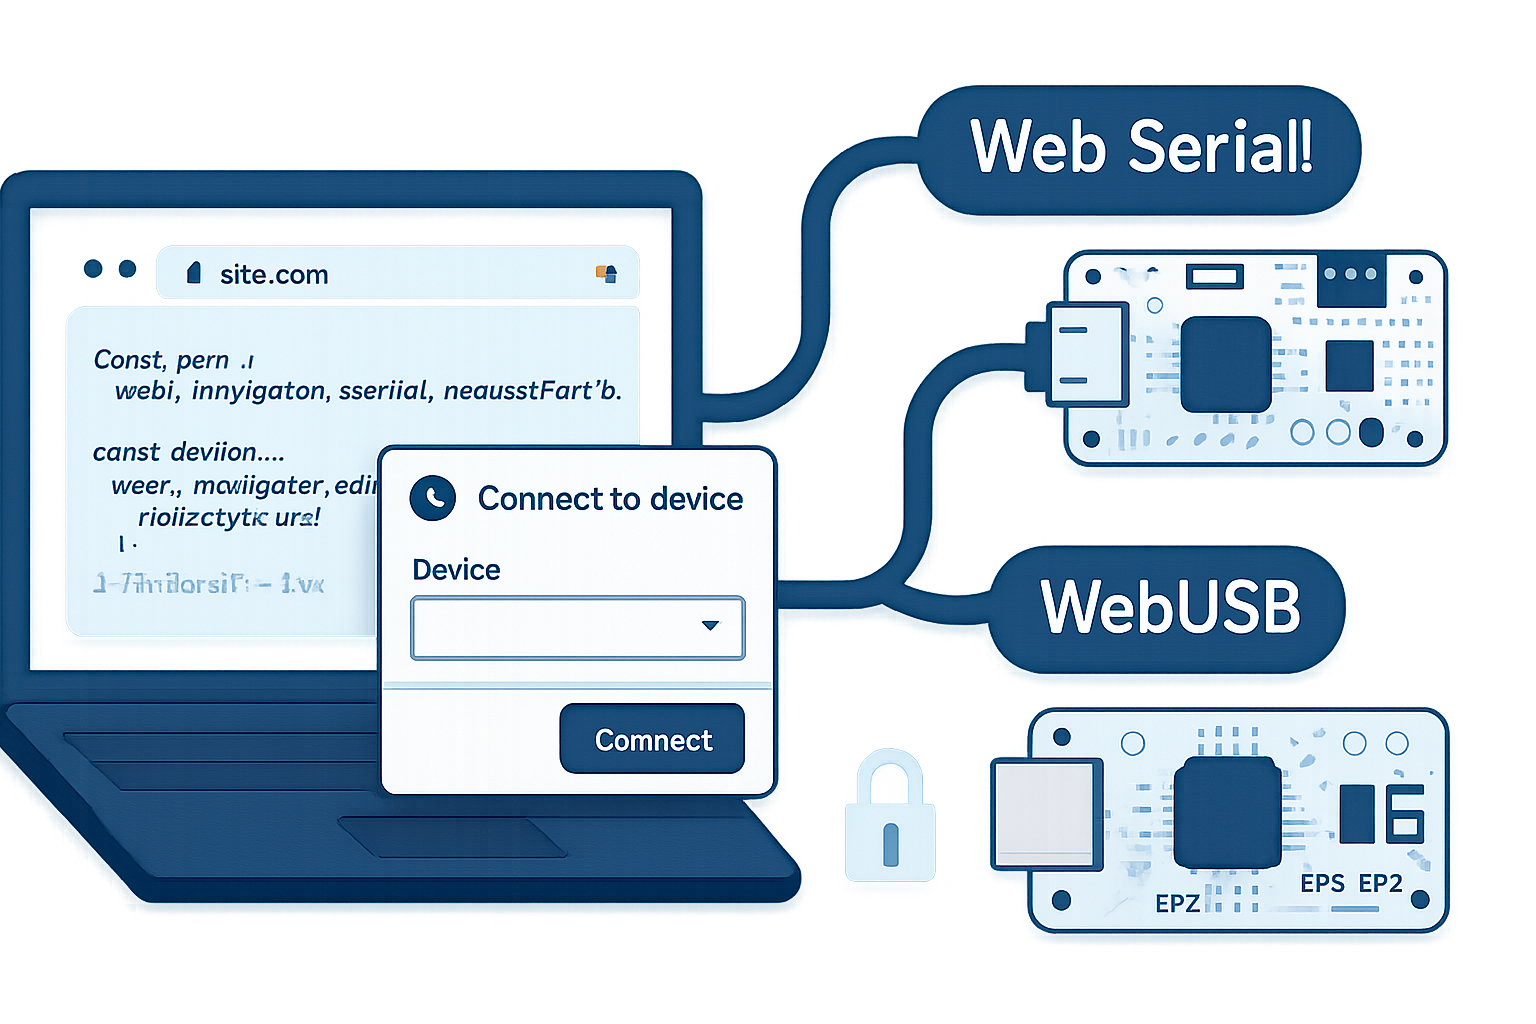
- For USB devices that support USB directly, consider the WebUSB API as an alternative when appropriate.
See the repo of examples for community polyfills and proxies: https://github.com/GoogleChrome/samples/tree/gh-pages/web-serial
Real-world use cases
- IoT dashboards showing live telemetry from sensors.
- Device setup/configuration pages that write configuration to a device.
- Simple firmware uploaders for small microcontrollers.
- Robotics controllers and debug consoles.
- Education: interact with microcontroller projects without installing drivers.
Troubleshooting checklist
- Ensure page is served over HTTPS or localhost.
- Confirm the browser supports navigator.serial.
- Check the chosen baud rate and serial parameters match the device.
- Make sure no other program (e.g., Arduino IDE, serial monitor) has the port open.
- Look for permission prompts hidden behind other windows or popups.
Security considerations
- The Web Serial API requires user gesture for device selection to prevent silent access.
- Only devices the user authorizes are exposed to the origin.
- Sensitive operations should be clearly communicated to the user; do not send unexpected commands.
Where to go next
- Add better parsing with a TransformStream that implements a framed protocol.
- Implement retry and reconnect logic to handle flaky devices.
- Build a UI to display parsed sensor data (charts) or to send batch commands.
By trying the example above you will have a working, secure, browser-based serial client. Once you can reliably read and write, you can integrate the same patterns into dashboards, device managers, and developer tools that talk directly to hardware from the browser.
References
- MDN Web Serial API: https://developer.mozilla.org/en-US/docs/Web/API/Serial
- WICG Serial specification: https://wicg.github.io/serial/
- Chrome samples: https://github.com/GoogleChrome/samples/tree/gh-pages/web-serial