· deepdives · 7 min read
Unlocking Seamless Transactions: A Deep Dive into the Payment Request API
Learn how the Payment Request API can simplify checkout, improve conversion, and provide a native-like payment experience. This tutorial walks through setup, code examples (vanilla JS and Stripe), shipping handling, browser support, progressive enhancement, and security best practices.
Why the Payment Request API matters
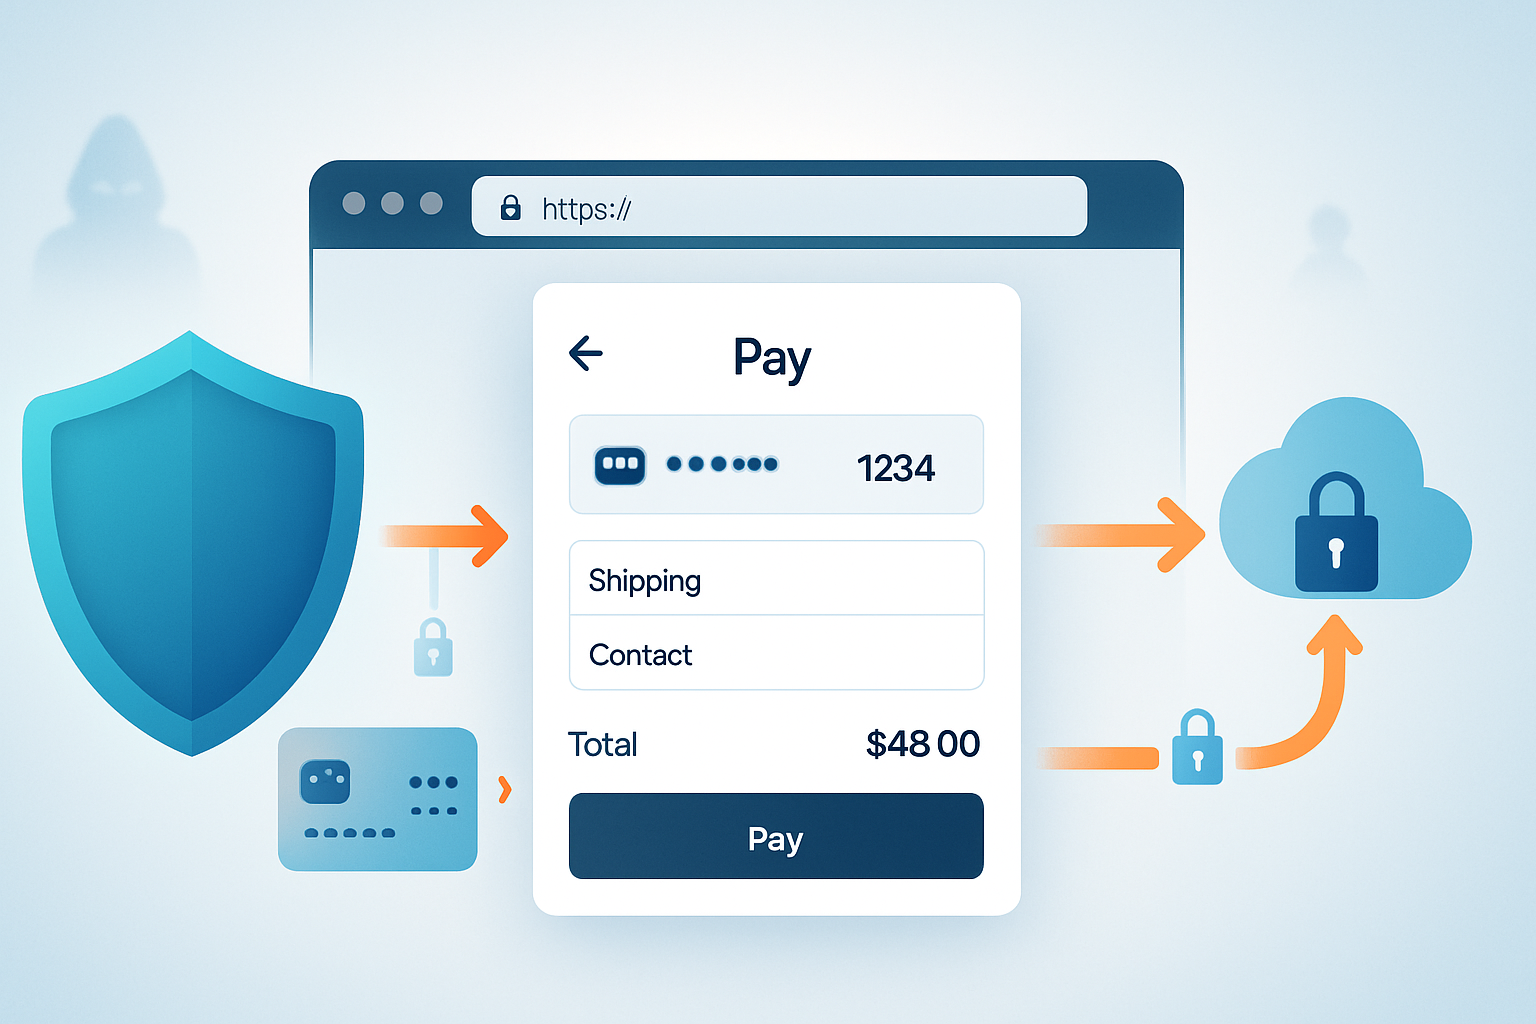
Online checkout is a notorious friction point. Every extra field or page increases abandonment. The Payment Request API (PaymentRequest) is a browser standard that gives web apps a consistent, streamlined UI for collecting payment and shipping information. It surfaces stored payment instruments (cards, platform wallets) and speeds up checkout with a native-like experience across devices.
Benefits at a glance:
- Faster checkout with fewer form fields and fewer clicks.
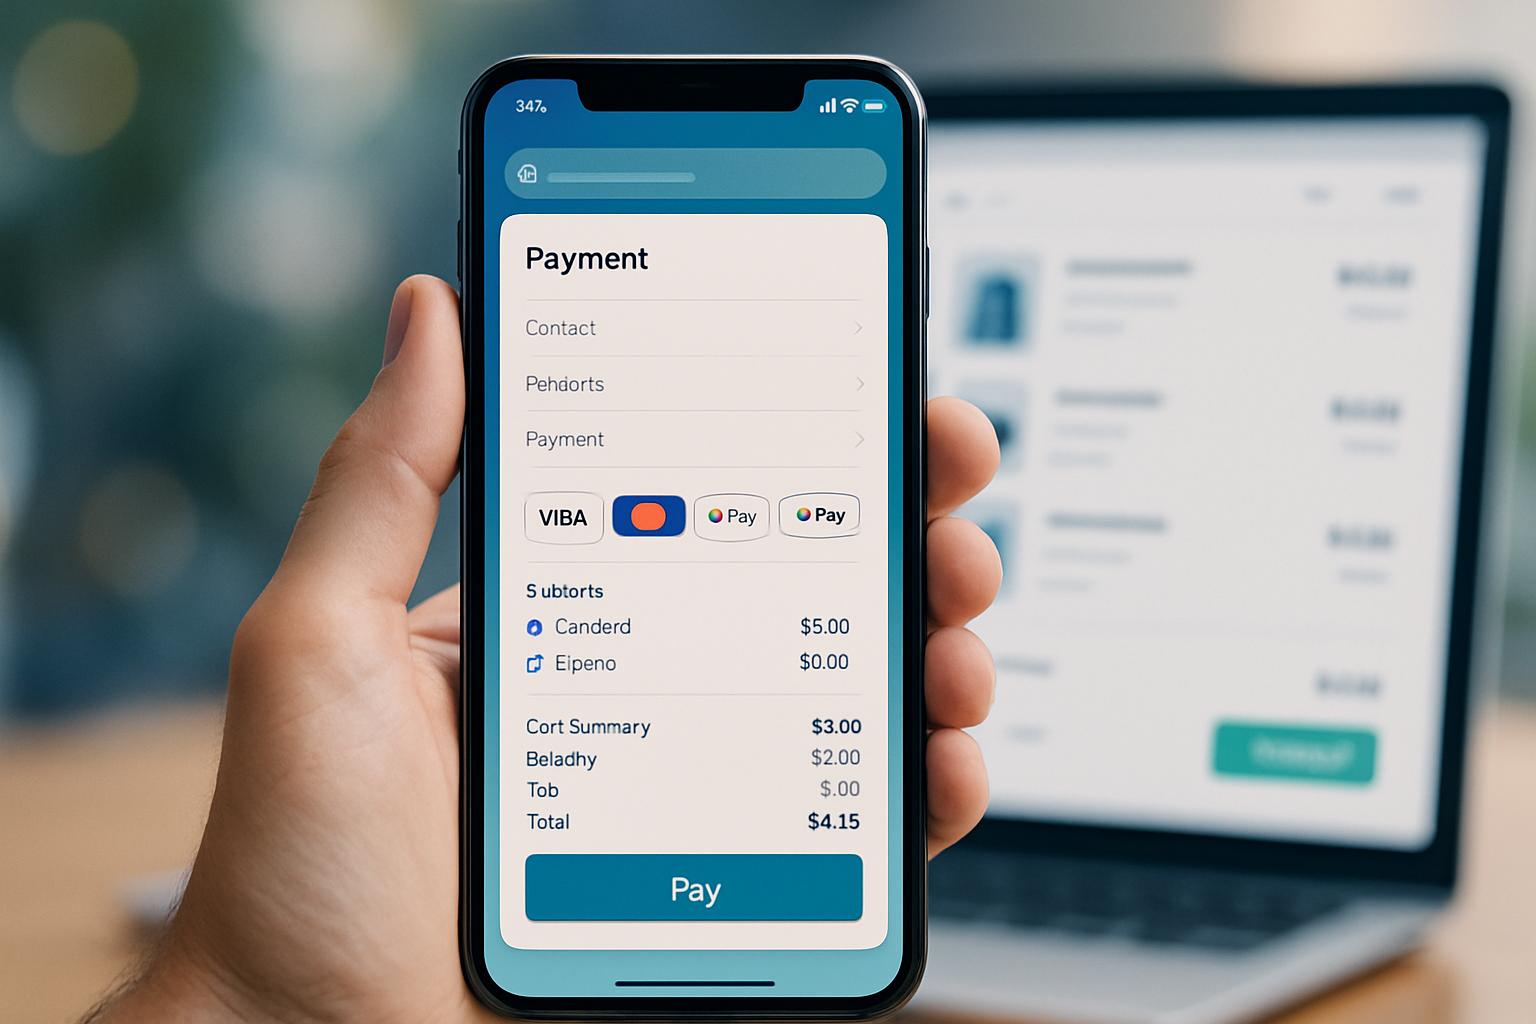
- Reduced drop-off on mobile where typing is painful.
- Unified flow for cards and platform wallets (where supported).
- Better accessibility and consistency with OS-provided UI.
Browser support and progressive enhancement
PaymentRequest is supported in modern Chromium-based browsers (Chrome, Edge) and many Android browsers. Support is more limited in Safari and some desktop browsers. Always feature-detect and provide a fallback checkout form.
Useful resources:
- MDN reference: Payment Request API
- W3C spec: Payment Request API
- Can I use: Payment Request API support table
Feature detection example:
if (!window.PaymentRequest) {
  // Fallback to classic checkout form
  showLegacyCheckout();
}
Payment methods and methodData
methodData tells the browser which payment methods your site accepts. Common entries:
basic-card: older, built-in card entry UI. Not always recommended for production due to better card tokenization alternatives.- URL-based identifiers for payment apps/wallets (e.g., Google Pay). Example:
https://google.com/pay.
Example methodData for basic-card and a generic network filter:
const methodData = [
  {
    supportedMethods: 'basic-card',
    data: {
      supportedNetworks: ['visa', 'mastercard', 'amex'],
      supportedTypes: ['debit', 'credit'],
    },
  },
];
If you plan to use a payment gateway (Stripe, Adyen, etc.) you often integrate PaymentRequest through the gateway’s JS client to get tokenization and PCI benefits. See the Stripe section later.
Basic PaymentRequest flow (vanilla JS)
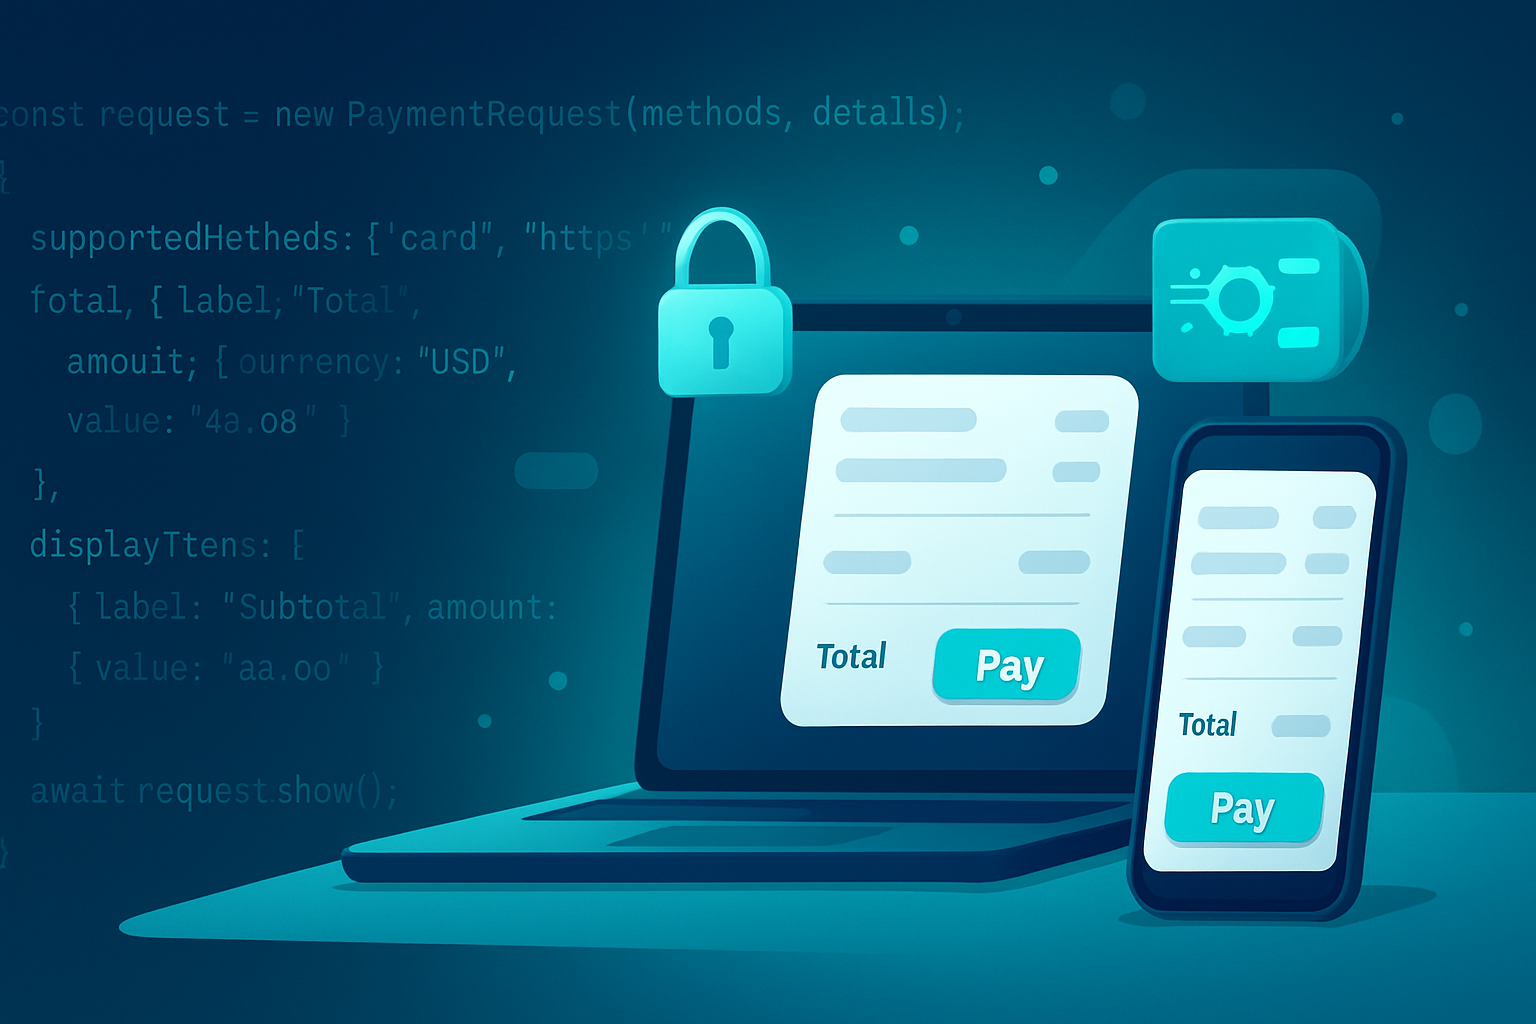
- Build methodData, details (total, displayItems, shipping options), and options (requestShipping, requestPayerEmail, etc.).
- Construct
new PaymentRequest(methodData, details, options). - Call
show()to present the UI. - Process the
PaymentResponseon the server (tokenize/charge) and callresponse.complete('success' | 'fail' | 'unknown').
A minimal example:
// 1) Payment method(s)
const methodData = [
  {
    supportedMethods: 'basic-card',
    data: { supportedNetworks: ['visa', 'mastercard', 'amex'] },
  },
];

// 2) Transaction details
let details = {
  total: { label: 'Total', amount: { currency: 'USD', value: '19.99' } },
  displayItems: [
    { label: 'Widget', amount: { currency: 'USD', value: '19.99' } },
  ],
};

// 3) Options
const options = { requestPayerEmail: true, requestShipping: true };

// 4) Create the request
const request = new PaymentRequest(methodData, details, options);

// 5) Handle shipping address/option changes
request.addEventListener('shippingaddresschange', evt => {
  evt.updateWith(
    new Promise(resolve => {
      // Recalculate shipping costs based on address
      const shippingCost = calculateShippingCost(request.shippingAddress);
      details.displayItems = [
        { label: 'Widget', amount: { currency: 'USD', value: '19.99' } },
        { label: 'Shipping', amount: { currency: 'USD', value: shippingCost } },
      ];
      details.total.amount.value = (19.99 + parseFloat(shippingCost)).toFixed(
        2
      );
      resolve(details);
    })
  );
});

// 6) Show the UI
request
  .show()
  .then(paymentResponse => {
    // Send paymentResponse.details to server to process/tokenize
    return fetch('/process-payment', {
      method: 'POST',
      headers: { 'Content-Type': 'application/json' },
      body: JSON.stringify({
        id: paymentResponse.requestId,
        methodName: paymentResponse.methodName,
        details: paymentResponse.details,
        shippingAddress: paymentResponse.shippingAddress,
        payerEmail: paymentResponse.payerEmail,
      }),
    })
      .then(res => res.json())
      .then(serverResult => {
        // Inform browser of completion state
        return paymentResponse
          .complete(serverResult.success ? 'success' : 'fail')
          .then(() => serverResult);
      });
  })
  .catch(err => {
    if (err.name === 'AbortError') {
      console.log('User aborted payment');
    } else {
      console.error('Payment failed', err);
    }
  });
Notes:
paymentResponse.detailsis method-specific. Forbasic-card, it contains card info (number, expiry). For tokenized wallets, you’ll receive tokens.- Always send the response to a secure server endpoint for processing - never trust client-side only.
Working with shipping options and dynamic totals
The API supports dynamic recalculation when shipping address or option changes. Use shippingaddresschange and shippingoptionchange to call event.updateWith() with updated details.
Example: present multiple shipping options and update total when the user switches options.
details.shippingOptions = [
  {
    id: 'standard',
    label: 'Standard',
    amount: { currency: 'USD', value: '0.00' },
    selected: true,
  },
  {
    id: 'express',
    label: 'Express',
    amount: { currency: 'USD', value: '6.00' },
  },
];

request.addEventListener('shippingoptionchange', evt => {
  evt.updateWith(
    new Promise(resolve => {
      const selected = request.shippingOption; // 'standard' | 'express'
      const shipping = selected === 'express' ? 6.0 : 0.0;
      details.total.amount.value = (19.99 + shipping).toFixed(2);
      resolve(details);
    })
  );
});
Handling results and completion
After processing on the server, call response.complete() with one of:
'success'- success UI shown by browser'fail'- failure UI'unknown'- browser chooses
Always handle user cancellations (AbortError) and network errors gracefully with a fallback.
Integrating with Stripe (Payment Request Button)
Many payment gateways offer built-in helpers that wire PaymentRequest to their tokenization/charge flow. Stripe provides a paymentRequest element that integrates with the Stripe backend and returns payment tokens instead of raw card data (improving PCI stance).
High-level steps (Stripe):
- Create a PaymentRequest via
stripe.paymentRequest()with details and supported methods. - Create a
PaymentRequestButtonElementand mount it into the page. - On
paymentmethodevent, confirm card/payment intent server-side and callevent.complete('success').
Example using Stripe.js v3:
const stripe = Stripe('pk_test_...');
const paymentRequest = stripe.paymentRequest({
  country: 'US',
  currency: 'usd',
  total: { label: 'Total', amount: 1999 },
  requestPayerName: true,
  requestPayerEmail: true,
});

paymentRequest.on('paymentmethod', async ev => {
  // Send payment method ID to server to create/confirm PaymentIntent
  const { paymentMethod } = ev;
  const res = await fetch('/stripe/payment-intent', {
    method: 'POST',
    headers: { 'Content-Type': 'application/json' },
    body: JSON.stringify({ payment_method: paymentMethod.id }),
  });
  const { error, client_secret } = await res.json();
  if (error) {
    ev.complete('fail');
  } else {
    // Confirm the PaymentIntent on the client if required
    const confirmed = await stripe.confirmCardPayment(client_secret);
    if (confirmed.error) {
      ev.complete('fail');
    } else {
      ev.complete('success');
    }
  }
});

const elements = stripe.elements();
const prButton = elements.create('paymentRequestButton', { paymentRequest });

// Check availability before mounting
paymentRequest.canMakePayment().then(result => {
  if (result) prButton.mount('#payment-request-button');
  else document.getElementById('payment-request-button').style.display = 'none';
});
Stripe docs: Payment Request Button
Using a gateway reduces your PCI scope because you receive tokens rather than raw card numbers.
Security best practices
PaymentRequest improves UX but does not remove your security responsibilities.
- Serve your site over HTTPS (required by browsers for PaymentRequest).
- Always process and validate payment data on the server. Do not assume client-side validation is sufficient.
- Use tokenization (Stripe, Braintree, etc.) to avoid handling raw PANs (Primary Account Numbers).
- Avoid storing full card numbers. If you must store payment instruments, follow PCI-DSS and use vault/tokenization.
- Use Content Security Policy (CSP) and secure cookies to reduce XSS/CSRF risk.
- Validate shipping addresses server-side (do not rely exclusively on client-provided address fields).
- Rate-limit payment endpoints and monitor for fraud patterns.
Accessibility and UX recommendations
- Don’t hide fallback flows behind scripts; ensure keyboard and screen reader users can complete checkout.
- Keep the fallback checkout as a progressive enhancement: detect PaymentRequest, show the button; if not available, show the classic form.
- Provide clear messaging for what payment methods are accepted and if additional verification will be required.
- Handle errors with actionable messages (e.g., card declined, invalid CVC).
Error handling and fallbacks
Common situations:
- Browser does not support PaymentRequest: render legacy checkout.
- User aborts: let them return to order review or choose another method.
- Payment gateway returns failure: display error and give retry option.
Sample fallback pattern:
if (window.PaymentRequest) {
  // show PaymentRequest UI
} else {
  // show inline form and post to server
}
Testing and debugging
- Chrome DevTools: emulate different payment methods and add test cards.
- Use test keys from your payment gateway (Stripe, Adyen) and test cards.
- Confirm behavior on mobile and desktop-wallet integrations may differ.
Useful links:
- MDN: Payment Request API
- W3C spec: Payment Request
- Stripe: Payment Request Button docs
- Can I use: Payment Request API support
When to adopt PaymentRequest
Adopt PaymentRequest when:
- You have a mobile-first audience where typing is expensive.
- You want faster checkout and higher conversion rates.
- You can integrate with a tokenizing gateway (recommended).
Defer or add a fallback when:
- Your audience uses browsers that lack support (provide fallback immediately).
- You need a custom payment flow that the standard UI cannot express.
Summary
The Payment Request API is a powerful tool for shortening checkout, reducing friction, and delivering a native-like payment experience. Combine it with tokenizing payment gateways (Stripe, Adyen) for improved security and reduced PCI burden. Always feature-detect, provide accessible fallbacks, and process payment data securely on the server.
Further reading and next steps:
- Review your user analytics: where are users dropping off in checkout?
- Prototype a PaymentRequest flow in a staging environment with your gateway.
- Test across devices and handle shipping/payment edge cases.