· deepdives · 7 min read
Mastering the Payment Request API: A Comprehensive Guide for Modern Web Developers
A deep-dive, hands-on guide to the Payment Request API for building fast, secure, and accessible web checkouts - including setup, code examples for digital and physical goods, best practices, and common pitfalls to avoid.
Why the Payment Request API matters
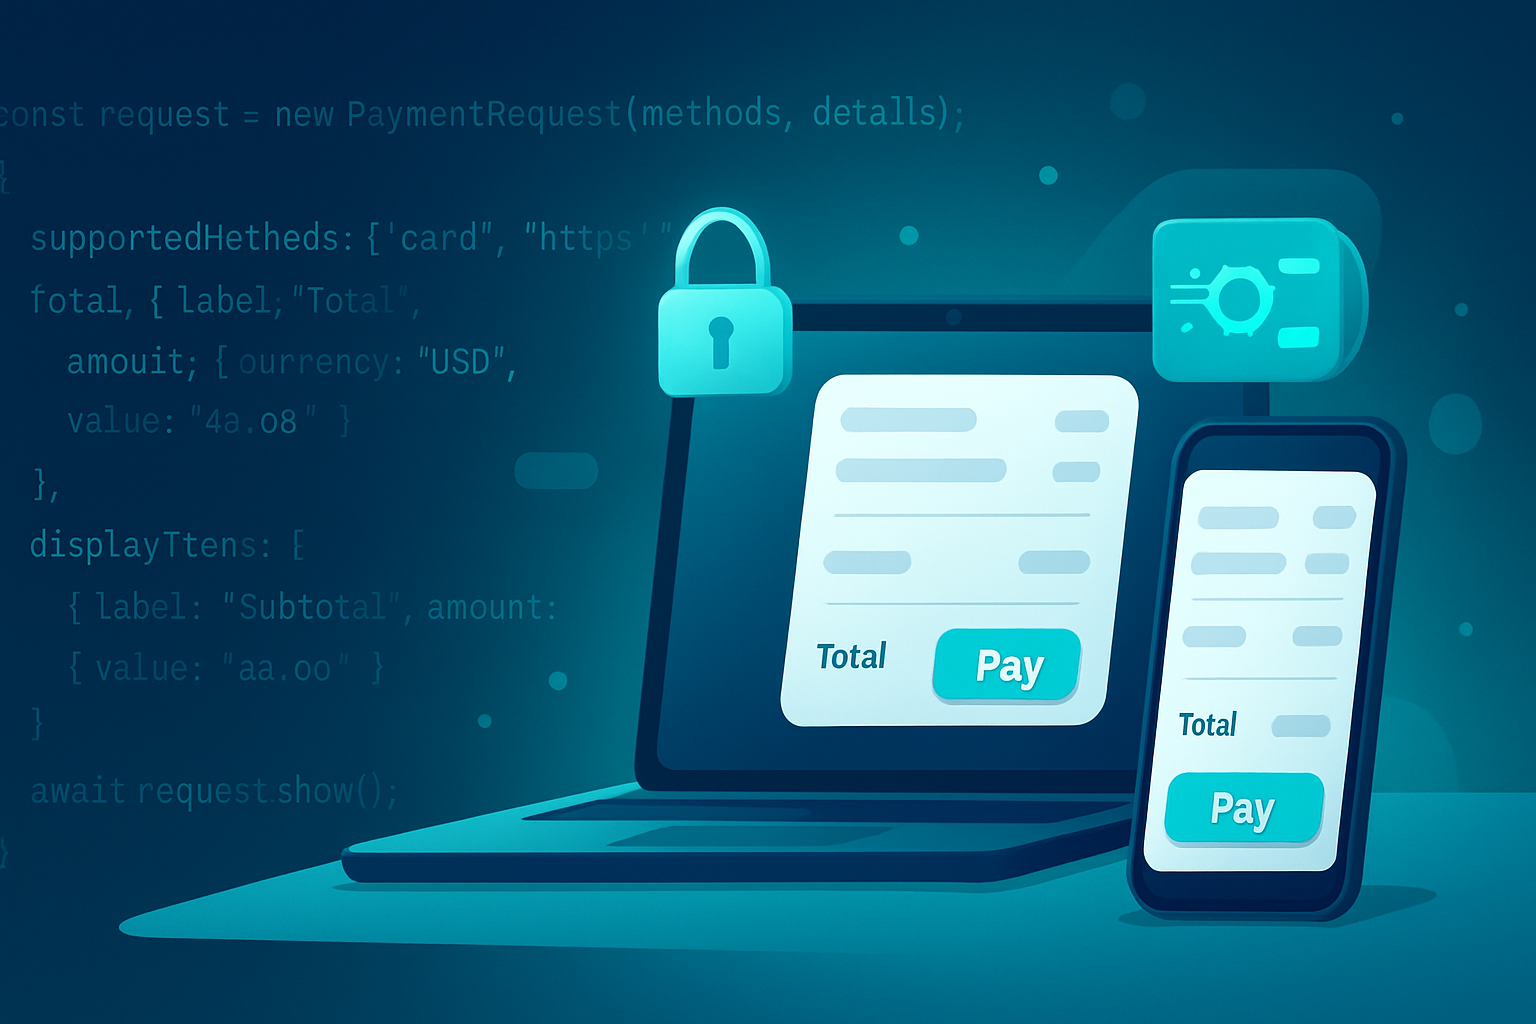
The Payment Request API provides a standardized browser UI for collecting payment and shipping information. Instead of building slow, error-prone form flows, developers can surface a native payment sheet (desktop and mobile browsers) that improves conversion, accessibility, and security.
Key benefits:
- Faster checkout with fewer fields and prefilled stored information
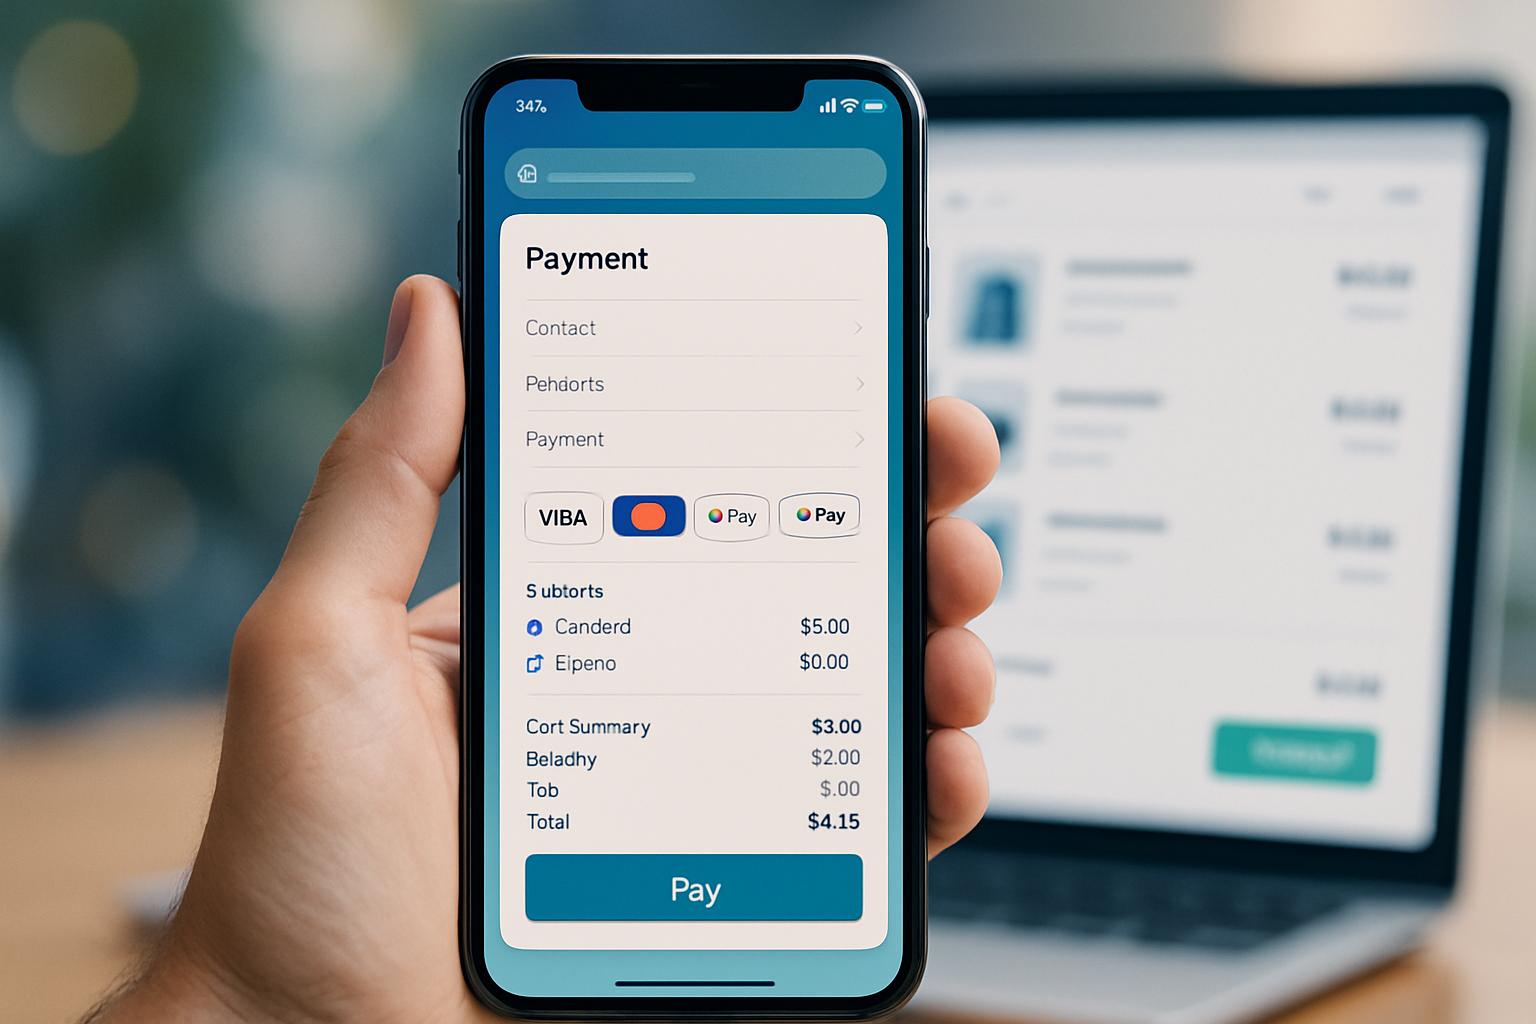
- Consistent, accessible UI managed by the browser
- Integration path for modern payment apps (Google Pay, Apple Pay, payment handlers)
For the specification and browser behavior details, see the W3C spec and MDN:
- W3C Payment Request API: https://www.w3.org/TR/payment-request/
- MDN: https://developer.mozilla.org/en-US/docs/Web/API/Payment_Request_API
- Practical guide from Web Fundamentals: https://web.dev/payment-request/
Basic concepts and objects
- PaymentRequest: primary constructor that takes method data, details, and options.
- methodData: the payment methods your site accepts (e.g., “basic-card” or method identifiers for wallet providers).
- details: total amount, line items, shipping options.
- options: what extra data you need (shipping, payerEmail, payerName, payerPhone).
- PaymentResponse: the user’s selected payment data returned after
show().
Example flow:
- Feature-detect the API.
- Create a PaymentRequest instance.
- Call
request.show()to open the browser’s payment UI. - Receive a PaymentResponse, send it to your server/payment gateway.
- Call
response.complete()to close the UI and indicate success or failure.
Quick, real-world example: Simple digital product checkout
This example handles a one-time digital purchase (no shipping). It uses the basic-card method for demonstration - note that some browsers and payment providers support richer methods (wallets, payment handlers).
if (!window.PaymentRequest) {
  // Fallback to a standard checkout form
  console.log('Payment Request API not supported.');
}

const methodData = [
  {
    supportedMethods: 'basic-card',
    data: {
      supportedNetworks: ['visa', 'mastercard', 'amex'],
      supportedTypes: ['debit', 'credit'],
    },
  },
];

const details = {
  total: {
    label: 'Awesome Widget (Digital)',
    amount: { currency: 'USD', value: '9.99' },
  },
};

const options = { requestPayerName: true, requestPayerEmail: true };

async function buy() {
  try {
    const request = new PaymentRequest(methodData, details, options);

    // Optional: quick capability check before showing
    if (request.canMakePayment) {
      const canPay = await request.canMakePayment();
      console.log('canMakePayment:', canPay);
    }

    const response = await request.show();

    // Send response.details (token/card info) to your server securely
    await fetch('/process-payment', {
      method: 'POST',
      headers: { 'Content-Type': 'application/json' },
      body: JSON.stringify({
        methodName: response.methodName,
        details: response.details,
        payerName: response.payerName,
        payerEmail: response.payerEmail,
      }),
    });

    await response.complete('success');
    console.log('Payment complete');
  } catch (err) {
    console.error('Payment failed:', err);
  }
}

// Hook up to a Buy button
// document.querySelector('#buy-btn').addEventListener('click', buy);
Notes:
- Only call
response.complete()after your server confirms the payment (or you can optimistically call it and reconcile later). response.detailswill differ by method: forbasic-cardyou get card details; for tokenized wallet/handlers you may get a token.
Handling physical goods: shipping addresses and shipping options
When shipping is involved, you typically need shipping address and shipping option selection. The Payment Request API supports event handlers so you can update available shipping options dynamically.
Example with dynamic shipping cost calculation:
const methodData = [{ supportedMethods: 'basic-card' }];

let details = {
  total: { label: 'Order total', amount: { currency: 'USD', value: '0.00' } },
  displayItems: [],
  shippingOptions: [],
};

const options = { requestShipping: true, requestPayerEmail: true };

const request = new PaymentRequest(methodData, details, options);

request.addEventListener('shippingaddresschange', evt => {
  evt.updateWith(
    new Promise(resolve => {
      const address = request.shippingAddress;
      // Calculate shipping based on country/region
      let shipping = {
        id: 'standard',
        label: 'Standard shipping',
        amount: { currency: 'USD', value: '5.00' },
      };
      if (address && address.country === 'US') {
        shipping = {
          id: 'standard',
          label: 'Standard shipping (US)',
          amount: { currency: 'USD', value: '3.99' },
        };
      }

      details.shippingOptions = [
        shipping,
        {
          id: 'express',
          label: 'Express',
          amount: { currency: 'USD', value: '12.00' },
        },
      ];

      // Recalculate total
      const itemsTotal = 29.99; // compute from cart
      const total = (itemsTotal + parseFloat(shipping.amount.value)).toFixed(2);
      details.total.amount.value = total;
      details.displayItems = [
        {
          label: 'Widget',
          amount: { currency: 'USD', value: itemsTotal.toFixed(2) },
        },
        { label: shipping.label, amount: shipping.amount },
      ];

      resolve(details);
    })
  );
});

// Also handle shipping option change
request.addEventListener('shippingoptionchange', evt => {
  evt.updateWith(
    new Promise(resolve => {
      const selectedId = request.shippingOption;
      // Update details based on selected shipping option
      // ... recalc total and displayItems
      resolve(details);
    })
  );
});

// Then call request.show() as before
Important: call evt.updateWith(Promise) to supply updated details; this triggers the browser to re-render the payment sheet.
Integrating with third-party wallets (Google Pay, Apple Pay, Payment Handlers)
The Payment Request API allows you to declare method identifiers that correspond to wallets or payment apps. Different providers document how to integrate; for example, Google Pay offers an integration path and sample method identifiers. See Google’s docs and the spec for details:
- Google Pay integration guide: https://developers.google.com/pay/api/web/guides
When integrating a third-party wallet, the browser delegates to that wallet or returns a token you forward to your payment gateway. Always follow the provider’s docs for method identifiers and required fields.
Server-side considerations
Never process sensitive card data entirely in the browser. Typical server-side flow:
- Receive the PaymentResponse (token or card details) from the browser.
- Send the token to your payment gateway (Stripe, Adyen, Braintree, etc.) for charge creation or tokenization.
- Validate server-side that the amount and items match what was shown to the user.
- Return result to client. Call
response.complete('success')orresponse.complete('fail')accordingly.
Example server endpoint (Node/Express, pseudo-code):
app.post('/process-payment', async (req, res) => {
  const { methodName, details } = req.body;

  // If using a tokenized wallet: forward token to gateway
  // If you received card details: use gateway's secure tokenization endpoint
  try {
    const charge = await gateway.charge({
      amount: 999,
      currency: 'USD',
      paymentMethodData: details,
    });
    res.json({ success: true });
  } catch (err) {
    res.status(402).json({ success: false, error: err.message });
  }
});
Security tips:
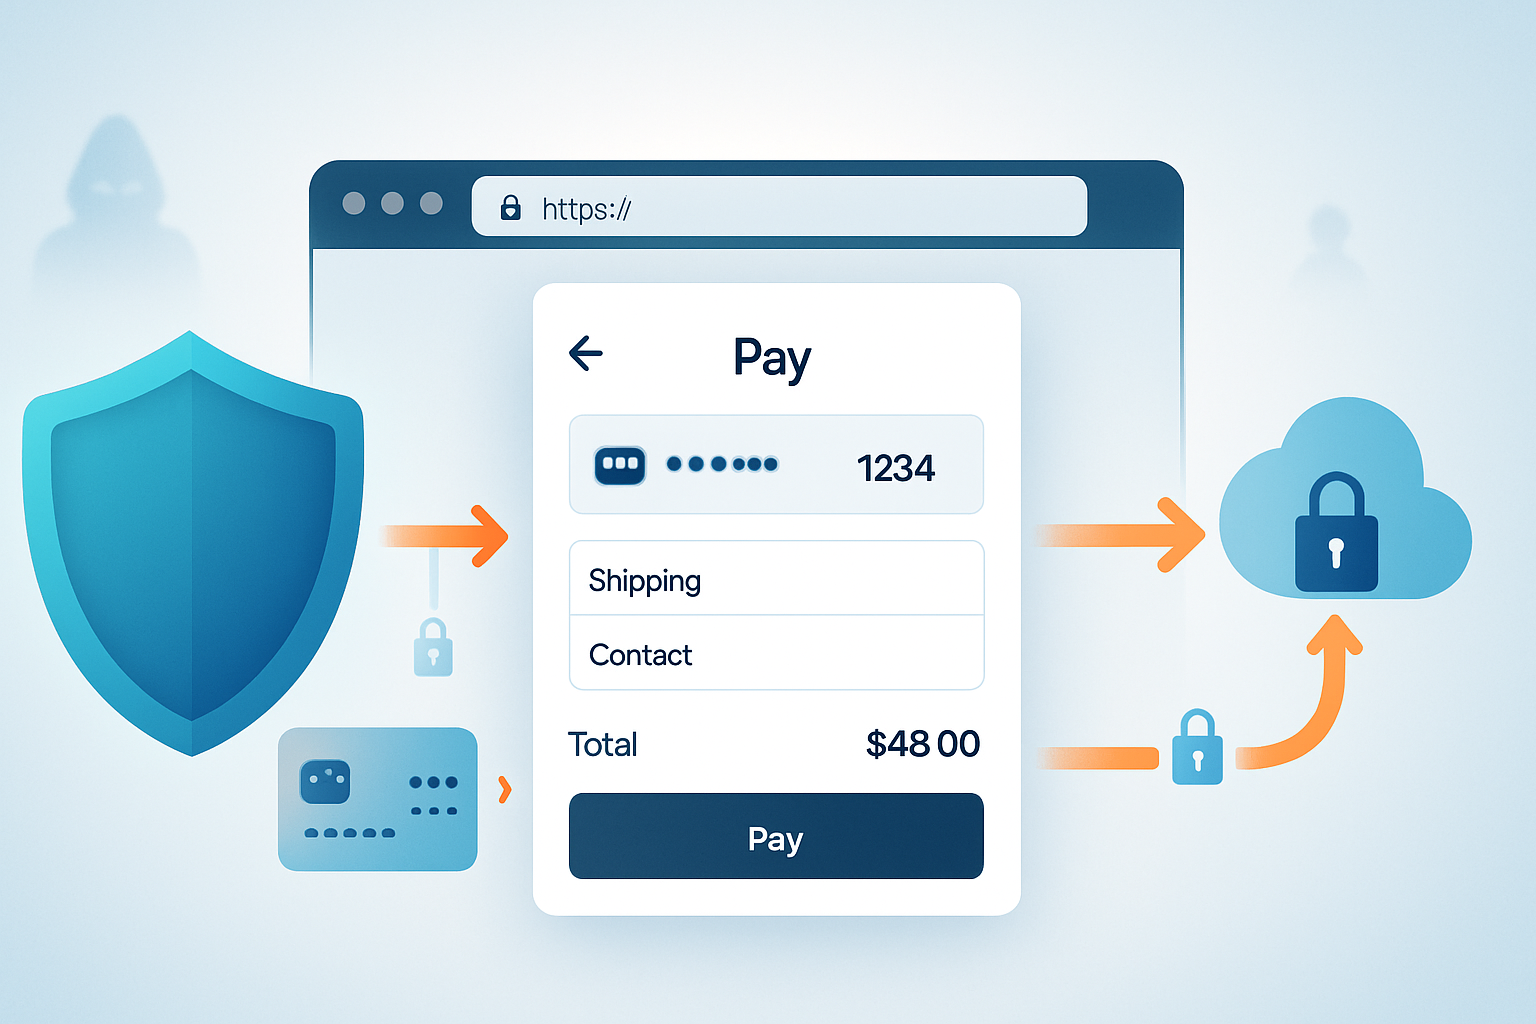
- Use HTTPS; Payment Request works only in secure contexts.
- Minimize requested fields (don’t request full payer data unless necessary).
- Follow PCI-DSS guidance and prefer tokenization.
Best practices
- Progressive enhancement: always have a fallback checkout flow for browsers without Payment Request.
- Request the minimal data needed; the less you request, the simpler the user experience and the lower the risk.
- Use
canMakePayment()as an early heuristic to hide or show payment UI, but don’t rely on it for critical logic (its availability and behavior vary by browser). - Provide clear labels for line items and totals; users must understand what they’re paying for.
- Handle user cancellations gracefully - the user might close the payment sheet.
- Localize currency and strings. Use correct currency codes (ISO 4217) and format amounts precisely (string values for amounts are recommended by the spec).
- Test on device form factors and with payment apps installed (Google Pay/Apple Pay) to validate integration paths.
- Avoid storing raw card details in your system; use gateway tokenization.
Common pitfalls and how to avoid them
- Forgetting feature detection: always check
if (!window.PaymentRequest)and provide a fallback. - Misusing
canMakePayment(): it only reports whether some payment methods are available; don’t assume it guarantees a successful payment. - Not calling
response.complete(): failing to call it can leave a hanging UI on some platforms. - Incorrect amounts in server-side validation: always validate the price on the server - never trust the client.
- Misunderstanding
updateWith(): shipping and totals updates must be passed via a promise toevt.updateWith(). - Assuming
basic-cardis universal: support varies; for production, implement multiple methods or fallback flows. - Over-requesting personal data: asking for unnecessary information hurts conversions and increases compliance burden.
Accessibility and UX
The Payment Request API surfaces browser-managed UI, which generally conforms to platform accessibility. However:
- Ensure your fallback forms are accessible (labels, aria attributes).
- Use clear and concise labels in the
details.displayItemsandtotal.labelto help screen-reader users. - Keep the number of flow steps minimal; request only what you need at checkout.
Testing and debugging
- Use real devices and browsers. Chrome has the most mature support; mobile Chrome and Android Webview behaviors differ from desktop.
- Emulate different shipping address countries and payment apps installed.
- Use your gateway’s test tokens and sandbox environments.
- Watch for console warnings; browsers often log useful hints about malformed PaymentRequest data.
When not to use Payment Request
- If your checkout requires complex multi-step validation that cannot be handled in the immediate payment flow.
- If you rely on payment methods or features not supported by the API in your target browsers.
- For high-risk payments requiring additional identity checks that cannot be integrated into the PaymentRequest flow.
Advanced topics and next steps
- Payment Handler API: build installable web-based payment apps that integrate with the Payment Request ecosystem. See: https://web.dev/payment-handler/
- Tokenization strategies: combine Payment Request with gateway token flows for secure processing.
- Using third-party wallets: follow provider-specific guides (Google Pay, Apple Pay) for server-side verification and best practices.
Summary checklist for production rollout
- Feature-detect Payment Request and provide fallback
- Implement secure server-side handling/tokenization
- Request minimal payer data and use HTTPS
- Handle shipping and options with updateWith promises
- Call response.complete() appropriately
- Test across browsers and devices, including installed payment apps
- Localize and ensure accessible fallback forms
Useful links and references
- MDN - Payment Request API: https://developer.mozilla.org/en-US/docs/Web/API/Payment_Request_API
- W3C Spec - Payment Request: https://www.w3.org/TR/payment-request/
- Web.dev guide - Payment Request: https://web.dev/payment-request/
- Google Pay docs: https://developers.google.com/pay/api/web/guides