· deepdives · 8 min read
Getting Started with the Gamepad API: Building Your First Game
A beginner-friendly walkthrough for integrating the Gamepad API into a simple web game. Learn how to detect controllers, read axes and buttons, handle different mappings, add vibration, and test across devices with sample code and best practices.
Why the Gamepad API?
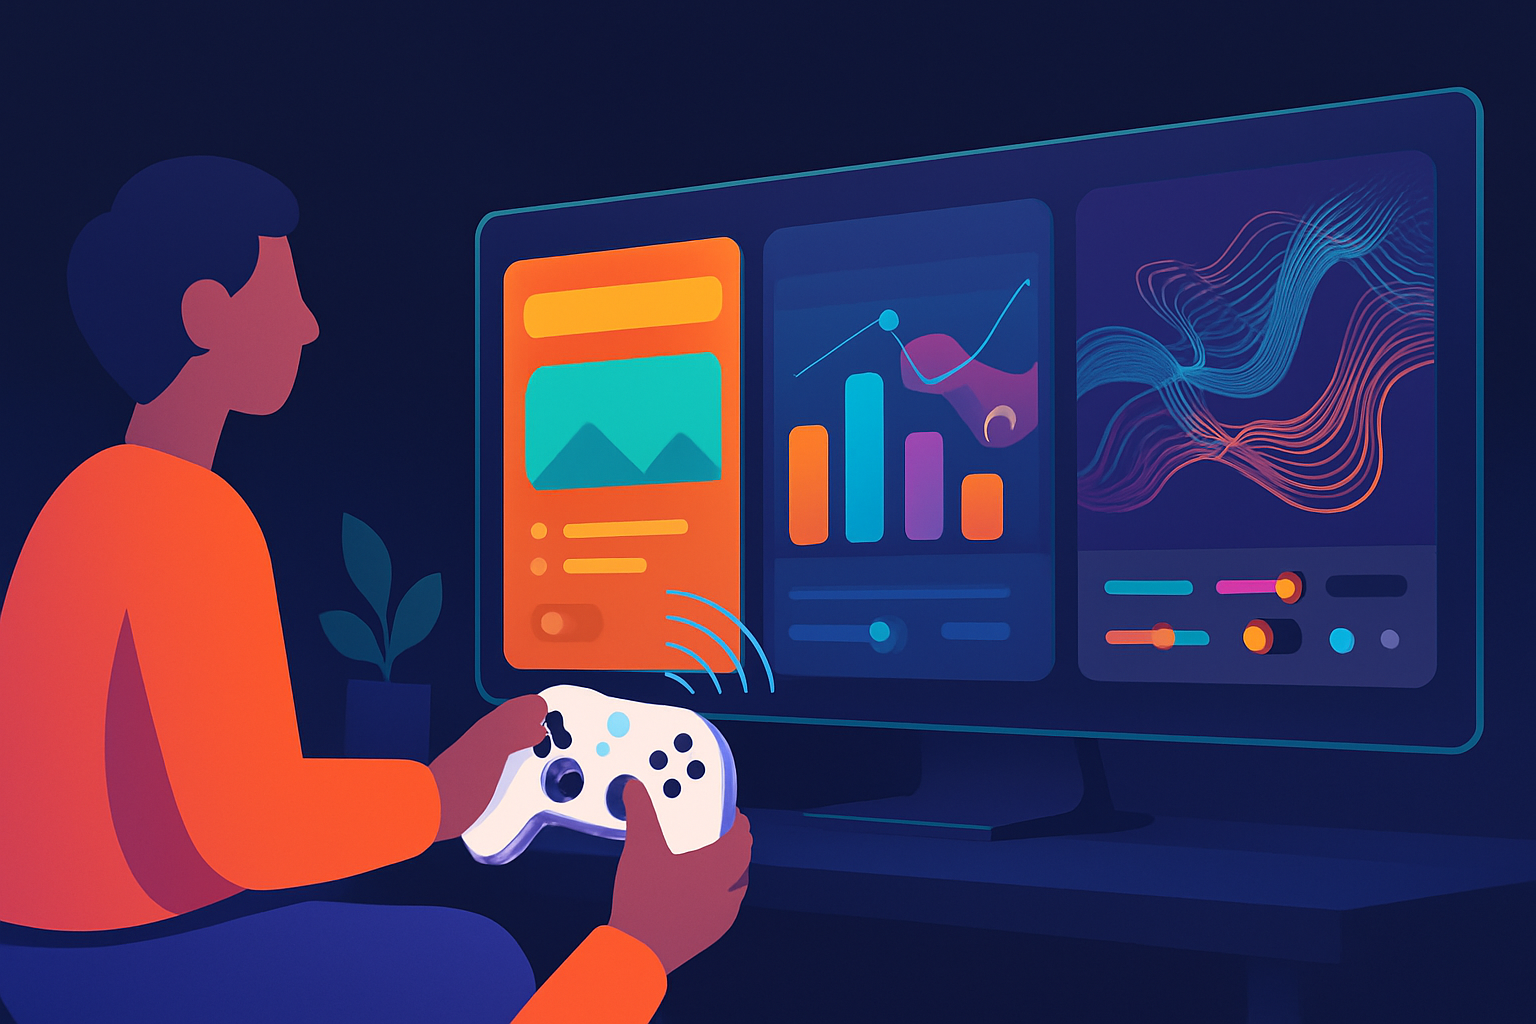
Game controllers make many game experiences far more enjoyable than keyboard-only input. The Gamepad API gives web apps direct access to physical controllers (USB or Bluetooth) so you can read joystick axes, buttons, and-on some devices-vibration.
This tutorial walks through a small canvas-based game you can build and expand. You’ll learn how to detect controllers, poll inputs in the game loop, handle common mapping issues, implement simple vibration feedback, and test across desktops and mobile devices.
Prerequisites
- Basic HTML, CSS, and JavaScript knowledge
- A modern browser (Chrome, Edge, Firefox, Safari - see browser notes below)
- A gamepad (Xbox, DualShock/DualSense, Switch Pro, generic USB/Bluetooth controller)
References:
- MDN Gamepad API docs: https://developer.mozilla.org/en-US/docs/Web/API/Gamepad_API
- W3C Gamepad spec: https://w3c.github.io/gamepad/
- Browser support overview: https://caniuse.com/gamepad
Project overview
We’ll create a tiny game where a square (the player) moves left/right and jumps. The left stick moves horizontally and the bottom face button (usually A / Cross) triggers jump. We’ll use a keyboard fallback so the game is playable without a controller.
Files: index.html, styles.css, main.js
index.html (skeleton)
<!doctype html>
<html lang="en">
  <head>
    <meta charset="utf-8" />
    <meta name="viewport" content="width=device-width,initial-scale=1" />
    <link rel="stylesheet" href="styles.css" />
  </head>
  <body>
    <div id="info">Connect a gamepad and press any button</div>
    <canvas id="game" width="800" height="400"></canvas>
    <script src="main.js"></script>
  </body>
</html>
styles.css
body {
  font-family: system-ui, Arial;
  display: flex;
  flex-direction: column;
  align-items: center;
  padding: 20px;
}
#info {
  margin-bottom: 10px;
}
canvas {
  border: 1px solid #ccc;
  background: #f6f8fa;
}
main.js - core logic
Below is a single-file example demonstrating best practices: polling gamepads each frame, applying a deadzone to joystick axes, mapping commonly used buttons, handling connect/disconnect, using vibration if available, and providing keyboard fallback.
// main.js
const canvas = document.getElementById('game');
const ctx = canvas.getContext('2d');
const info = document.getElementById('info');

// Simple player object
const player = { x: 100, y: 300, vx: 0, vy: 0, w: 40, h: 40, grounded: false };
const gravity = 0.8;
const moveSpeed = 3.5;
const jumpSpeed = -14;

let keys = { left: false, right: false, jump: false };
let gamepads = {};

// Deadzone helper - ignore very small stick inputs
function applyDeadzone(value, threshold = 0.15) {
  if (Math.abs(value) < threshold) return 0;
  // Optionally rescale to use full range beyond the deadzone
  return value > 0
    ? (value - threshold) / (1 - threshold)
    : (value + threshold) / (1 - threshold);
}

// Map common button indices to friendly names for the typical "standard" mapping
const BUTTON = {
  A: 0,
  B: 1,
  X: 2,
  Y: 3,
  LB: 4,
  RB: 5,
  LT: 6,
  RT: 7,
  BACK: 8,
  START: 9,
  LS: 10,
  RS: 11,
  DPAD_UP: 12,
  DPAD_DOWN: 13,
  DPAD_LEFT: 14,
  DPAD_RIGHT: 15,
};

// Helpers to find the first active gamepad or a particular index
function scanGamepads() {
  const pads = navigator.getGamepads ? navigator.getGamepads() : [];
  gamepads = {};
  for (let i = 0; i < pads.length; i++) {
    const p = pads[i];
    if (p) gamepads[p.index] = p;
  }
}

window.addEventListener('gamepadconnected', e => {
  const gp = e.gamepad;
  info.textContent = `Gamepad connected: ${gp.id} (index ${gp.index})`;
  scanGamepads();
});

window.addEventListener('gamepaddisconnected', e => {
  info.textContent = 'Gamepad disconnected';
  scanGamepads();
});

// Keyboard fallback
window.addEventListener('keydown', e => {
  if (e.code === 'ArrowLeft') keys.left = true;
  if (e.code === 'ArrowRight') keys.right = true;
  if (e.code === 'Space') keys.jump = true;
});
window.addEventListener('keyup', e => {
  if (e.code === 'ArrowLeft') keys.left = false;
  if (e.code === 'ArrowRight') keys.right = false;
  if (e.code === 'Space') keys.jump = false;
});

// Small utility: try to vibrate the first connected gamepad
function vibrateFirstGamepad(duration = 100, strong = 0.5, weak = 0.5) {
  const pads = Object.values(gamepads);
  if (!pads.length) return;
  const gp = pads[0];
  // Not all browsers / controllers implement vibrationActuator
  try {
    if (
      gp.vibrationActuator &&
      typeof gp.vibrationActuator.playEffect === 'function'
    ) {
      gp.vibrationActuator.playEffect('dual-rumble', {
        duration,
        strongMagnitude: strong,
        weakMagnitude: weak,
      });
    }
  } catch (err) {
    // ignore unsupported
  }
}

function updateFromGamepad() {
  // Take the first connected pad if exists
  const pads = Object.values(gamepads);
  if (!pads.length) return;
  const gp = pads[0];

  // Standard mapping axes: 0 = LS X, 1 = LS Y
  const rawX = gp.axes[0] || 0;
  const rawY = gp.axes[1] || 0;
  const axisX = applyDeadzone(rawX);
  // We only need horizontal stick for our simple game

  // Buttons: use .pressed for binary response
  const aPressed = gp.buttons[BUTTON.A] && gp.buttons[BUTTON.A].pressed;

  // Update keyboard-equivalent flags so rest of the code can remain same
  keys.left = axisX < -0.2;
  keys.right = axisX > 0.2;
  keys.jump = aPressed;
}

function physicsStep() {
  // Horizontal movement
  if (keys.left) player.vx = -moveSpeed;
  else if (keys.right) player.vx = moveSpeed;
  else player.vx = 0;

  // Jump (button or space) - only when grounded
  if (keys.jump && player.grounded) {
    player.vy = jumpSpeed;
    player.grounded = false;
    vibrateFirstGamepad(80, 0.6, 0.3);
  }

  // Apply gravity
  player.vy += gravity;
  player.x += player.vx;
  player.y += player.vy;

  // Ground collision
  const groundY = 340;
  if (player.y + player.h > groundY) {
    player.y = groundY - player.h;
    player.vy = 0;
    player.grounded = true;
  }

  // Keep player inside canvas horizontally
  player.x = Math.max(0, Math.min(canvas.width - player.w, player.x));
}

function draw() {
  ctx.clearRect(0, 0, canvas.width, canvas.height);
  // ground
  ctx.fillStyle = '#e0e0e0';
  ctx.fillRect(0, 340, canvas.width, 60);

  // player
  ctx.fillStyle = '#2b8aef';
  ctx.fillRect(player.x, player.y, player.w, player.h);
}

function loop() {
  // Poll gamepads each frame. Some browsers never fire connection events reliably,
  // so polling ensures we see devices that were connected while the page was open.
  scanGamepads();
  updateFromGamepad();
  physicsStep();
  draw();
  requestAnimationFrame(loop);
}

// Start the loop
requestAnimationFrame(loop);
Notes on the code:
- We poll using navigator.getGamepads() each frame. While connection events exist, polling is the reliable way to always detect controllers (some browsers limit or delay connection events).
- applyDeadzone avoids drift from analog sticks when they don’t return exactly 0.
- We used .pressed boolean for buttons rather than reading .value to keep the example simple.
- Vibration is best-effort - check for vibrationActuator presence before calling.
Button mapping and compatibility
- The Gamepad API defines a “standard” mapping which many controllers follow (Xbox, DualShock, Switch Pro) but some generic controllers don’t map to the standard layout.
- Instead of relying on indices alone, test against a variety of controllers. If you need to support many controllers, provide a button remapping UI for users to assign physical buttons to actions.
- Beware that controller indices can change if multiple controllers connect/disconnect. Use the gamepad.index field to track them and refresh your cached gamepad objects when the connection state changes.
Best practices
- Poll each frame rather than relying only on connection events. navigator.getGamepads() is cheap and returns the current device snapshot.
- Apply a deadzone for joystick axes and optionally rescale values outside the deadzone.
- Use requestAnimationFrame for game loops; keep input polling and rendering synchronous within the same frame.
- Provide keyboard and touch fallbacks so players without controllers can still play.
- Offer a remapping UI if your game requires nontrivial control schemes.
- Detect and handle vibration support gracefully - treat it as an enhancement, not a requirement.
- Keep the UI responsive: don’t block the main thread for long operations; use Web Workers for heavy logic where appropriate.
Testing tips (across devices)
Desktop
- Chrome and Edge have excellent Gamepad API support for most controllers.
- Firefox supports the API as well but historically had small differences; test on multiple browsers.
- Use a wired USB connection for simpler pairing.
Mobile
- Modern mobile browsers (Android Chrome, iOS Safari newer versions) now support Bluetooth controllers. On iOS, controller support was introduced/expanded in recent iOS versions - check compatibility with your target iOS version.
- Pair the controller with the device in system settings before opening the browser.
Pairing and debugging
- If the browser doesn’t show the controller, check the OS-level pairing and then reload the page.
- Use the browser’s devtools to inspect navigator.getGamepads() in the console. On Chrome for Android, you can remote-debug from desktop Chrome to view logs and inspect the page.
- There are online utilities such as the Gamepad Tester (search for “gamepad tester”) to visualize axes and button states for debugging mapping issues.
Common gotchas
- Some controllers (especially older or budget ones) do not implement the “standard” mapping - buttons and axes may be in different indices.
- On some platforms, browsers may require user interaction before exposing gamepad input to the page. Design your site to request an initial click/tap or show a “press any button” message.
- Mobile browser power management may suspend background tabs or throttle timers - test in realistic conditions.
Next steps and features to add
- Add an on-screen control remapping UI so users can assign actions to physical buttons.
- Implement analog-sensitive actions (e.g., gradual acceleration) using axes values and not only binary thresholds.
- Add local multiplayer support by tracking multiple gamepads and assigning players to specific gamepads.
- Smooth out controller input with simple filtering (e.g., exponential moving average) if axes feel jittery.
- Use WebHID for advanced controllers that expose features not covered by the Gamepad API.
Conclusion
Integrating the Gamepad API into a web game is straightforward once you follow a few best practices: poll gamepads each frame, apply deadzones, provide fallbacks, and test across devices. Start with a small feature set (movement and a couple of buttons) and expand as you verify how different controllers behave.
Useful links
- MDN Gamepad API: https://developer.mozilla.org/en-US/docs/Web/API/Gamepad_API
- W3C Gamepad spec: https://w3c.github.io/gamepad/
- Browser support: https://caniuse.com/gamepad
