· deepdives · 8 min read
Demystifying WebAuthn: A Deep Dive into Passwordless Authentication
A practical, in-depth guide to WebAuthn (FIDO2) - how it works, why it’s more secure than passwords, and step-by-step implementation guidance with code samples for registration and authentication.
Outcome: by the end of this article you’ll understand how WebAuthn (FIDO2) gives you phishing‑resistant, high‑usability passwordless logins and you’ll have a clear, practical roadmap to implement it in a web application.
Why WebAuthn matters - short answer up front
Passwords are fragile. They leak, get reused, and phishing tricks users into handing them away. WebAuthn replaces shared secrets with public-key cryptography stored on the user’s device (or a roaming authenticator). The result is authentication that is intrinsically resistant to phishing and credential theft - and easier for users.
You’ll learn: the core protocol steps, how the browser and authenticator interact, implementation patterns (server + client), common pitfalls, and recovery/UX strategies.
What WebAuthn is (and how it differs from passwords)
- WebAuthn is a web standard maintained by W3C that exposes public-key credential creation and assertion operations to web applications via the browser. See the spec: https://www.w3.org/TR/webauthn/
- It’s part of FIDO2 (together with CTAP for authenticators). The FIDO Alliance provides additional context: https://fidoalliance.org/fido-technologies/fido2/
Key differences vs passwords:
- No shared secret on the server. The server stores a public key and an identifier.
- Authenticators produce cryptographic signatures bound to the origin (so phishing sites can’t reuse them).
- User verification (biometrics/PIN) can be done locally by the authenticator, improving usability and privacy.
For a developer view of the browser API, see MDN: https://developer.mozilla.org/en-US/docs/Web/API/Web_Authentication_API
Core concepts (quick glossary)
- Relying Party (RP): the website/service asking to authenticate.
- Authenticator: a device or platform component that creates and stores private keys (e.g., platform biometrics, security keys like YubiKey).
- Credential ID: opaque identifier for a credential stored server-side.
- Attestation: metadata proving properties of the authenticator (optional for basic scenarios).
- Assertion: the authentication step where the authenticator signs a server challenge.
- ClientDataJSON and authenticatorData: structures returned by the browser containing challenge, origin, flags, counters, etc.
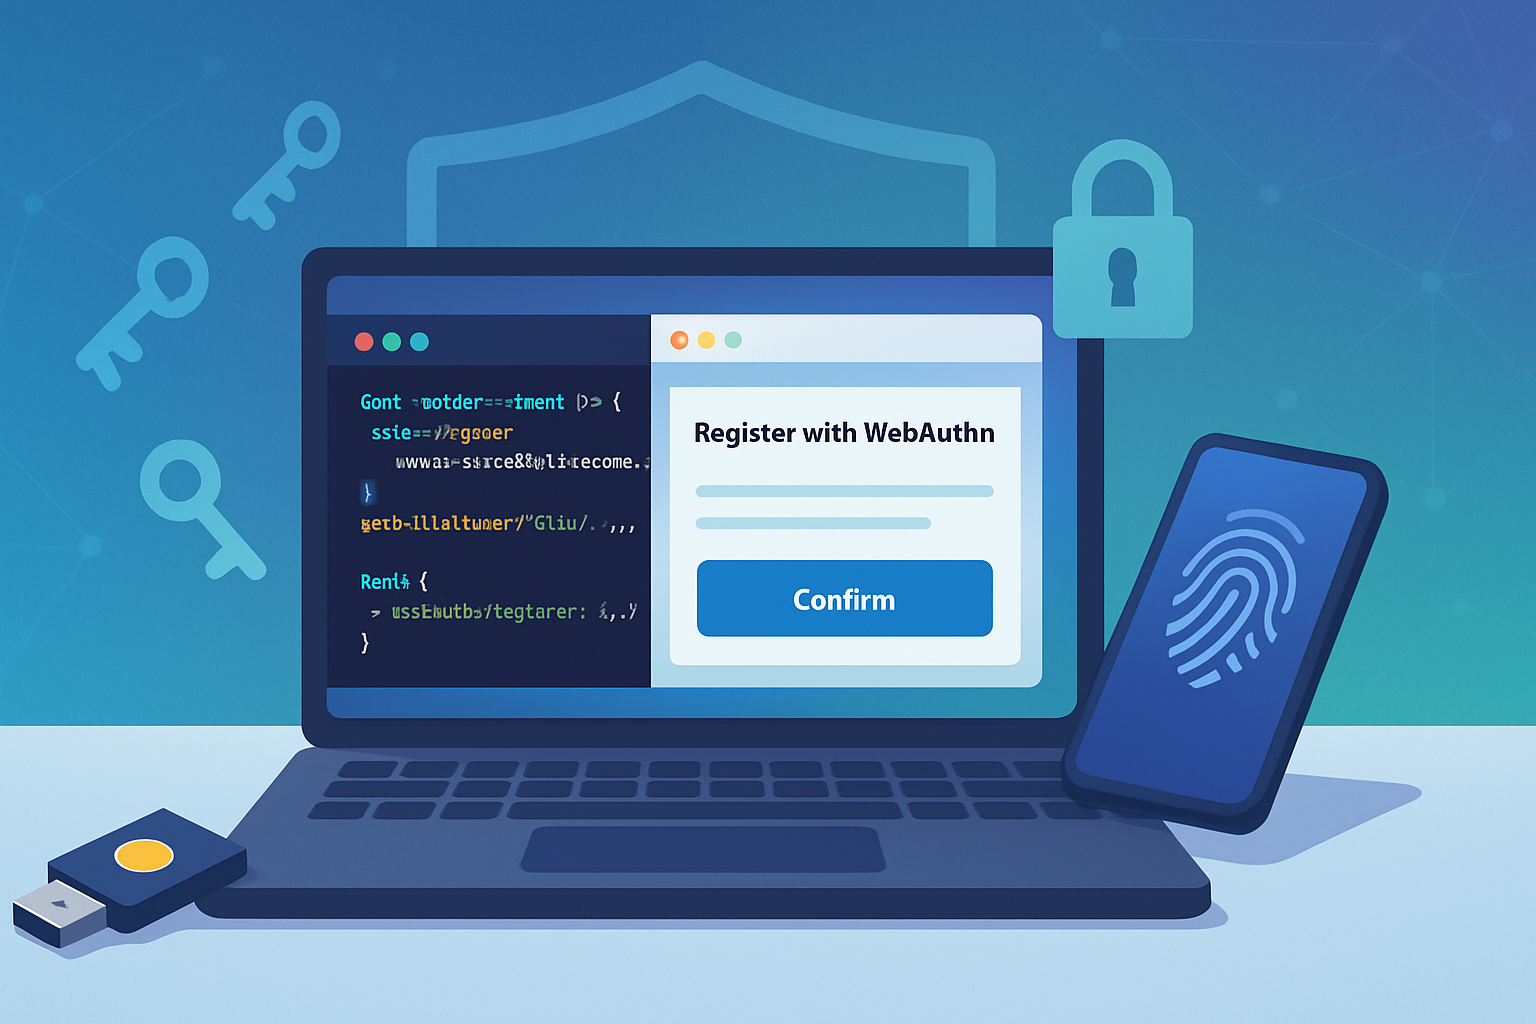
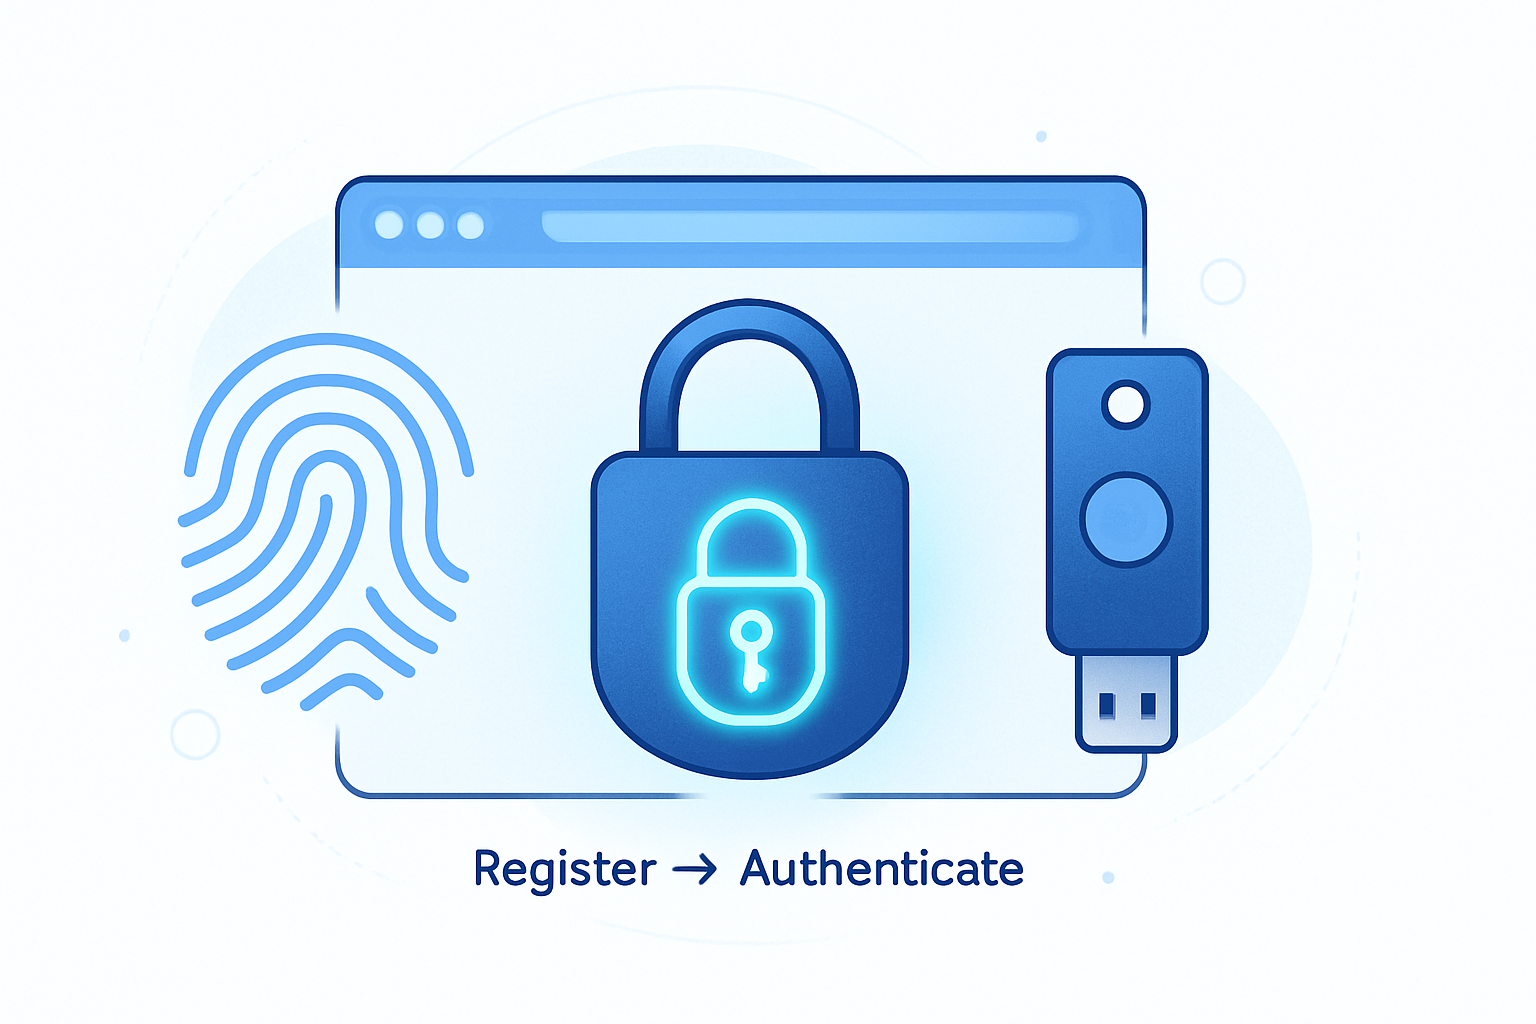
High-level protocol flow
- Registration (makeCredential): the user creates a credential. Server generates a challenge and asks the browser to create a new credential. The authenticator generates a key pair and returns the public key, credential ID, and attestation.
- Server verifies attestation (optional) and stores the public key + credential ID for that user.
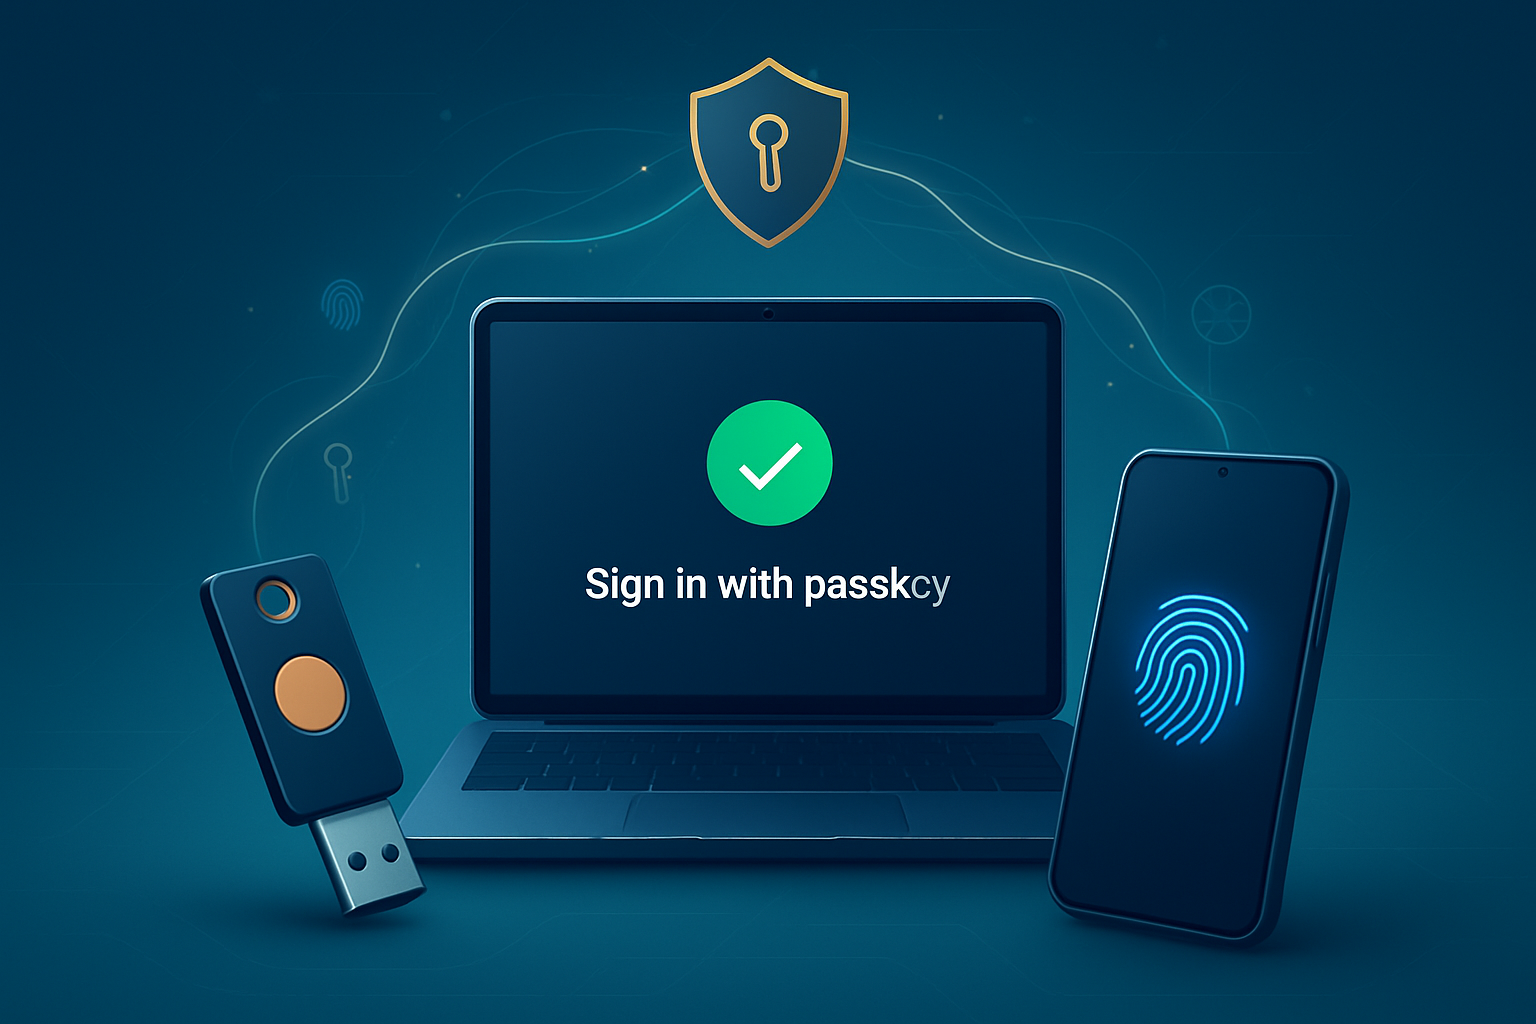
- Authentication (getAssertion): the server sends a new challenge. The authenticator signs the challenge using the private key. The server verifies the signature with the stored public key.
Simple. Secure. Phishing-resistant because the signature is bound to the origin (so a fake origin can’t use a signature created for another website).
Deep dive: what the browser/ authenticator exchange looks like
Registration returns two important byte sequences: clientDataJSON and attestationObject.
- clientDataJSON contains the original challenge and the origin. The server verifies these.
- attestationObject contains the authenticator’s data (including public key, sign count, and attestation statement). The server can use it to validate the authenticator’s provenance.
Authentication returns clientDataJSON and signature plus authenticatorData. The server verifies that:
- The challenge matches.
- The origin matches.
- The signature verifies using the stored public key.
- The signCount increased (anti‑replay, optional but recommended).
Benefits over traditional authentication (expanded)
- Phishing resistance: signatures are origin-bound.
- No password reuse risk: private keys never leave the authenticator.
- Strong cryptographic assurance: public-key signatures replace fragile hash comparisons.
- Better UX: fast biometric unlocks or tap-to-authenticate devices (passkeys).
- Regulatory advantages: stronger authentication may simplify compliance with standards like PSD2, NIST 800-63 recommendations.
Practical considerations and tradeoffs
- Device support: modern browsers and platforms (Windows Hello, macOS, Android, Chrome, Firefox, Edge, Safari) support WebAuthn, but older browsers do not.
- Recovery: users can lose authenticators. Design account recovery or allow multiple credentials per account (e.g., use a device + a hardware key). Consider backup/roaming via passkeys.
- Attestation/privacy: attestation can reveal authenticator manufacturer info. Use
attestation: 'none'for privacy-first flows, or implement metadata checks for enterprise policies. - UX fallbacks: provide a secure fallback (email + code or OTP) but ensure fallback is not weaker than you are comfortable with.
Step-by-step implementation (minimal, practical)
We’ll show a minimal registration and authentication flow using JavaScript (browser) and Node.js/Express pseudocode. The important parts are: generate a challenge server-side, present it to the client as a WebAuthn options object, call the WebAuthn API, then verify results server-side.
Note: real production code should use a well-maintained library (e.g., @simplewebauthn/server) to avoid subtle bugs.
Utilities: base64url helpers
You will need helpers to convert ArrayBuffers to/from base64url when sending JSON to the browser.
// base64url helpers
function bufferToBase64Url(buffer) {
  const bytes = new Uint8Array(buffer);
  let str = '';
  for (const b of bytes) str += String.fromCharCode(b);
  return btoa(str).replace(/\+/g, '-').replace(/\//g, '_').replace(/=+$/, '');
}

function base64UrlToBuffer(base64url) {
  const pad = '=='.slice(0, (4 - (base64url.length % 4)) % 4);
  const base64 = base64url.replace(/-/g, '+').replace(/_/g, '/') + pad;
  const binary = atob(base64);
  const bytes = new Uint8Array(binary.length);
  for (let i = 0; i < binary.length; i++) bytes[i] = binary.charCodeAt(i);
  return bytes.buffer;
}
Server: registration options endpoint (Node/Express)
// POST /register/options
app.post('/register/options', (req, res) => {
  // Assume user is identified (session)
  const user = req.user; // { id, username }

  // Create a random challenge
  const challenge = crypto.randomBytes(32);

  const pubKeyCredParams = [
    { type: 'public-key', alg: -7 }, // ES256 (recommended)
    { type: 'public-key', alg: -257 }, // RS256 (optional)
  ];

  const options = {
    challenge: bufferToBase64Url(challenge),
    rp: { name: 'Example.com', id: 'example.com' },
    user: {
      id: bufferToBase64Url(Buffer.from(user.id)),
      name: user.username,
      displayName: user.displayName || user.username,
    },
    pubKeyCredParams,
    timeout: 60000,
    attestation: 'none',
  };

  // Save challenge server-side for verification later
  saveChallengeForUser(user.id, bufferToBase64Url(challenge));
  res.json(options);
});
Client: call create()
// POST to /register/options to get options
const options = await fetch('/register/options', { method: 'POST' }).then(r =>
  r.json()
);

// Convert challenge and user.id to ArrayBuffers
options.challenge = base64UrlToBuffer(options.challenge);
options.user.id = base64UrlToBuffer(options.user.id);

const credential = await navigator.credentials.create({ publicKey: options });

// Extract data to send back
const response = {
  id: credential.id,
  rawId: bufferToBase64Url(credential.rawId),
  type: credential.type,
  response: {
    attestationObject: bufferToBase64Url(credential.response.attestationObject),
    clientDataJSON: bufferToBase64Url(credential.response.clientDataJSON),
  },
};

await fetch('/register', {
  method: 'POST',
  headers: { 'Content-Type': 'application/json' },
  body: JSON.stringify(response),
});
Server: verify registration
Verification is the tricky part. At a minimum:
- Decode attestation and clientDataJSON.
- Verify clientDataJSON.challenge matches the stored challenge and clientDataJSON.origin matches your origin.
- Extract and store the public key (in a format like COSE/PKCS) and credential ID.
- Optionally verify attestation statements (for advanced checks).
A simplified verification flow (use a library in production):
app.post('/register', async (req, res) => {
  const { id, rawId, response } = req.body;
  const clientDataJSON = base64UrlToBuffer(response.clientDataJSON);
  const attestationBuffer = base64UrlToBuffer(response.attestationObject);

  // Parse clientDataJSON and attestationObject (details omitted)
  // Validate challenge, origin, etc.

  // Extract public key and store
  const publicKey = extractPublicKeyFromAttestation(attestationBuffer);
  storeCredential(req.user.id, { id, credentialId: rawId, publicKey });

  res.json({ ok: true });
});
Authentication: options + assertion
Server creates a challenge and returns allowedCredentials (credential IDs) for that user.
// POST /login/options
app.post('/login/options', (req, res) => {
  const user = findUserByUsername(req.body.username);
  const challenge = crypto.randomBytes(32);
  saveChallengeForUser(user.id, bufferToBase64Url(challenge));

  const options = {
    challenge: bufferToBase64Url(challenge),
    allowCredentials: user.credentials.map(c => ({
      type: 'public-key',
      id: c.credentialId,
    })),
    timeout: 60000,
    userVerification: 'preferred',
  };
  res.json(options);
});
Client side:
const options = await fetch('/login/options', {
  method: 'POST',
  body: JSON.stringify({ username }),
}).then(r => r.json());
options.challenge = base64UrlToBuffer(options.challenge);
options.allowCredentials = options.allowCredentials.map(c => ({
  ...c,
  id: base64UrlToBuffer(c.id),
}));

const assertion = await navigator.credentials.get({ publicKey: options });

const payload = {
  id: assertion.id,
  rawId: bufferToBase64Url(assertion.rawId),
  response: {
    authenticatorData: bufferToBase64Url(assertion.response.authenticatorData),
    clientDataJSON: bufferToBase64Url(assertion.response.clientDataJSON),
    signature: bufferToBase64Url(assertion.response.signature),
  },
};
await fetch('/login', {
  method: 'POST',
  headers: { 'Content-Type': 'application/json' },
  body: JSON.stringify(payload),
});
Server verification of assertion:
- Verify clientDataJSON.challenge and origin.
- Verify signature against the stored public key.
- Check authenticatorData flags (user present, user verified if required).
- Validate signCount (detect cloned authenticators if count drops or doesn’t increase appropriately).
Security checklist - what to enforce in production
- Use HTTPS everywhere (required). Browsers block WebAuthn in insecure contexts.
- Use a strong, unpredictable challenge (>= 16 bytes entropy recommended).
- Verify origin and RP ID strictly.
- Store credential public keys safely (and the credential ID as opaque bytes).
- Validate signature algorithms and handle COSE -> PEM conversion correctly.
- Enforce user verification if you need strong assurance (biometrics/PIN) via
userVerificationsetting. - Consider attestation policies only if you must ensure authenticator provenance.
UX and recovery patterns
- Allow multiple credentials per account (device + hardware key) so users can fallback.
- Offer a secure fallback enrollment process (secondary verified email + short waiting period, or recovery codes created at enrollment time and displayed to the user).
- Educate users: explain how adding a second authenticator protects them from device loss.
Real-world tips and libraries
Don’t reimplement cryptography and COSE parsing from scratch. Use tested libraries such as:
- @simplewebauthn/server and @simplewebauthn/browser
- webauthn-json
- Existing platform SDKs and guides (Azure AD, AWS Cognito, Auth0) have built-in WebAuthn support.
Test across browsers and platforms. Safari, Chrome, Firefox, and Edge support WebAuthn now, but behaviors and defaults (e.g., attestation, UV prompts) vary.
Common troubleshooting
- “NotAllowedError”: often user cancelled the prompt or no suitable credential found. Verify allowCredentials and resident-key policy.
- Mismatched challenge: make sure the server-saved challenge and client challenge align (watch base64url vs raw bytes conversions).
- Origin mismatch: ensure you’re using the exact origin (scheme + host + port) and RP ID guidelines.
Further reading and references
- WebAuthn (W3C) spec: https://www.w3.org/TR/webauthn/
- MDN Web Authentication API guide: https://developer.mozilla.org/en-US/docs/Web/API/Web_Authentication_API
- FIDO Alliance WebAuthn / FIDO2 info: https://fidoalliance.org/fido2/
- SimpleWebAuthn library: https://github.com/MasterKale/SimpleWebAuthn
Conclusion - what you can build now
You can replace or augment passwords with WebAuthn to deliver stronger security and a smoother user experience. Implement the registration and authentication flows described here, use trusted libraries for parsing and verification, and design account recovery and multi-credential UX up front. When done well, WebAuthn gives you a practical path to phishing‑resistant, modern passwordless authentication - stronger in every way than shared secrets.