· deepdives · 9 min read
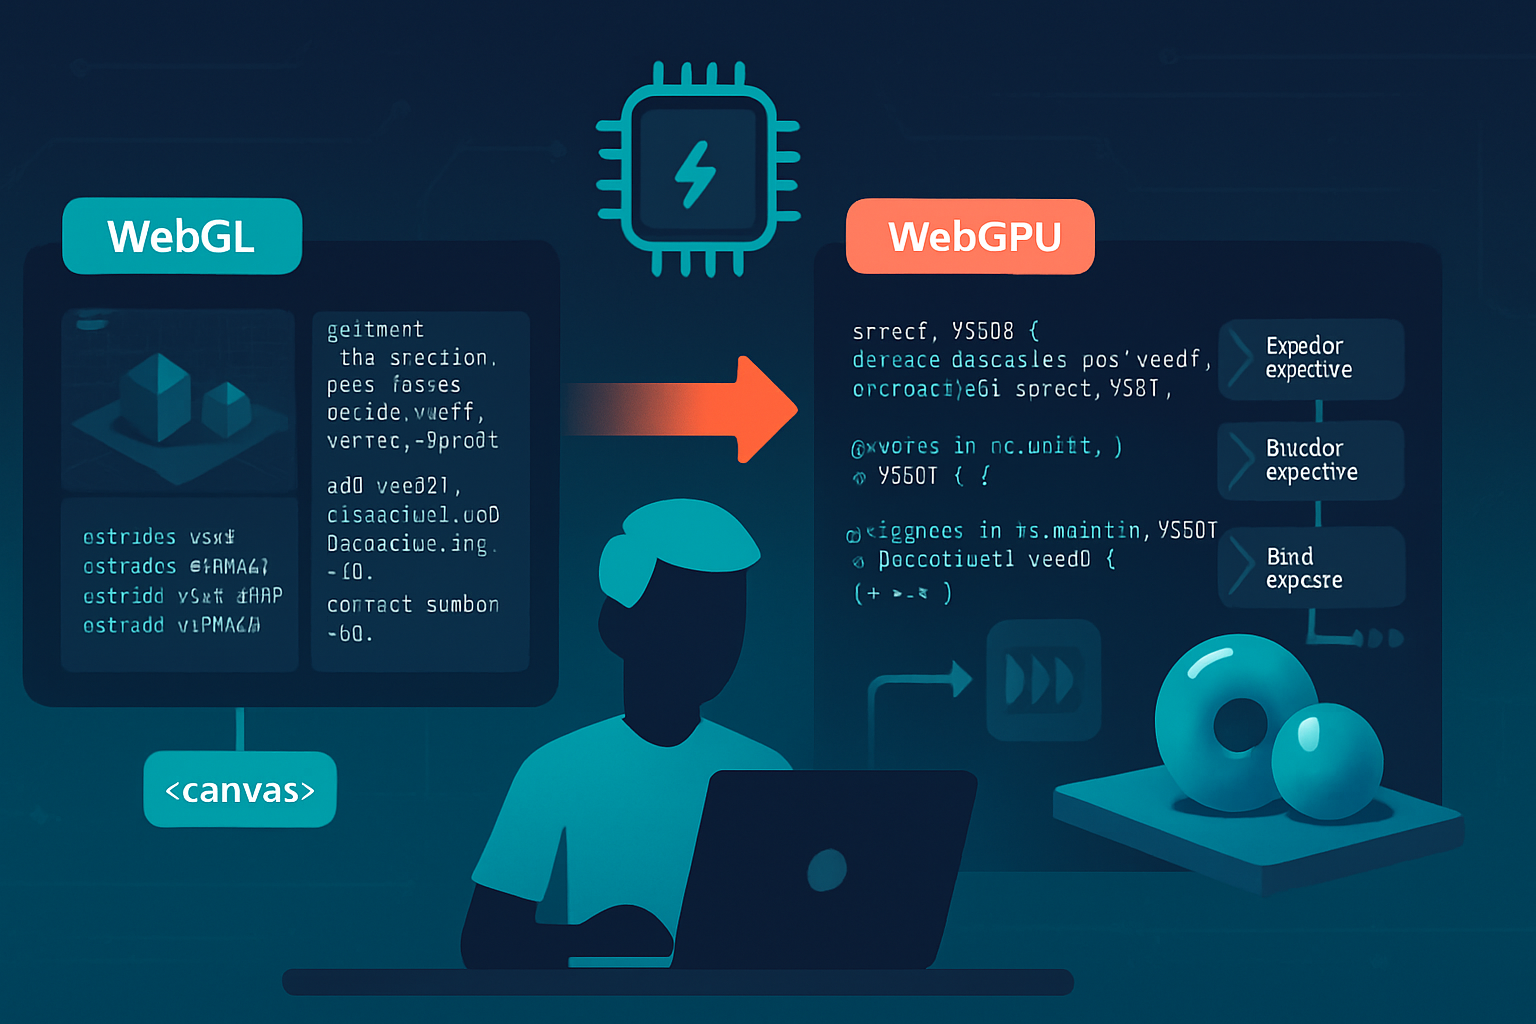
From WebGL to WebGPU: Migrating Your Projects
A practical, step-by-step guide to upgrading WebGL projects to WebGPU: what changes, concrete code examples (GLSL → WGSL), pipeline and resource mappings, debugging tips, performance expectations, and migration checklist.
Outcome-first introduction
By the time you finish this post you’ll have a clear, practical path to move an existing WebGL app to WebGPU, understand the fundamental API differences, be able to translate shaders from GLSL to WGSL, and know which parts of your code will gain the biggest performance wins. Read on for a migration checklist, concrete code samples, and real-world tips so your transition is predictable and measurable.
Why migrate? A short motivation
WebGPU is the modern web graphics API designed for low-overhead access to GPU features, explicit resource control, and compute shader support. That translates to:
- Lower driver overhead and better CPU-side performance for many draw-heavy apps.
- Explicit pipeline and resource binding for predictable performance.
- Built-in compute shaders (no hacks), enabling GPGPU work and advanced pipelines.
If you maintain a performance-sensitive WebGL app (large draw-counts, heavy CPU work, or advanced GPU compute), migrating is worth the investment. For simple scenes, WebGL may remain sufficient.
Useful references
- WebGL API - MDN: https://developer.mozilla.org/en-US/docs/Web/API/WebGL_API
- WebGPU API - MDN: https://developer.mozilla.org/en-US/docs/Web/API/WebGPU_API
- GPUWeb (spec & WGSL): https://gpuweb.github.io/gpuweb/
- WGSL language: https://gpuweb.github.io/gpuweb/wgsl/
- Three.js experimental WebGPU renderer: https://github.com/mrdoob/three.js/tree/dev/examples/jsm/renderers/WebGPURenderer
- WebGPU samples and tutorials: https://webgpu.dev/
- Browser support (Can I use): https://caniuse.com/webgpu
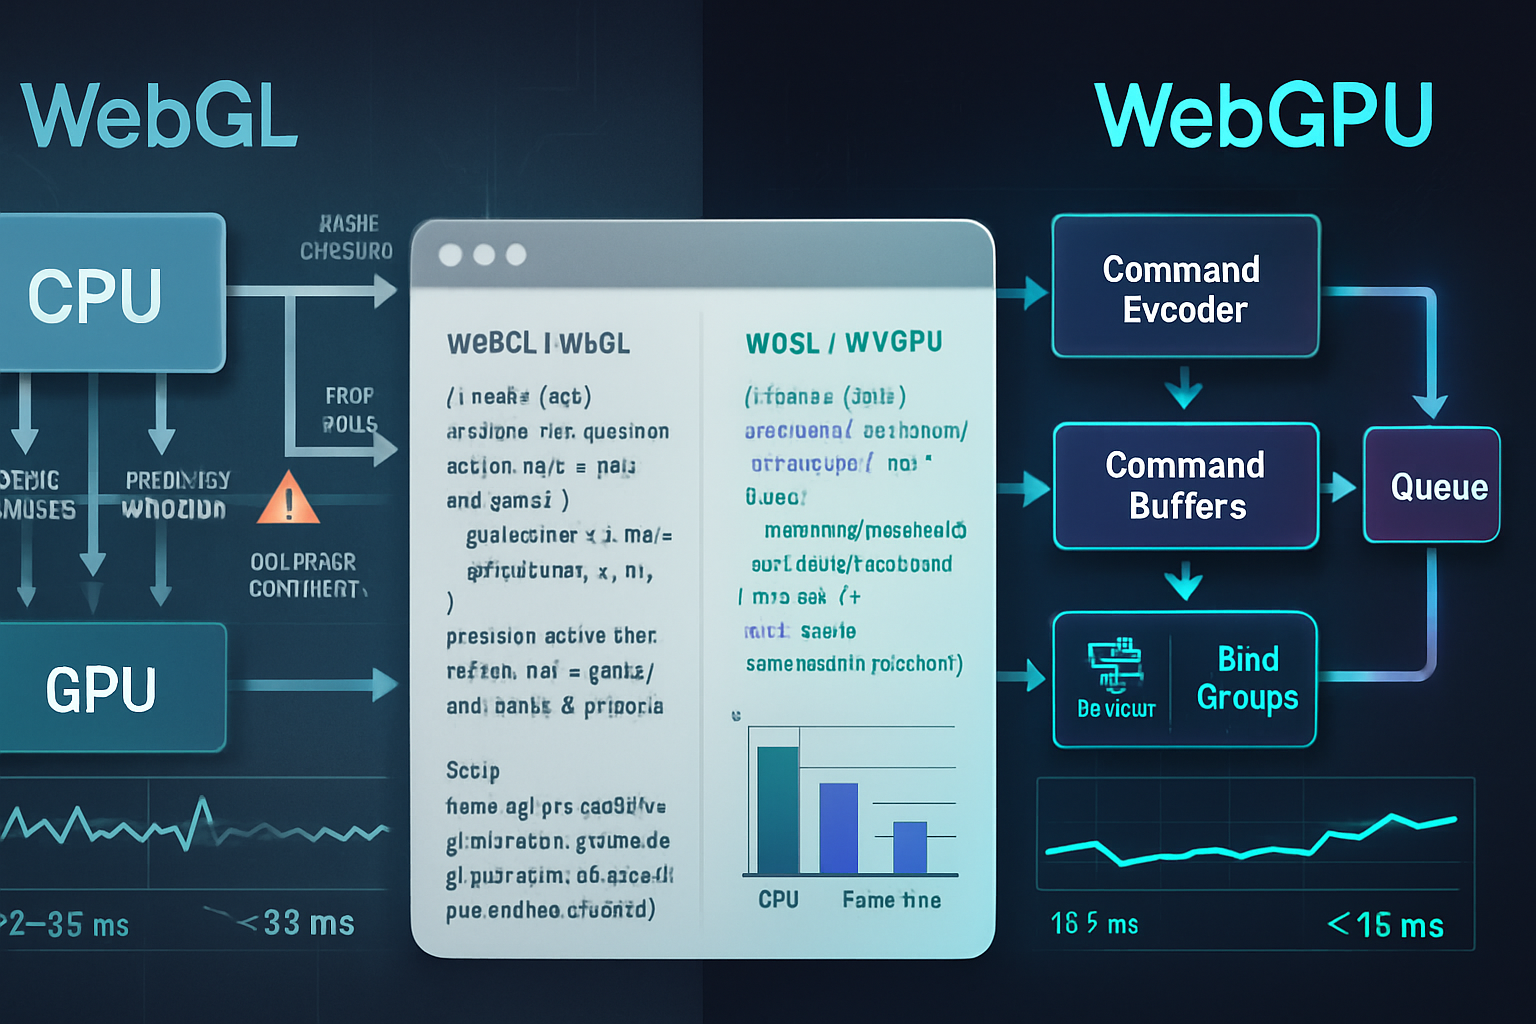
High-level differences: WebGL vs WebGPU
- Abstraction level: WebGL is an OpenGL ES-like immediate mode API; WebGPU is explicit, Vulkan/Metal/D3D12-style. You manage pipelines, bind groups, and command encoders.
- Shaders: WebGL uses GLSL ES; WebGPU uses WGSL (or SPIR-V behind the scenes in some native implementations). WGSL is a new shading language with different syntax and stricter typing.
- Resource binding: WebGL uses uniform blocks, attribute locations, and texture units. WebGPU uses bind group layouts and explicit binding indices.
- Command submission: WebGL issues draws directly; WebGPU builds command buffers (encoders, command buffers) which are submitted to the GPU queue.
- Synchronization: More explicit in WebGPU - you must manage staging buffers and mapping more intentionally.
Prerequisites & browser support
- Ensure target browsers support WebGPU (Chrome-based browsers, recent Safari Technology Preview, and Firefox Nightly with flags at times). See https://caniuse.com/webgpu.
- Consider a feature-detection / graceful fallback strategy: keep WebGL renderer available while migrating.
- Familiarize yourself with WGSL: it’s not a drop-in GLSL replacement.
Migration checklist (high level)
- Inventory your rendering: which shaders, attributes, textures, framebuffers, and extensions you use.
- Replace initialization: WebGL context creation → request adapter/device + canvas configuration.
- Translate shaders: GLSL -> WGSL.
- Recreate vertex buffers, index buffers, and uniform buffers as GPUBuffer objects with explicit usage flags.
- Set up bind group layouts and bind groups (uniforms, textures, samplers).
- Create render pipelines describing vertex/fragment stages, vertex buffer layouts, and color/depth formats.
- Build command encoders → render pass encoders → submit to queue.
- Implement staging buffers for dynamic uploads and texture uploads (GPUBuffer mapped for writes, copyBufferToTexture, etc.).
- Add profiling, validation, and progressive tests (render one mesh, then many, then post-processing).
Concrete example: a simple triangle (WebGL vs WebGPU)
This minimal example highlights the major API differences. Skip if you already know the basics.
WebGL vertex + fragment (GLSL)
// vertex.glsl
attribute vec2 a_position;
void main() {
  gl_Position = vec4(a_position, 0.0, 1.0);
}

// fragment.glsl
precision mediump float;
void main() {
  gl_FragColor = vec4(1.0, 0.2, 0.2, 1.0);
}
WebGPU equivalent shaders in WGSL
// shader.wgsl
[[stage(vertex)]]
fn vs_main([[location(0)]] pos: vec2<f32>) -> [[builtin(position)]] vec4<f32> {
  return vec4<f32>(pos, 0.0, 1.0);
}

[[stage(fragment)]]
fn fs_main() -> [[location(0)]] vec4<f32> {
  return vec4<f32>(1.0, 0.2, 0.2, 1.0);
}
Note: newer WGSL syntax uses @vertex/@fragment and @location/@builtin; check current WGSL spec and browser implementation. See WGSL docs: https://gpuweb.github.io/gpuweb/wgsl/.
WebGPU initialization + draw (simplified)
// Request adapter and device
const adapter = await navigator.gpu.requestAdapter();
const device = await adapter.requestDevice();

// Configure canvas context
const canvas = document.querySelector('canvas');
const context = canvas.getContext('webgpu');
const format = navigator.gpu.getPreferredCanvasFormat();
context.configure({ device, format });

// Create vertex buffer
const vertices = new Float32Array([0, 0.5, -0.5, -0.5, 0.5, -0.5]);
const vertexBuffer = device.createBuffer({
  size: vertices.byteLength,
  usage: GPUBufferUsage.VERTEX | GPUBufferUsage.COPY_DST,
  mappedAtCreation: true,
});
new Float32Array(vertexBuffer.getMappedRange()).set(vertices);
vertexBuffer.unmap();

// Create shader module
const shaderModule = device.createShaderModule({
  code: await fetch('shader.wgsl').then(r => r.text()),
});

// Pipeline
const pipeline = device.createRenderPipeline({
  layout: 'auto',
  vertex: {
    module: shaderModule,
    entryPoint: 'vs_main',
    buffers: [
      {
        arrayStride: 8, // 2 x float32
        attributes: [{ shaderLocation: 0, offset: 0, format: 'float32x2' }],
      },
    ],
  },
  fragment: {
    module: shaderModule,
    entryPoint: 'fs_main',
    targets: [{ format }],
  },
  primitive: { topology: 'triangle-list' },
});

// Rendering
const commandEncoder = device.createCommandEncoder();
const textureView = context.getCurrentTexture().createView();
const renderPass = commandEncoder.beginRenderPass({
  colorAttachments: [
    {
      view: textureView,
      clearValue: { r: 0, g: 0, b: 0, a: 1 },
      loadOp: 'clear',
      storeOp: 'store',
    },
  ],
});
renderPass.setPipeline(pipeline);
renderPass.setVertexBuffer(0, vertexBuffer);
renderPass.draw(3);
renderPass.end();

device.queue.submit([commandEncoder.finish()]);
Comparing that to the WebGL code shows how explicit resource creation, pipeline description, and command encoding differ from the immediate mode style of WebGL.
Shader translation: GLSL → WGSL
Key translation points:
- Input/output qualifiers change: attribute/varying/uniform → @location, @builtin, @group/@binding for resources.
- Precision qualifiers are less relevant in WGSL; types are explicit (f32, i32, u32).
- Uniforms become uniform buffers (UBOs) and go into bind groups with explicit binding numbers.
- Functions are explicitly annotated with @vertex, @fragment, or @compute.
Example mapping for a simple uniform buffer:
GLSL (WebGL2)
uniform mat4 u_projection;
attribute vec3 a_pos;
WGSL
[[block]] struct Uniforms { proj : mat4x4<f32>; };
[[group(0), binding(0)]] var<uniform> uniforms : Uniforms;
@location(0) var<in> a_pos: vec3<f32>;
Note: WGSL matrix types and layouts require attention to alignment. Use std140-like layout rules or rely on layout('packed') style helpers in host code. For most projects, using typed ArrayBuffers and explicit offsets helps.
Helpful tool: There are community tools and scripts to automate portions of shader conversion. Manual review is still necessary for complex shaders.
Resource binding and bind groups
WebGPU replaces the ad-hoc binding of uniforms and textures with bind group layouts and bind groups. This is a key conceptual change:
- Define bind group layouts describing the types and bindings used by your shaders.
- Create pipeline layouts that reference those bind group layouts (or use layout: ‘auto’).
- Create bind groups that point to actual GPUBuffer/texture/sampler resources.
- Set bind groups before drawing (renderPass.setBindGroup()).
Example skeleton:
const bindGroupLayout = device.createBindGroupLayout({
  entries: [
    {
      binding: 0,
      visibility: GPUShaderStage.VERTEX,
      buffer: { type: 'uniform' },
    },
    {
      binding: 1,
      visibility: GPUShaderStage.FRAGMENT,
      sampler: { type: 'filtering' },
    },
    { binding: 2, visibility: GPUShaderStage.FRAGMENT, texture: {} },
  ],
});

const pipelineLayout = device.createPipelineLayout({
  bindGroupLayouts: [bindGroupLayout],
});

// Create a bind group after creating buffers/textures
const bindGroup = device.createBindGroup({
  layout: bindGroupLayout,
  entries: [
    /* ... */
  ],
});
Why this matters: explicit binding reduces driver guesswork and makes bind-time cost predictable and often lower.
Textures and samplers
- Uploads are typically done by staging via a mapped GPUBuffer followed by copyBufferToTexture.
- You must specify texture formats carefully; many WebGL formats have direct equivalents, but some compressed formats need extension support.
- Samplers are explicit GPU objects in WebGPU.
Example texture upload (conceptual):
// create staging buffer, write pixel data, then
commandEncoder.copyBufferToTexture(
  { buffer: stagingBuffer, bytesPerRow },
  { texture: myTexture },
  [width, height, 1]
);
Compute shaders and new opportunities
WebGPU’s native compute support lets you move CPU-side work to the GPU directly. Common migration opportunities:
- Particle updates and physics integration.
- Culling and LOD computations.
- Image processing and postfx.
- GPGPU preprocessing of geometry (tessellation-like workflows).
If your WebGL app used transform feedback or inefficient CPU loops to update many particles, compute shaders can dramatically reduce CPU overhead.
Synchronization and staging best practices
- Use mappedAtCreation for predictable initialization uploads.
- For frequently updated buffers, use a staging buffer pattern: map a CPU-visible staging buffer, write data, then copy to a device-local GPUBuffer.
- Avoid mapping device-local buffers every frame if possible - prefer COPY_DST usage and queue.writeBuffer for small updates.
Debugging and validation
- Use the browser’s WebGPU validation logs (available in the console). They are more explicit than WebGL errors.
- For shader debugging, WGSL compile errors include line numbers but tooling is still maturing.
- Keep a running WebGL fallback so you can compare rendered results visually when migrating features one-by-one.
Performance expectations & measurement
What typically improves:
- Lower CPU time per frame when many draw calls or heavy state changes are present.
- Better throughput on multi-core systems thanks to driver-side parallelism and explicit command buffers.
- Faster texture and buffer uploads when using staging and copy APIs efficiently.
Caveats:
- Naive use of WebGPU can perform worse if you treat it like WebGL (e.g., creating/destroying many pipelines or bind groups each frame).
- Memory usage patterns change: you may need more explicit buffer allocation planning.
Measure performance using:
- requestAnimationFrame-based frame time logging.
- device.lost and queue.onSubmittedWorkDone for deeper timing.
- Browser devtools GPU profiler (Chrome tracing, system GPU profilers).
Benchmark plan when migrating:
- Baseline with WebGL for your main scenes (CPU and GPU timings).
- Migrate a minimal path (single mesh, same shader behavior) to WebGPU and compare.
- Gradually migrate heavy paths (many draws, compute loads) and measure per-change.
Common migration pitfalls and how to avoid them
- Shader mismatches: WGSL types/layouts differ. Test each shader stage incrementally.
- Binding mismatch: Ensure bind indices in shader match bind group entries exactly.
- Format mismatches: Color/depth formats must match pipeline/attachment config.
- Excessive runtime object creation: Create pipelines, layouts, and bind groups upfront where possible.
Libraries and hybrid approaches
- If you use Three.js: try the experimental WebGPURenderer to keep most of the scene graph unchanged while using WebGPU under the hood (still experimental). See the Three.js repo for examples.
- Keep a WebGL fallback for browsers without WebGPU.
- Consider writing a small compatibility layer that maps your higher-level renderer calls to either backend until fully migrated.
Step-by-step migration strategy (practical)
- Add feature detection and a flag to toggle WebGPU.
- Port a single shader and mesh to WebGPU; render it to confirm pipeline and shader correctness.
- Replace buffers/textures for one render path and validate visuals.
- Migrate the most expensive parts next (draw calls, culling, particle systems) and leverage compute shaders where appropriate.
- Consolidate resource lifetime management: group static resources, update dynamic ones via staging buffers.
- Replace post-processing and G-buffers last - these often require careful format and layout mapping.
Final checklist before shipping
- Verify all shaders compile on target browsers and devices.
- Validate resource formats and cross-platform behavior (mobile vs desktop).
- Profile to ensure expected CPU/GPU improvements.
- Provide a graceful fallback to WebGL for unsupported clients.
- Test device loss handling (device.lost event).
Conclusion
Migrating from WebGL to WebGPU is a deliberate effort: shaders must be translated to WGSL, resource and pipeline management becomes explicit, and synchronization semantics require new patterns. But the payoff is substantial for performance-sensitive applications - lower CPU overhead, better parallelism, and direct compute capabilities that enable new rendering techniques. Start small, keep WebGL as a safety net, and migrate the most expensive subsystems first. The biggest wins come when you redesign resource bindings and move CPU-heavy workloads into compute shaders - that’s where WebGPU shows its muscle.
References
- WebGPU API - MDN: https://developer.mozilla.org/en-US/docs/Web/API/WebGPU_API
- WGSL language and GPUWeb: https://gpuweb.github.io/gpuweb/
- WebGPU tutorials and examples: https://webgpu.dev/
- Three.js WebGPU renderer: https://github.com/mrdoob/three.js/tree/dev/examples/jsm/renderers/WebGPURenderer