· deepdives · 7 min read
Exploring the Device Posture API: How It Changes the Game for Responsive Design
Learn how the Device Posture API and related window-segmentation capabilities let you detect foldable postures and adapt layouts precisely - with practical code, UX tips, and testing strategies to bring responsive design into the age of foldables and dual-screen devices.
Outcome first: after reading this you will know how to detect foldable and dual-screen postures in the browser, gracefully adapt your layout to avoid the hinge, and build progressive, future-friendly interfaces that work well on single and multi-segment screens.
Why this matters right now
Responsive design used to be mostly about width breakpoints and device pixel density. That’s no longer enough. Foldable phones, dual-screen tablets, and hinged devices can change shape mid-session - they can open like a book, fold flat, or span an app across two screen segments with a physical hinge between them. You can either ignore these postures and risk broken UI, or detect them and deliver a layout that feels polished on new hardware.
This article walks through what the Device Posture and Window Segments ideas give you, practical code patterns, UX guidelines, and testing tips so your site works well on both classic phones and the latest foldables. Read on. The payoff is interfaces that feel intentional on every posture.
What the Device Posture story is (short primer)
- The Device Posture API family aims to surface information about how a device is folded or positioned so web apps can adapt.
- The closely related Window Segments API exposes how the top-level browsing context is split into one or more rectangular segments (for example, two displays separated by a hinge).
- Together they let you detect whether the screen is single-surface, partitioned, or in a multi-segment “book” orientation and compute the hinge area you should avoid placing important content.
For an overview of dual-screen and foldable guidance see the web.dev dual-screen documentation: https://web.dev/dual-screen/ and the foldables discussion in WICG: https://wicg.github.io/foldables/.
The high-level approach you should take
- Feature-detect. Never assume the API exists. Use graceful fallbacks.
- Treat the hinge as dead space for interactive controls. Avoid placing important UI where it may be obscured.
- Provide a layout optimized for single-segment devices and an enhanced experience for multi-segment devices.
- Keep accessibility and keyboard focus behavior in mind across posture changes.
Short code and good UX beats lots of brittle device-specific heuristics.
Practical detection pattern (robust, progressive)
Below is a simple, reliable pattern that works whether or not a specialized API exists. It uses the Window Segments approach when available and falls back to a single-segment rectangle otherwise.
// Get an array of segments (DOMRect-like objects). If the API isn't supported,
// fall back to a single segment that equals the viewport.
function getWindowSegments() {
  if (typeof window.getWindowSegments === 'function') {
    return window.getWindowSegments(); // returns array of DOMRect-like objects
  }

  // Fallback: one segment covering the visual viewport
  return [{ x: 0, y: 0, width: window.innerWidth, height: window.innerHeight }];
}

// Compute a hinge (if any) between two segments. Returns null if no hinge.
function computeHingeRect(segments) {
  if (!segments || segments.length < 2) return null;

  const a = segments[0];
  const b = segments[1];

  // Horizontal gap between them (common for book-mode vertical hinge)
  const left = Math.min(a.x + a.width, b.x + b.width);
  const right = Math.max(a.x, b.x);

  // If there's a gap / overlap, compute hinge rectangle.
  const hingeWidth = right - left;

  if (hingeWidth <= 0) return null;

  const top = Math.max(a.y, b.y);
  const bottom = Math.min(a.y + a.height, b.y + b.height);
  const hingeHeight = Math.max(0, bottom - top);

  return {
    x: left,
    y: top,
    width: hingeWidth,
    height: hingeHeight,
  };
}

// Example usage
function updateLayout() {
  const segments = getWindowSegments();
  const hinge = computeHingeRect(segments);

  if (hinge) {
    document.documentElement.classList.add('has-hinge');
    document.documentElement.style.setProperty('--hinge-x', `${hinge.x}px`);
    document.documentElement.style.setProperty('--hinge-y', `${hinge.y}px`);
    document.documentElement.style.setProperty(
      '--hinge-width',
      `${hinge.width}px`
    );
    document.documentElement.style.setProperty(
      '--hinge-height',
      `${hinge.height}px`
    );
  } else {
    document.documentElement.classList.remove('has-hinge');
    document.documentElement.style.removeProperty('--hinge-x');
    document.documentElement.style.removeProperty('--hinge-y');
    document.documentElement.style.removeProperty('--hinge-width');
    document.documentElement.style.removeProperty('--hinge-height');
  }
}

window.addEventListener('resize', updateLayout);
updateLayout();
Notes:
- The code uses a safe fallback so single-screen browsers work as usual.
- The example assumes window.getWindowSegments() returns DOMRect-like objects - check the environment for the exact shape in the implementation you target.
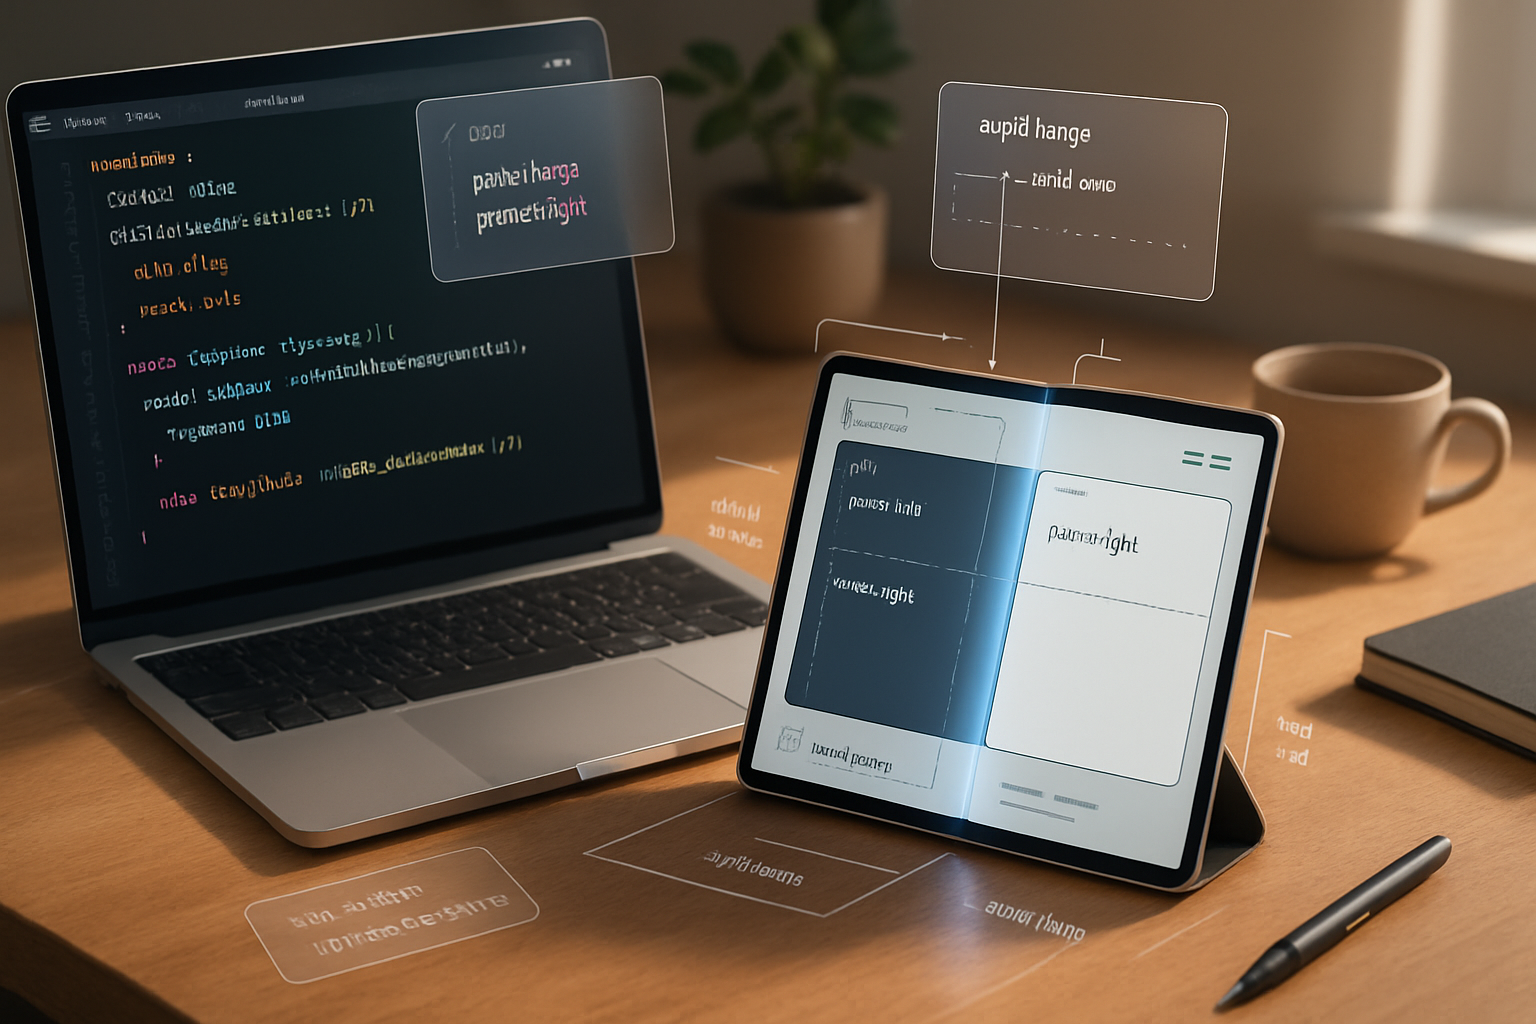
Example: hinge-aware two-column layout (CSS + JS)
The JS above sets CSS custom properties that you can use to avoid placing UI under the hinge. Here’s a simple pattern in CSS you can adapt.
/* Base layout: single column on small screens, two columns where appropriate */
.app {
  display: grid;
  grid-template-columns: 1fr;
  gap: 16px;
}

/* When there's a hinge, make two primary columns and leave the hinge area empty */
.has-hinge .app {
  grid-template-columns: 1fr auto 1fr; /* center column becomes hinge spacer */
  grid-template-rows: auto;
}

.has-hinge .hinge-spacer {
  width: var(--hinge-width, 0px);
  height: var(--hinge-height, 1px);
  pointer-events: none;
  background: transparent;
}

/* Put your left and right panes into the grid
   left -> column 1, hinge-spacer -> column 2, right -> column 3 */
.left-pane {
  grid-column: 1;
}
.hinge-spacer {
  grid-column: 2;
}
.right-pane {
  grid-column: 3;
}
This pattern makes it explicit: the hinge becomes the middle column and content flows into the safe left and right panes. You can refine widths, transitions, and alignment for your app.
UX rules of thumb (practical)
- Never place primary actions, critical navigation, or inline text input under the hinge. Those controls should be reachable and clearly visible.
- If your app benefits from a two-pane layout (email, editor, gallery), adapt to book/posture mode and persist sensible state transitions when the device folds/unfolds.
- Respect focus: moving focus between segments should be smooth and predictable. Avoid keyboard traps across the hinge.
- Consider orientation changes: a user may open the device mid-task. Persist important state and animate layout changes to avoid jarring jumps.
- Use progressive enhancement: default single-surface layout first, layer on special multi-segment behavior when the browser supports it.
Accessibility reminders
- Exposed visual separation should be conveyed for assistive tech when relevant. Use ARIA attributes and semantic markup as usual.
- If you change layout order between postures (for example, swapping a list and detail pane), ensure keyboard navigation order and reading order remain logical.
- Do not rely on visual-only cues to indicate the hinge; treat it as layout guidance, not a semantic separator.
Testing strategies
- Use Chrome DevTools’ Device Mode and its dual-screen / foldable simulators to emulate hinge positions and postures.
- Test on real hardware where possible. Emulators are good for layout, but real devices reveal touch, latency, and fold-specific quirks.
- Test interactions with external keyboards and screen readers, since foldables are often used with different input combos.
For more testing tips and examples, see the official dual-screen guidance on web.dev: https://web.dev/dual-screen/.
When to add Device Posture-specific heuristics
Add posture-specific logic only when it materially improves the user experience. Examples where it helps:
- Two-pane productivity apps (email, note editors): show master-detail on separate segments.
- Games or visual tools: place controls on one segment and canvas on the other.
- Reading experiences: show book-like pagination in book/posture mode.
If a modification only saves a few pixels or is cosmetic, prefer a conservative approach to avoid brittleness.
Browser support and feature detection
These APIs are newer and have been rolled out in Chromium-based browsers first. Always feature-detect and provide fallbacks. Keep an eye on platform status pages and the WICG proposals for changes.
Helpful resources:
- web.dev: Dual-screen and foldable device guidance - https://web.dev/dual-screen/
- WICG foldables explainer - https://wicg.github.io/foldables/
Quick checklist to adopt Device Posture principles
- Feature-detect window segmentation and posture. Fall back gracefully.
- Avoid placing controls under hinge by computing and exposing hinge metrics to CSS.
- Provide a two-pane enhancement when it genuinely improves the experience.
- Preserve keyboard and screen-reader order across postures.
- Test with DevTools simulators and real devices.
Final thoughts
The Device Posture and Window Segments ideas aren’t about replacing responsive design - they’re about extending it. They give you deterministic information about how a device is physically configured so you can design around real constraints instead of guessing. Use them as progressive enhancements, prefer simple, robust fallbacks, and let your layouts adapt gracefully. When you do it right, users on foldables will feel that your app was built for their device - not accidentally compatible. That’s the payoff worth building toward.