· deepdives · 8 min read
Demystifying WebCodecs API: A Beginner's Guide to Real-Time Media Streaming
Learn how to build a simple low-latency media streaming app using the WebCodecs API. This beginner-friendly guide explains core concepts, shows example encoder/decoder code, and walks through a minimal Node.js WebSocket relay to get you streaming quickly.
What you’ll build and why it matters
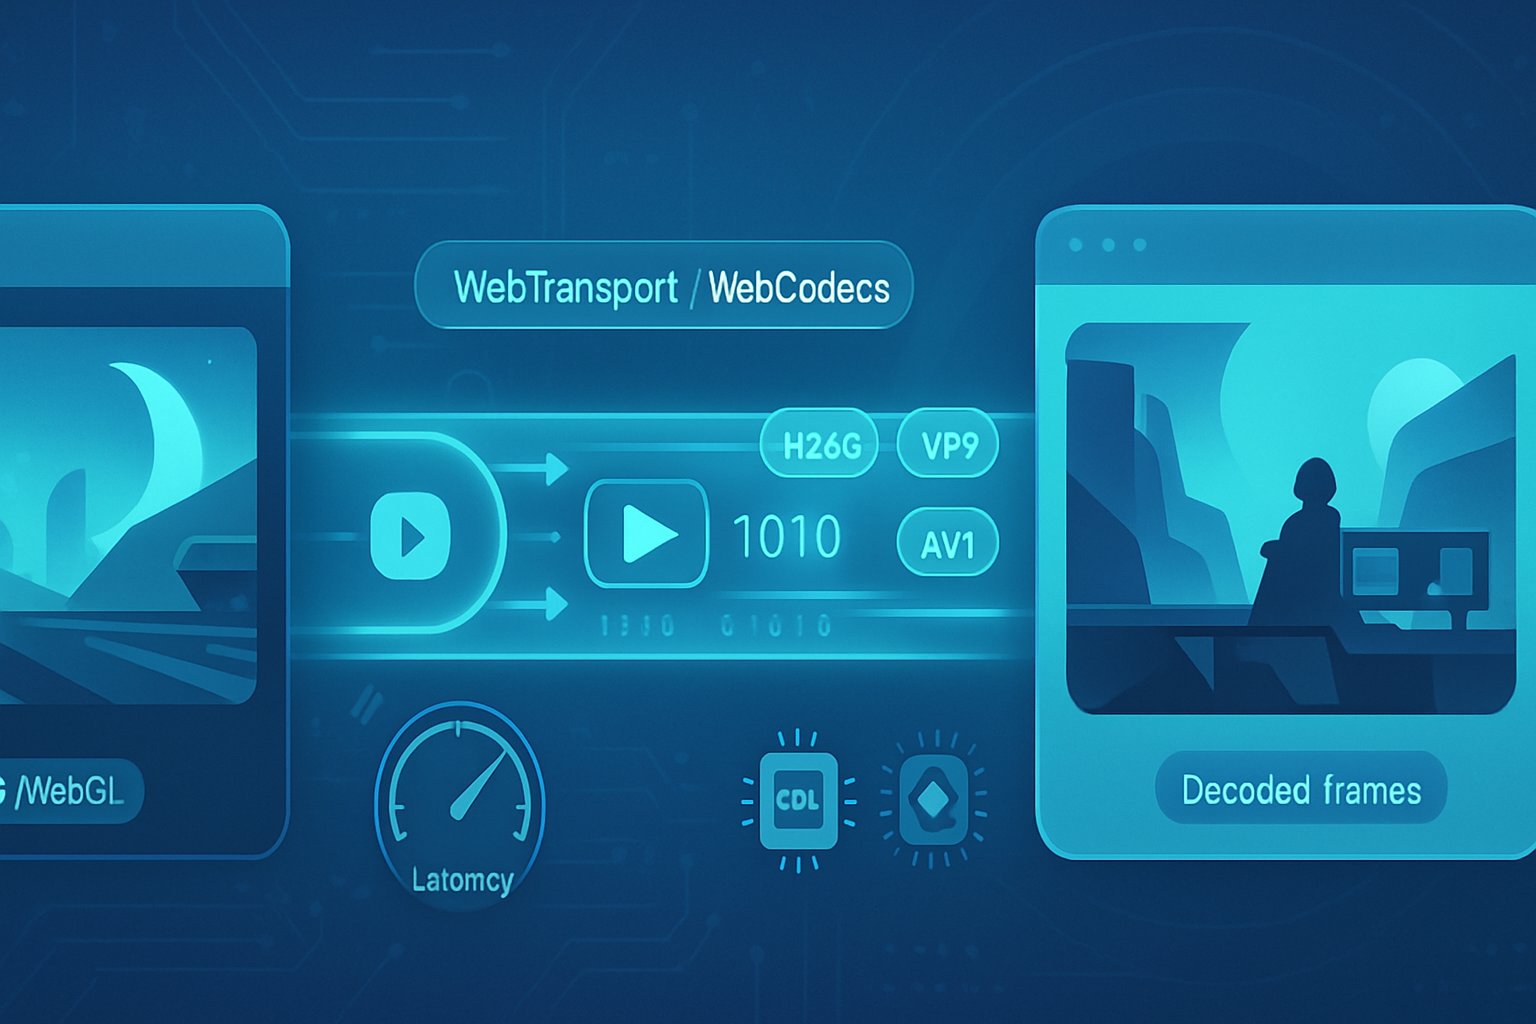
By the end of this article you’ll be able to capture webcam video in the browser, encode it with WebCodecs, send encoded chunks over a network (WebSocket for simplicity), decode them on the receiving side, and render decoded frames with minimal latency. Fast. Practical. Browser-native.
Real-time media apps - video chat, cloud gaming, remote camera feeds - demand low latency and fine-grained control over frames and encoded bytes. WebCodecs gives you that control without leaving the browser. Read on to understand the building blocks and get a working example.
What is WebCodecs? (Short answer)
WebCodecs is a web platform API that exposes low-level access to audio/video encoders and decoders, and the in-memory representation of frames. Instead of relying on high-level abstractions (MediaRecorder,
- VideoFrame and AudioData (frame-level media objects)
- VideoEncoder / VideoDecoder and AudioEncoder / AudioDecoder
- EncodedVideoChunk / EncodedAudioChunk (the encoded bytes with timestamps and flags)
This enables low-latency custom pipelines: capture → encode → send → receive → decode → render.
References: MDN: WebCodecs API, web.dev introduction.
Core concepts you must understand
- VideoFrame: an pixel-accurate frame you can create from a
- EncodedVideoChunk: the encoded bytes plus metadata (timestamp, key frame flag, type).
- VideoEncoder: encodes VideoFrame to EncodedVideoChunk using a specified codec (eg. “vp8”, “avc1.42E01E” for H.264).
- VideoDecoder: accepts EncodedVideoChunk and produces decoded VideoFrame objects.
- Timestamps and ordering: WebCodecs is timestamp-driven. You must respect timestamps and ordering when feeding encoder/decoder.
- Keyframes: A keyframe (IDR/I-frame) is self-contained. For real-time recovery after packet loss, request/insert periodic keyframes.
Browser support & feature-detection
Before you start, feature-detect and gracefully fall back:
if (!('VideoEncoder' in window) || !('VideoDecoder' in window)) {
  throw new Error('WebCodecs not supported in this browser.');
}
You can also test codec support programmatically:
const support = await VideoEncoder.isConfigSupported({
  codec: 'vp8',
  width: 1280,
  height: 720,
});
console.log(support.supported);
See browser compatibility notes on MDN: https://developer.mozilla.org/en-US/docs/Web/API/WebCodecs_API#browser_compatibility
Example: A minimal real-time video pipeline
We’ll implement a basic pipeline using getUserMedia → VideoEncoder → WebSocket → Node relay → WebSocket → VideoDecoder → render. This is not production-ready (no congestion control, no retransmission/forward error correction), but it’s small and demonstrates core APIs.
High-level flow:
Sender (Browser A)
- getUserMedia
- create VideoEncoder
- capture frames and enqueue to encoder
- send EncodedVideoChunk binary over WebSocket
Relay (Node.js WebSocket server)
- simple binary broadcast to all connected clients
Receiver (Browser B)
- WebSocket receive encoded binary
- feed into VideoDecoder
- render VideoFrames to a canvas or MediaStreamTrackGenerator
Sender (encoding + send) - key parts
<!-- sender.html: include a preview and a connect button -->
<video id="preview" autoplay muted playsinline></video>
<button id="start">Start Streaming</button>
<script>
  const startBtn = document.getElementById('start');
  const preview = document.getElementById('preview');
  let ws;
  let encoder;

  startBtn.onclick = async () => {
    ws = new WebSocket('ws://localhost:8080');
    await wsReady(ws);

    const stream = await navigator.mediaDevices.getUserMedia({
      video: true,
      audio: false,
    });
    preview.srcObject = stream;

    const track = stream.getVideoTracks()[0];
    const processor = new MediaStreamTrackProcessor({ track });
    const reader = processor.readable.getReader();

    const config = {
      codec: 'vp8',
      width: 640,
      height: 480,
      bitrate: 500_000, // 500kbps
      framerate: 30,
    };

    encoder = new VideoEncoder({
      output: chunk => {
        // chunk is an EncodedVideoChunk
        // We'll send a simple binary frame: 8 bytes timestamp (BigInt64) + 1 byte flags + payload
        const data = new Uint8Array(chunk.byteLength + 9);
        const view = new DataView(data.buffer);
        view.setBigUint64(0, BigInt(chunk.timestamp));
        view.setUint8(8, chunk.type === 'key' ? 1 : 0);
        data.set(
          new Uint8Array(
            chunk.byteLength
              ? chunk.copyTo(new ArrayBuffer(chunk.byteLength))
              : new ArrayBuffer(0)
          ),
          9
        );
        ws.send(data.buffer);
      },
      error: e => console.error('Encoder error', e),
    });

    await encoder.configure(config);

    (async function readLoop() {
      while (true) {
        const { value: videoFrame, done } = await reader.read();
        if (done) break;
        // videoFrame is a VideoFrame
        // Set a timestamp (microseconds recommended) and queue to encoder
        const timestamp = performance.now() * 1000; // microseconds
        encoder.encode(videoFrame, {
          timestamp: BigInt(Math.floor(timestamp)),
        });
        videoFrame.close();
      }
    })();
  };

  function wsReady(ws) {
    return new Promise((resolve, reject) => {
      ws.addEventListener('open', () => resolve());
      ws.addEventListener('error', e => reject(e));
    });
  }
</script>
Notes:
- We used MediaStreamTrackProcessor to get VideoFrame objects directly from the camera track. Alternatively you can capture frames from an HTMLVideoElement with
new VideoFrame(video)or from a canvas. - We created a small wire format with a timestamp and a keyframe flag followed by the raw chunk bytes. In real systems you’d use RTP or a custom framing protocol with sequence numbers and more fields.
Node relay (very small WebSocket broadcast server)
// server.js
const WebSocket = require('ws');
const wss = new WebSocket.Server({ port: 8080 });

wss.on('connection', function connection(ws) {
  ws.on('message', function incoming(message) {
    // simply broadcast binary messages to all other clients
    for (const client of wss.clients) {
      if (client !== ws && client.readyState === WebSocket.OPEN) {
        client.send(message);
      }
    }
  });
});

console.log('WebSocket relay listening on ws://localhost:8080');
Run: node server.js.
Receiver (decode + render)
<!-- receiver.html -->
<canvas id="output" width="640" height="480"></canvas>
<script>
  const canvas = document.getElementById('output');
  const ctx = canvas.getContext('2d');
  const ws = new WebSocket('ws://localhost:8080');

  let decoder = new VideoDecoder({
    output: frame => {
      // frame is a VideoFrame - draw it to canvas and close
      // fastest path is to transfer to an ImageBitmap first in many browsers
      createImageBitmap(frame).then(bitmap => {
        ctx.drawImage(bitmap, 0, 0, canvas.width, canvas.height);
        bitmap.close();
        frame.close();
      });
    },
    error: e => console.error('Decoder error', e),
  });

  ws.binaryType = 'arraybuffer';
  ws.onmessage = ev => {
    const buf = new Uint8Array(ev.data);
    const view = new DataView(ev.data);
    const timestamp = Number(view.getBigUint64(0));
    const isKey = view.getUint8(8) === 1;
    const payload = buf.subarray(9).buffer;

    const chunk = new EncodedVideoChunk({
      type: isKey ? 'key' : 'delta',
      timestamp: BigInt(timestamp),
      data: new Uint8Array(payload),
    });

    decoder.decode(chunk);
  };
</script>
Notes:
- We decode the incoming EncodedVideoChunk and render each produced VideoFrame to canvas via createImageBitmap (fast path) and canvas draw.
- Optionally, you can produce a MediaStream from decoded frames using MediaStreamTrackGenerator to pipe decoded frames into a
Optional: Render using MediaStreamTrackGenerator
If you want the decoded output to be a regular MediaStream (so it can be attached to a
const gen = new MediaStreamTrackGenerator({ kind: 'video' });
const writer = gen.writable.getWriter();
const outStream = new MediaStream([gen]);
// attach outStream to a <video> element: remoteVideo.srcObject = outStream;

// in decoder output callback:
decoder = new VideoDecoder({
  output: async frame => {
    // The VideoFrame is directly transferable to the track generator.
    await writer.ready;
    await writer.write(frame);
    frame.close();
  },
});
MediaStreamTrackGenerator is not available in all browsers - test for it and fall back to canvas rendering.
Performance and latency tuning (practical tips)
- Choose an appropriate codec: VP8/VP9 and AV1 have different tradeoffs. H.264 (avc1) is widely hardware-accelerated but licensing and profile strings can be fiddly.
- Configure bitrate to match your network. Too low → blocky; too high → buffer/latency.
- Keyframe interval: shorter intervals improve recovery after packet loss but increase bitrate.
- Use small frame sizes and framerates for constrained devices.
- Avoid costly pixel format conversions: pass VideoFrame objects when possible instead of re-encoding canvas bitmaps every time.
- Consider hardware-accelerated paths; many browsers use hardware encoders/decoders for typical codecs automatically.
Latency-specific ideas:
- Send encoded chunks immediately as they are produced. Don’t batch.
- Use small GOP (group of pictures) or force periodic keyframes for quick recovery.
- Prefer transport protocols with low buffering (WebTransport, WebSocket with tuning, or WebRTC for built-in jitter control). For production-grade low-latency streaming, WebRTC remains the standard transport.
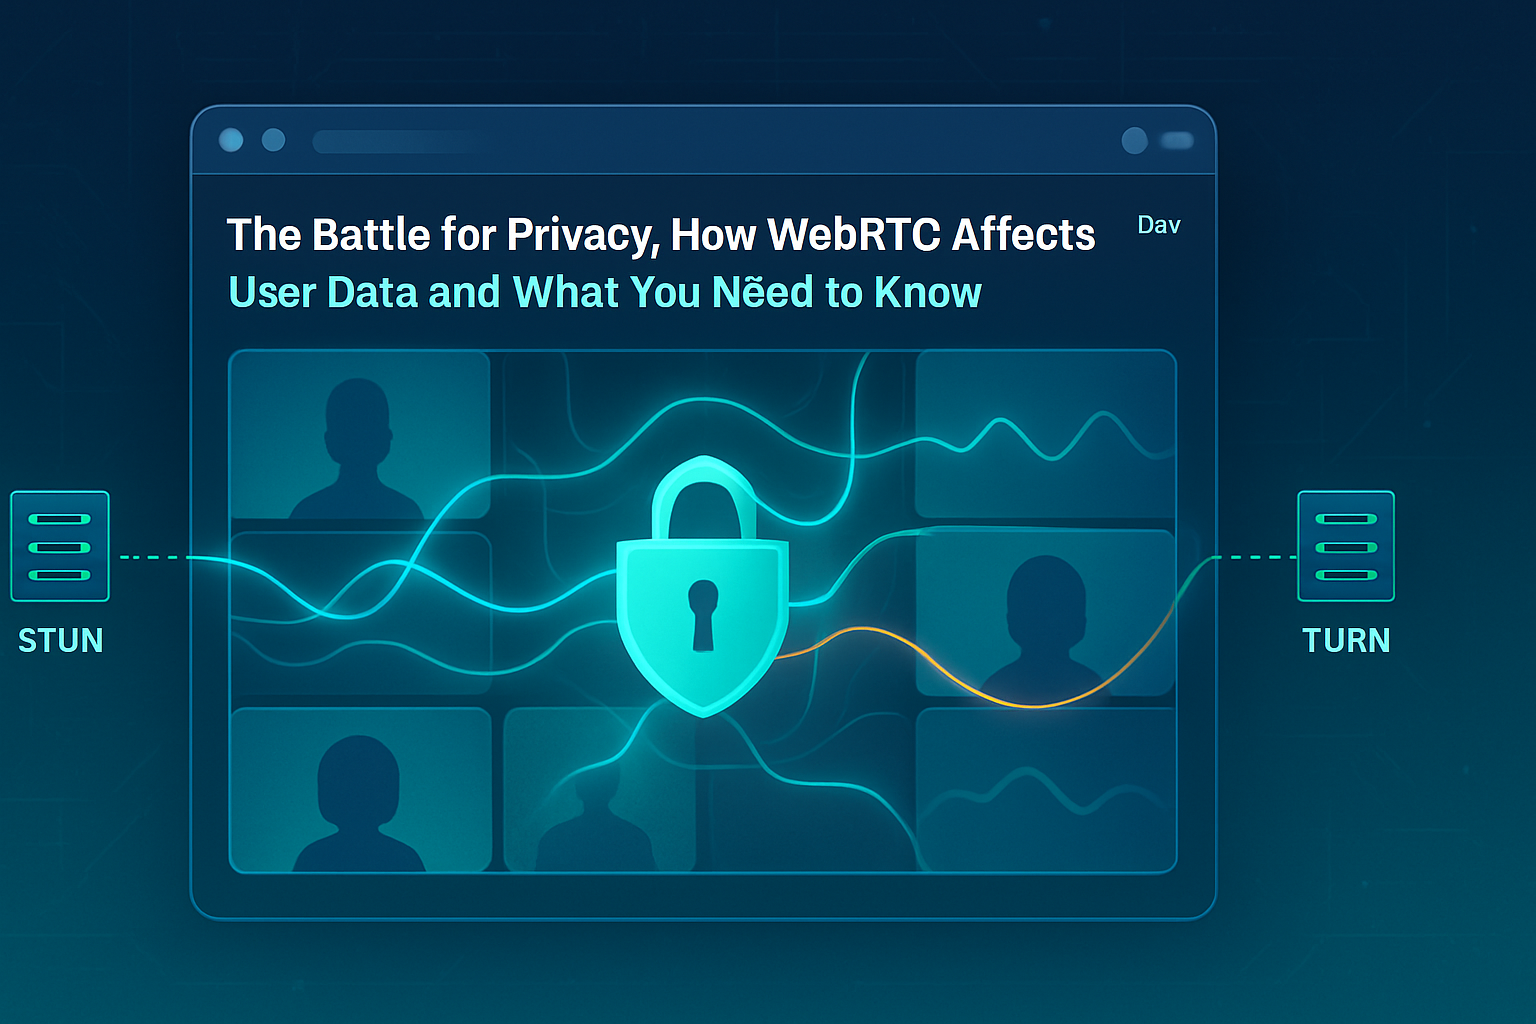
Security, privacy, and practical caveats
- Permissions: capturing media requires user permission (getUserMedia).
- Browser support: not all browsers support WebCodecs equally. Provide fallback to WebRTC or MediaRecorder.
- Transport reliability: a naive WebSocket relay has no retransmission or congestion control. Packet loss will corrupt decoded streams unless you add reliability or FEC.
- Syncing audio/video: audio is not covered deeply here. WebCodecs exposes AudioEncoder/AudioDecoder, but you must carefully manage timestamps across audio and video.
Troubleshooting common issues
- Nothing displays: check codec compatibility and ensure the receiver’s VideoDecoder was configured/initialized appropriately.
- Decoder errors: make sure to preserve chunk order and timestamps; mismatches will cause decode failures.
- High CPU: reduce resolution/framerate or use hardware-accelerated codecs.
- Large messages on WebSocket: split/buffer if necessary; prefer WebTransport/QUIC for modern low-latency transport.
Next steps and production considerations
- Replace the simple relay with a proper RTP/RTCP-based transport or WebRTC for congestion control and NAT traversal.
- Add sequence numbers, packetization, FEC and retransmission for reliable streaming over UDP-like transports.
- Use AudioEncoder and ensure AV sync by using matched timestamps.
- Consider encoding parameter adjustments mid-stream (reconfigure encoder) when bandwidth changes.
Resources and further reading
- WebCodecs overview on web.dev: https://web.dev/webcodecs/
- MDN WebCodecs documentation: https://developer.mozilla.org/en-US/docs/Web/API/WebCodecs_API
- W3C WebCodecs specification: https://w3c.github.io/webcodecs/
Wrap-up - why WebCodecs matters
You now know the pieces: VideoFrame, EncodedVideoChunk, VideoEncoder, and VideoDecoder. You can capture frames, encode them, and reconstruct them on the other side with precise control and low latency.
Start with the simple WebSocket relay above to prove the pipeline. Then graduate to reliable transports and production-grade error handling. The power of WebCodecs is control: you decide how frames move, how they’re encoded, and how quickly they arrive. Use it to build faster, leaner, and more flexible real-time media apps.
Happy streaming.