· deepdives · 9 min read
Unlocking Real-Time Video Processing with WebCodecs API
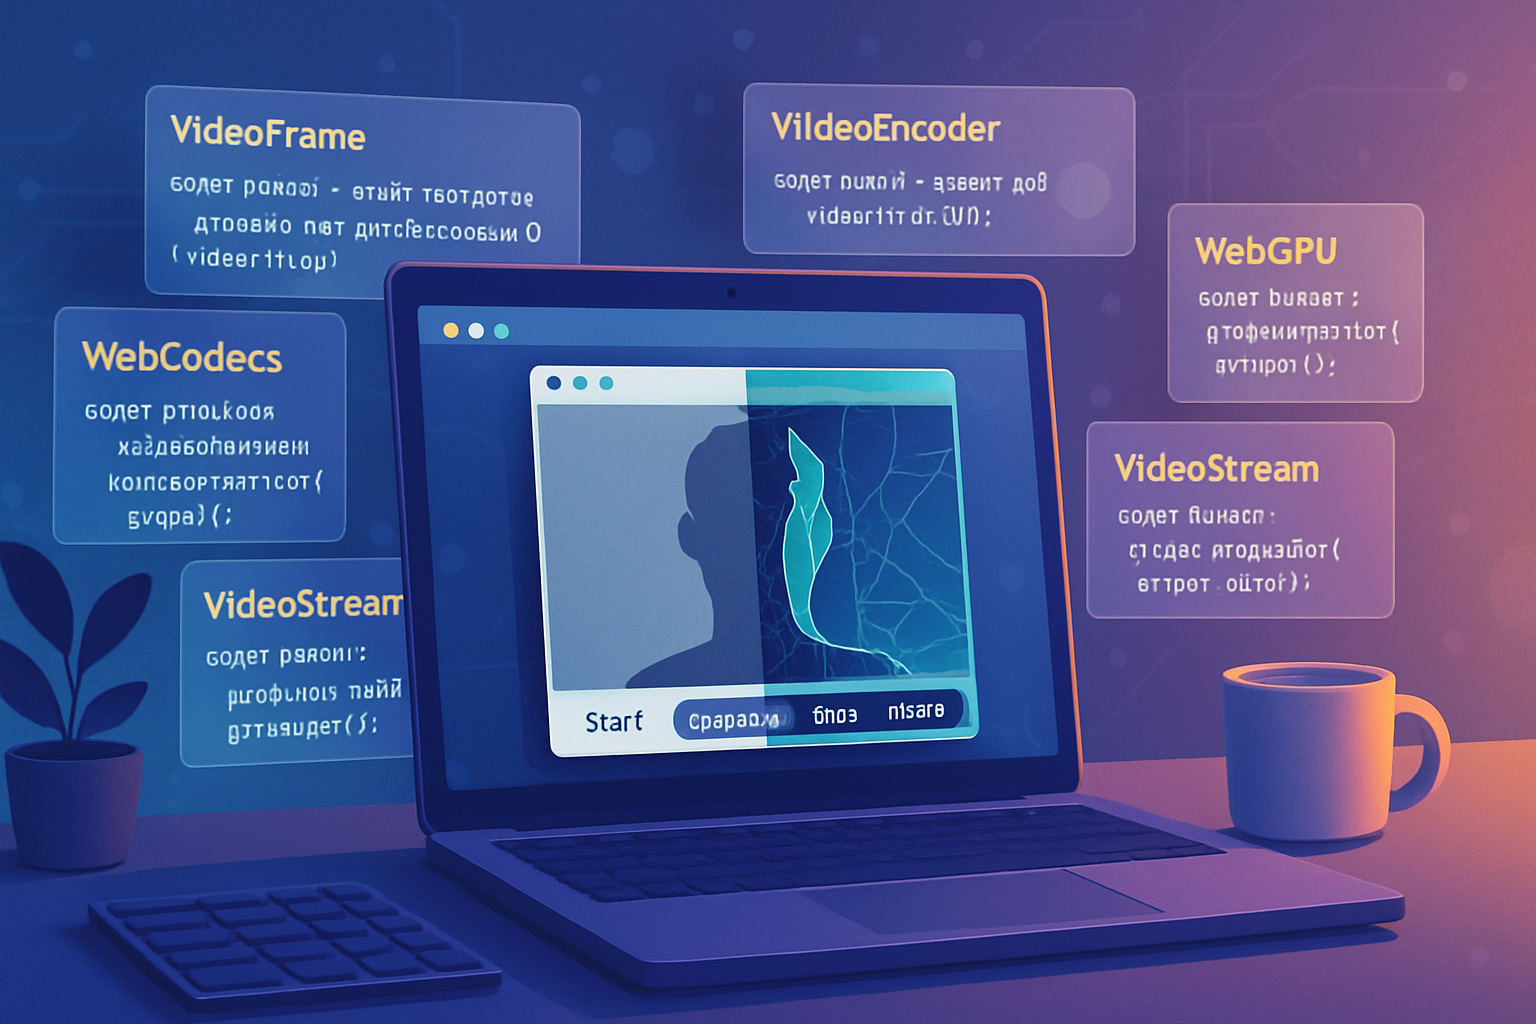
Learn how the WebCodecs API gives you low-latency, high-performance access to raw video frames and compressed bitstreams in the browser. This hands-on tutorial walks through building a live video effects demo using MediaStreamTrackProcessor, OffscreenCanvas, VideoEncoder and VideoDecoder.
Introduction
Modern browsers expose powerful building blocks for real-time multimedia. The WebCodecs API is one of the most important additions for low-latency, high-performance video: it gives web developers direct access to raw video frames and compressed video chunks (encoded bitstreams) without needing heavyweight APIs or plugins.
In this article you’ll learn what WebCodecs is good for and how to use it in practice. You’ll follow a hands-on tutorial that builds a live video effects application which:
- Captures camera frames
- Applies a fast visual effect (using an OffscreenCanvas / WebGL)
- Encodes processed frames with
VideoEncoder - Decodes encoded chunks with
VideoDecoderand displays the result (a loopback demonstrating encoding/decoding)
Along the way we’ll cover performance considerations, threading (workers), codec availability checks, and how to think about sending encoded video over the network.
Why WebCodecs?
Historically, web apps either used HTMLMediaElement +
VideoFrame: a first-class representation of a video frame that can be drawn to canvases or passed to encoders/decoders.VideoEncoder/VideoDecoder: direct, low-level encoders and decoders that operate on frames and compressed chunks.- Low-level control suitable for real-time pipelines (games, AR/VR, low-latency streaming, cloud-assisted rendering).
For official docs and spec reading see the W3C WebCodecs spec and MDN reference:
- WebCodecs spec: https://w3c.github.io/webcodecs/
- MDN: https://developer.mozilla.org/en-US/docs/Web/API/WebCodecs_API
- WICG repo with examples: https://github.com/WICG/web-codecs
- Chrome Developer blog: https://developer.chrome.com/blog/webcodecs/
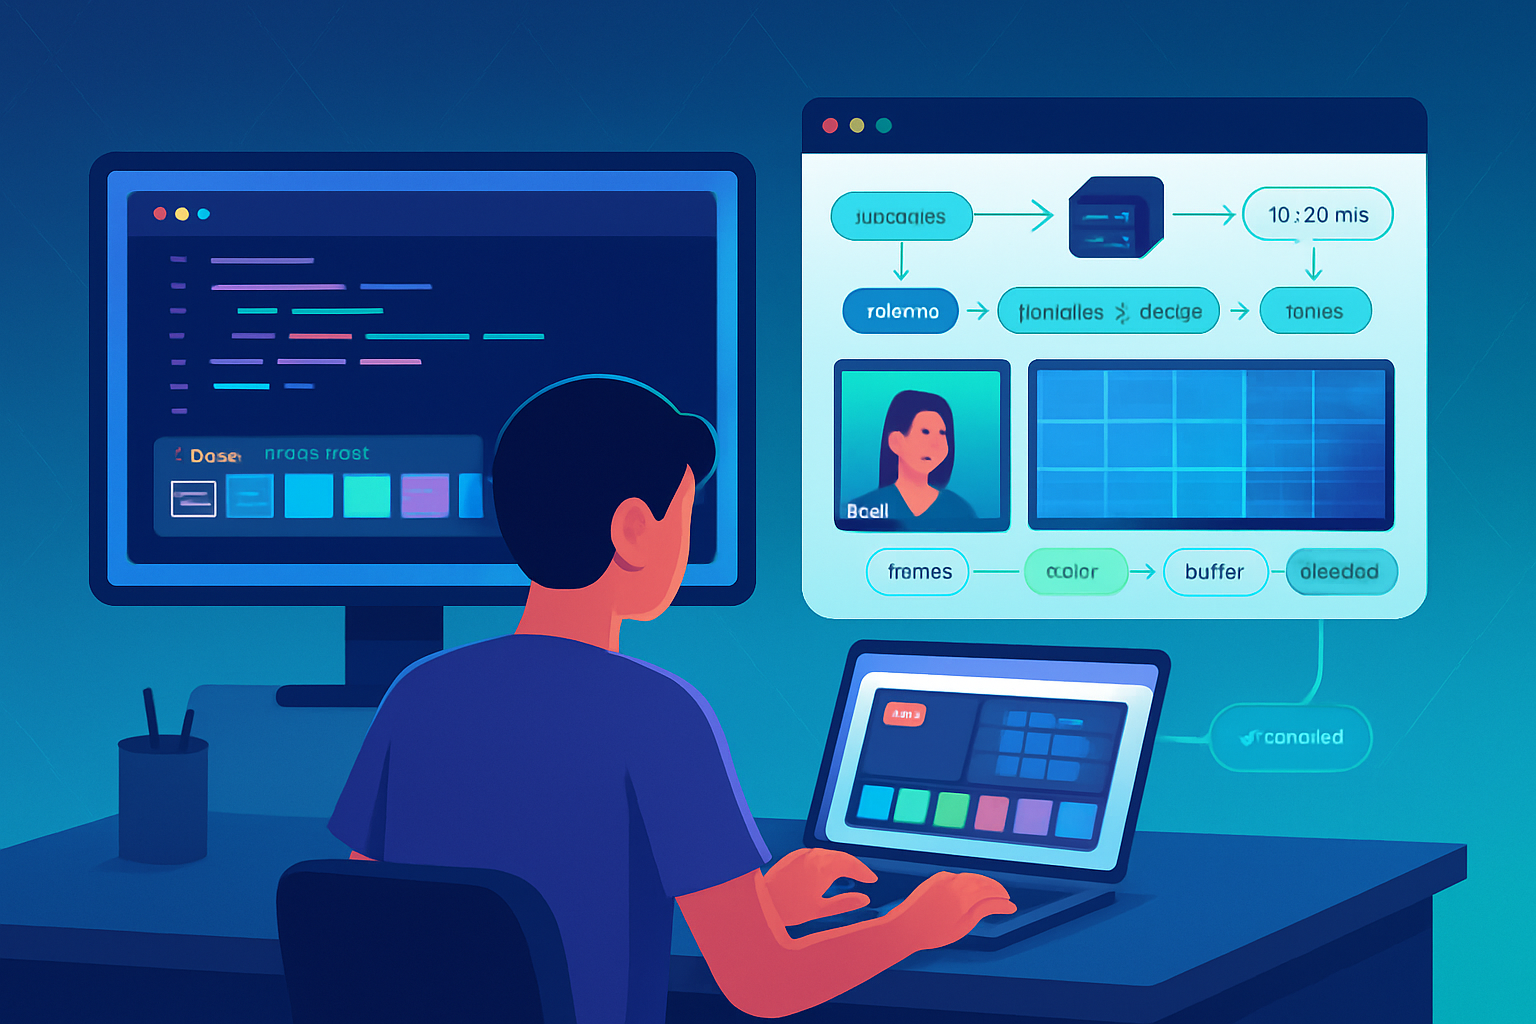
Anatomy of a simple pipeline
A typical low-latency processing pipeline looks like:
- Capture frames from camera:
navigator.mediaDevices.getUserMedia()->MediaStreamTrackProcessor(gets a stream ofVideoFrame). - Process frame: draw onto an
OffscreenCanvasor use WebGL shader for effects. - Encode frame: feed processed
VideoFrameintoVideoEncoder. - (Optional) Send encoded bytes to network or loop back.
- Decode:
VideoDecoderconvertsEncodedVideoChunkback toVideoFrame. - Render decoded frames to screen (canvas or HTMLVideoElement).
Below is a concrete, minimal implementation that demonstrates each step. The design keeps the encoding + decoding local to illustrate the transforms and latency; in production you’d typically push the encoded chunks over the network (WebSocket / WebTransport / WebRTC) instead of local loopback.
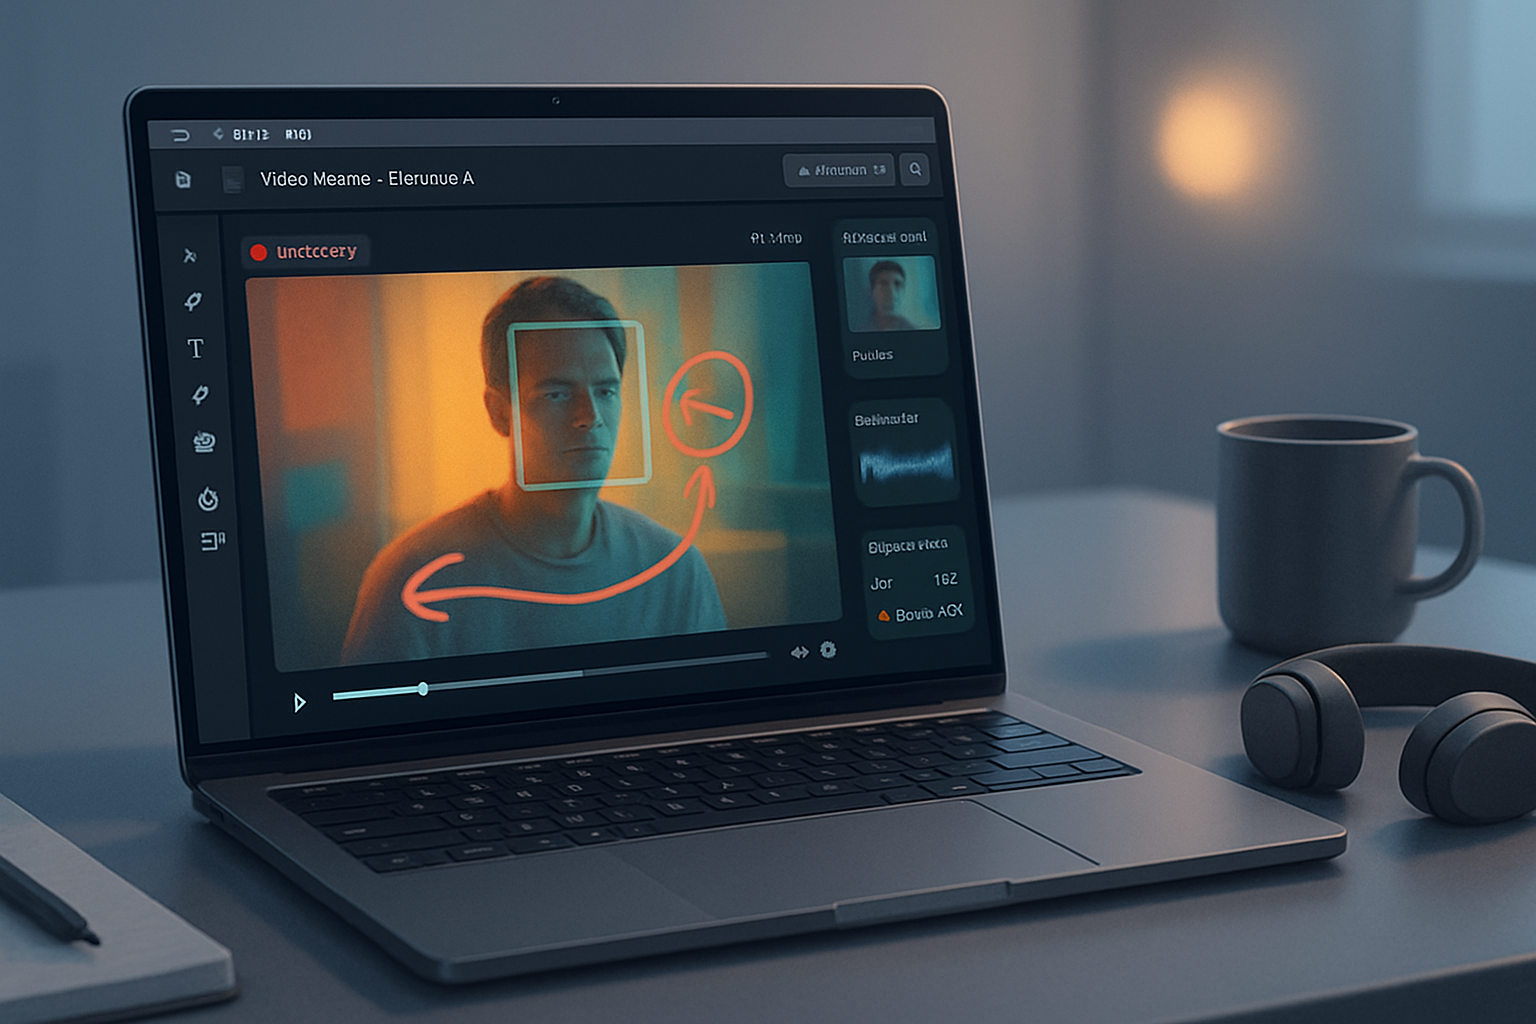
Live video effects demo - full walkthrough
This example shows a simple live-processing demo that takes webcam frames, applies a grayscale (or more advanced WebGL) effect in an OffscreenCanvas, encodes them with VP8 (you can switch codecs), then decodes and draws the result.
Note: This code assumes your browser supports the required APIs (WebCodecs, MediaStreamTrackProcessor, OffscreenCanvas). Use feature detection before running.
1) HTML skeleton
<!-- index.html (minimal) -->
<button id="start">Start</button>
<video id="hiddenPreview" autoplay playsinline style="display:none"></video>
<canvas id="outputCanvas"></canvas>
2) Key JavaScript: capture, process, encode, decode, display
// app.js
async function start() {
  // 1. Get camera
  const stream = await navigator.mediaDevices.getUserMedia({
    video: { width: 640, height: 480 },
    audio: false,
  });
  const videoTrack = stream.getVideoTracks()[0];

  // 2. Set up display canvas
  const outputCanvas = document.getElementById('outputCanvas');
  const width = 640,
    height = 480;
  outputCanvas.width = width;
  outputCanvas.height = height;
  const outputCtx = outputCanvas.getContext('2d');

  // 3. Create a MediaStreamTrackProcessor to get VideoFrame stream
  const processor = new MediaStreamTrackProcessor({ track: videoTrack });
  const reader = processor.readable.getReader();

  // 4. Setup OffscreenCanvas for processing (can be moved to a Worker)
  const offscreen = new OffscreenCanvas(width, height);
  const offCtx = offscreen.getContext('2d');

  // 5. Create a VideoDecoder that will draw decoded frames to outputCanvas
  const decoder = new VideoDecoder({
    output: frame => {
      // Draw decoded VideoFrame to visible canvas
      // Use drawImage; note VideoFrame implements the ImageBitmap-like interface
      outputCtx.drawImage(frame, 0, 0, width, height);
      frame.close(); // very important to avoid memory leaks
    },
    error: e => console.error('Decoder error', e),
  });

  // Configure decoder for codec we'll use (VP8 in this example)
  decoder.configure({ codec: 'vp8', codedWidth: width, codedHeight: height });

  // 6. Create a VideoEncoder. The output callback will send encoded chunks to the decoder (loopback)
  const encoder = new VideoEncoder({
    output: (chunk, metadata) => {
      // Loopback: pass encoded chunk directly to the decoder
      // VideoDecoder.decode accepts an EncodedVideoChunk
      try {
        decoder.decode(chunk);
      } catch (err) {
        console.error('Decode error', err);
      }
    },
    error: e => console.error('Encoder error', e),
  });

  const encoderConfig = {
    codec: 'vp8', // change to 'avc1.42E01E' for H.264 if supported
    width,
    height,
    bitrate: 1_000_000, // 1 Mbps
    framerate: 30,
  };

  // Optionally check support
  try {
    const support = await VideoEncoder.isConfigSupported(encoderConfig);
    if (!support.supported) {
      console.warn('Encoder config not supported:', support);
    }
  } catch (e) {
    console.warn('isConfigSupported error', e);
  }

  encoder.configure(encoderConfig);

  // 7. Read frames, apply effect, feed encoder
  let frameCounter = 0;
  while (true) {
    const result = await reader.read();
    if (result.done) break;
    const frame = result.value; // VideoFrame from camera

    // Draw camera frame onto offscreen canvas
    offCtx.drawImage(frame, 0, 0, width, height);

    // Apply a simple effect with canvas compositing, or manipulate pixels
    // Example: grayscale
    const imgData = offCtx.getImageData(0, 0, width, height);
    const data = imgData.data;
    for (let i = 0; i < data.length; i += 4) {
      const r = data[i],
        g = data[i + 1],
        b = data[i + 2];
      const gray = (r * 0.299 + g * 0.587 + b * 0.114) | 0;
      data[i] = data[i + 1] = data[i + 2] = gray;
    }
    offCtx.putImageData(imgData, 0, 0);

    // Create a new VideoFrame from the OffscreenCanvas
    const processedFrame = new VideoFrame(offscreen, {
      timestamp: frame.timestamp,
    });

    // Close the original camera frame to free resources
    frame.close();

    // Occasionally force a key frame for robustness when sending over network
    const keyFrame = frameCounter++ % 60 === 0; // every 60 frames
    encoder.encode(processedFrame, { keyFrame });

    // We must close processedFrame after encoding
    processedFrame.close();

    // Optional: throttle or check encoder.encode queue status by examining encoder.encodeQueueSize
    // await some scheduling if desired
  }

  // cleanup
  await encoder.flush();
  encoder.close();
  decoder.close();
  videoTrack.stop();
}

document.getElementById('start').addEventListener('click', start);
Notes about the example
- We used
MediaStreamTrackProcessorto obtain a stream ofVideoFrameobjects instead of drawing from an HTMLVideoElement withdrawImage. This gives direct access to frames and their timestamps. - For the effect we used 2D pixel manipulation. For higher performance or complex effects use WebGL/WebGPU shaders in an OffscreenCanvas.
- We loopback encoded chunks directly into a
VideoDecoderto demonstrate encode/decode. In real applications you’d either send encoded chunks over the network (e.g. WebSocket / WebTransport / WebRTC) or save them into a container format. - Always call
.close()onVideoFrameobjects when you’re done with them - not releasing frames leads to GPU memory leaks.
Using WebGL shaders for effects (faster)
2D pixel manipulations with getImageData are simple to implement but not GPU-accelerated. For real-time effects at higher resolutions, use a WebGL fragment shader on an OffscreenCanvas. Example approach:
- Create an OffscreenCanvas and get a WebGL2 context
- Upload the camera frame to a texture (use
texImage2Dwith theVideoFrameviacreateImageBitmap(frame)or draw the frame to a 2D canvas and use it as a source) - Run a fragment shader (e.g., color grading, blur, CRF effects)
- Use
gl.readPixelsonly for debugging - avoid reading back to CPU; instead encode directly from the OffscreenCanvas (which avoids reads) - Create a
VideoFramefrom the OffscreenCanvas and pass to encoder
OffscreenCanvas + worker is a powerful combo: you can run the shader and encoding inside a Worker to keep the main thread responsive.
Sending encoded chunks to a server
If you want to stream processed frames to a server (or to a peer):
- The
VideoEncoderoutput callback yieldsEncodedVideoChunkinstances. You can extract their ArrayBuffer and send them over WebSocket or WebTransport. - To reconstruct playable video on the receiving end you typically need to wrap encoded chunks into a container (like WebM or MP4). There are JavaScript muxers (e.g., [mp4box.js] or [webm-writer-js]) that help with that, or you can decode them at the receiving browser and render them via
VideoDecoderdirectly. - If you target a WebRTC peer, consider sending frames as raw frames via
Insertable Streams+ WebRTC transforms, or send the encoded chunks and feed them into aRTCRtpSenderif you control the pipeline.
Note: WebCodecs does not provide containerization; it’s codec-level only.
Performance and resource considerations
- Avoid synchronous pixel readbacks (e.g.,
getImageData) at high resolutions. Prefer WebGL shaders or native canvas filters. - Use
OffscreenCanvas+ Worker to move heavy processing off the main thread. - Reuse buffers where possible and call
.close()onVideoFrame,EncodedVideoChunk,VideoDecoderandVideoEncoderwhen finished. - Use
VideoEncoder.isConfigSupported()andVideoDecoder.isConfigSupported()to detect supported codecs and parameters. - When encoding, tune bitrate and framerate for your use case to reduce CPU/GPU load.
- For upload or network streaming, consider containerization overhead and network packetization (NACK/RTT handling) through WebTransport/WebRTC.
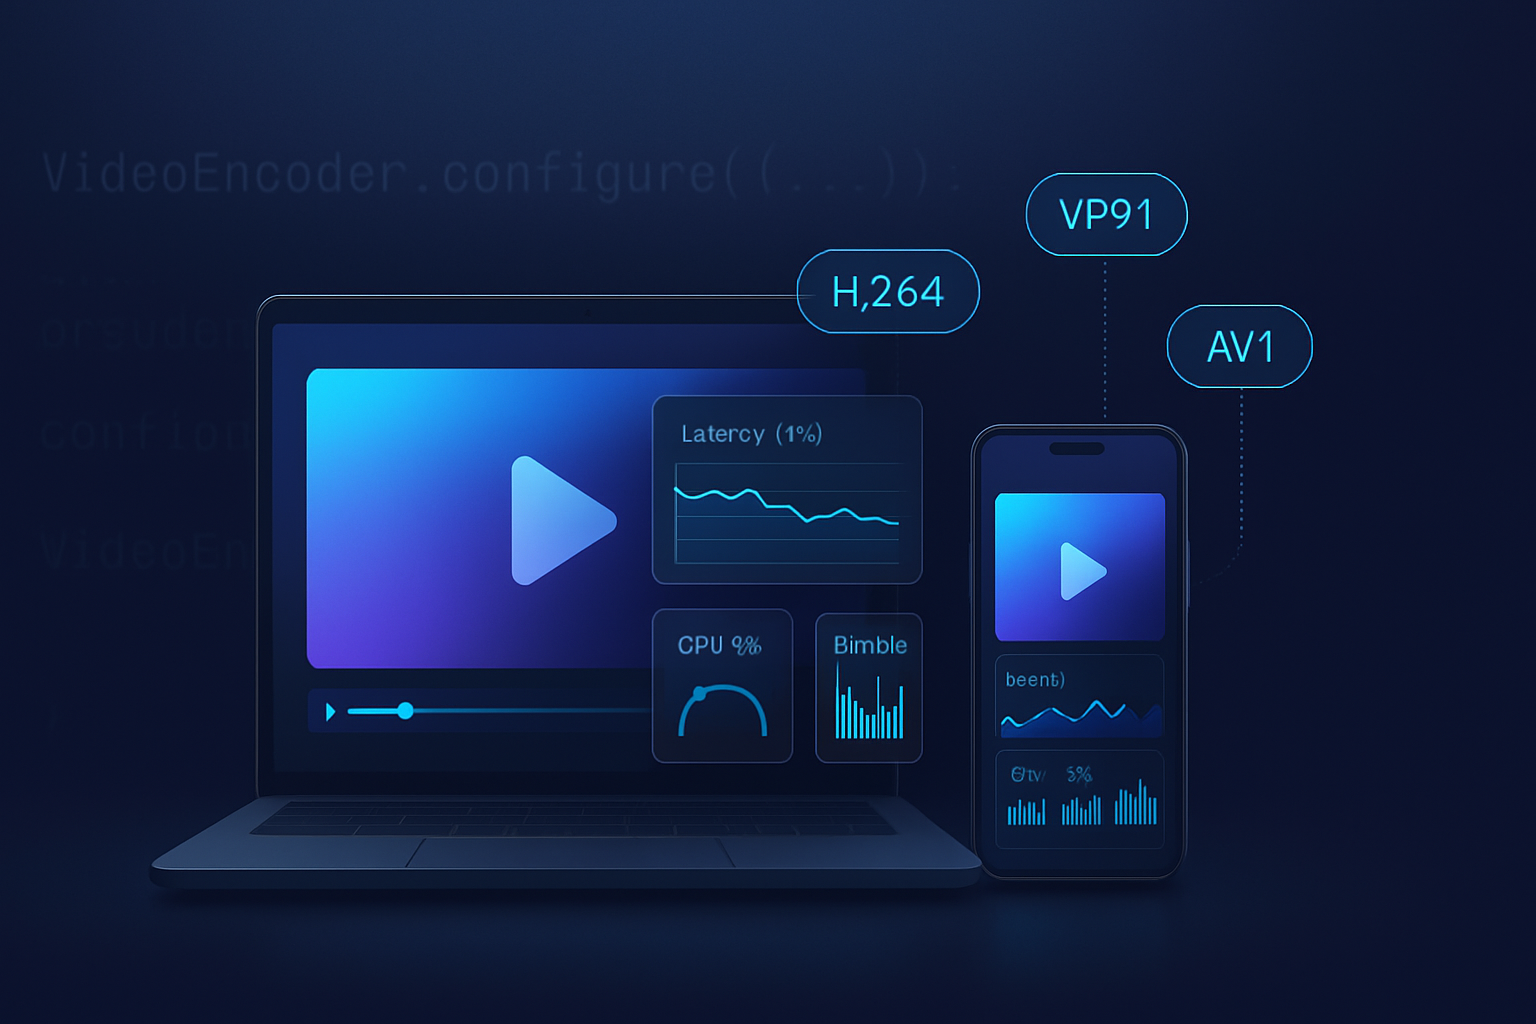
Browser support & feature detection
Not all browsers support WebCodecs and the related track processor APIs. Perform runtime checks:
if (!('MediaStreamTrackProcessor' in window)) {
  console.warn('MediaStreamTrackProcessor not supported.');
}
if (!('VideoEncoder' in window) || !('VideoDecoder' in window)) {
  console.warn('WebCodecs not supported in this browser.');
}
Keep in mind that codec support (H.264, VP8, VP9, AV1) varies across platforms and builds. Use VideoEncoder.isConfigSupported() to check specific codec support.
Security & privacy
- WebCodecs itself is subject to the browser’s privacy/security model. Camera access still requires
getUserMediapermissions. - Encoded bitstreams might contain metadata or be fingerprinted; treat them like sensitive data.
- Use TLS/WSS when sending encoded data over the network.
Further topics (brief pointers)
- Muxing: to create downloadable files you must wrap encoded chunks into a container (WebM/MP4) with a muxer.
- Offloading to hardware: browsers often perform encoding/decoding with hardware acceleration; this depends on codec and platform.
- Advanced pipelines: combine WebCodecs with WebGPU for GPU-based filters, or with WebTransport for low-latency transport.
When to use WebCodecs
- Real-time video editing, AR/VR, remote rendering
- Low-latency streaming where you want direct control over encoding parameters
- Custom codecs or integration with hardware-specific codecs
If your use-case is simply to stream webcam via WebRTC or to apply trivial DOM-based video filters, higher-level APIs might be simpler. But when you need microsecond-level control, per-frame processing, or custom encoding settings, WebCodecs is the right tool.
References and further reading
- W3C WebCodecs specification: https://w3c.github.io/webcodecs/
- MDN WebCodecs overview: https://developer.mozilla.org/en-US/docs/Web/API/WebCodecs_API
- MediaStreamTrackProcessor (MDN): https://developer.mozilla.org/en-US/docs/Web/API/MediaStreamTrackProcessor
- VideoFrame (MDN): https://developer.mozilla.org/en-US/docs/Web/API/VideoFrame
- Chrome Developers: “Introducing the WebCodecs API”: https://developer.chrome.com/blog/webcodecs/
- WICG Web Codecs repo (examples & discussion): https://github.com/WICG/web-codecs
Conclusion
WebCodecs opens the browser to use-cases that previously required native apps or complex toolchains. It gives web developers a low-level, efficient interface for real-time encoding and decoding, enabling advanced applications such as cloud-assisted rendering, custom streaming pipelines, and high-performance video effects.
The demo above illustrates the essential concepts: capture frames, process them (preferably on GPU), encode, and decode. From here you can expand by moving processing to a Worker with OffscreenCanvas, using WebGL shaders for richer effects, or streaming encoded chunks to a server or peer for remote playback.
Happy building!