· deepdives · 6 min read
Understanding the Permissions API: What Every Developer Should Know
A practical, in-depth guide to the Permissions API: what it is, how it works, real-world examples, browser quirks, and best practices to build respectful, user-friendly permission flows.
What you’ll be able to do after reading
You will be able to: query and react to permission states, design non-blocking permission flows, troubleshoot cross-browser differences, and improve user experience while respecting privacy. Read on and learn exactly when to ask for access - and how to ask so users say yes more often.
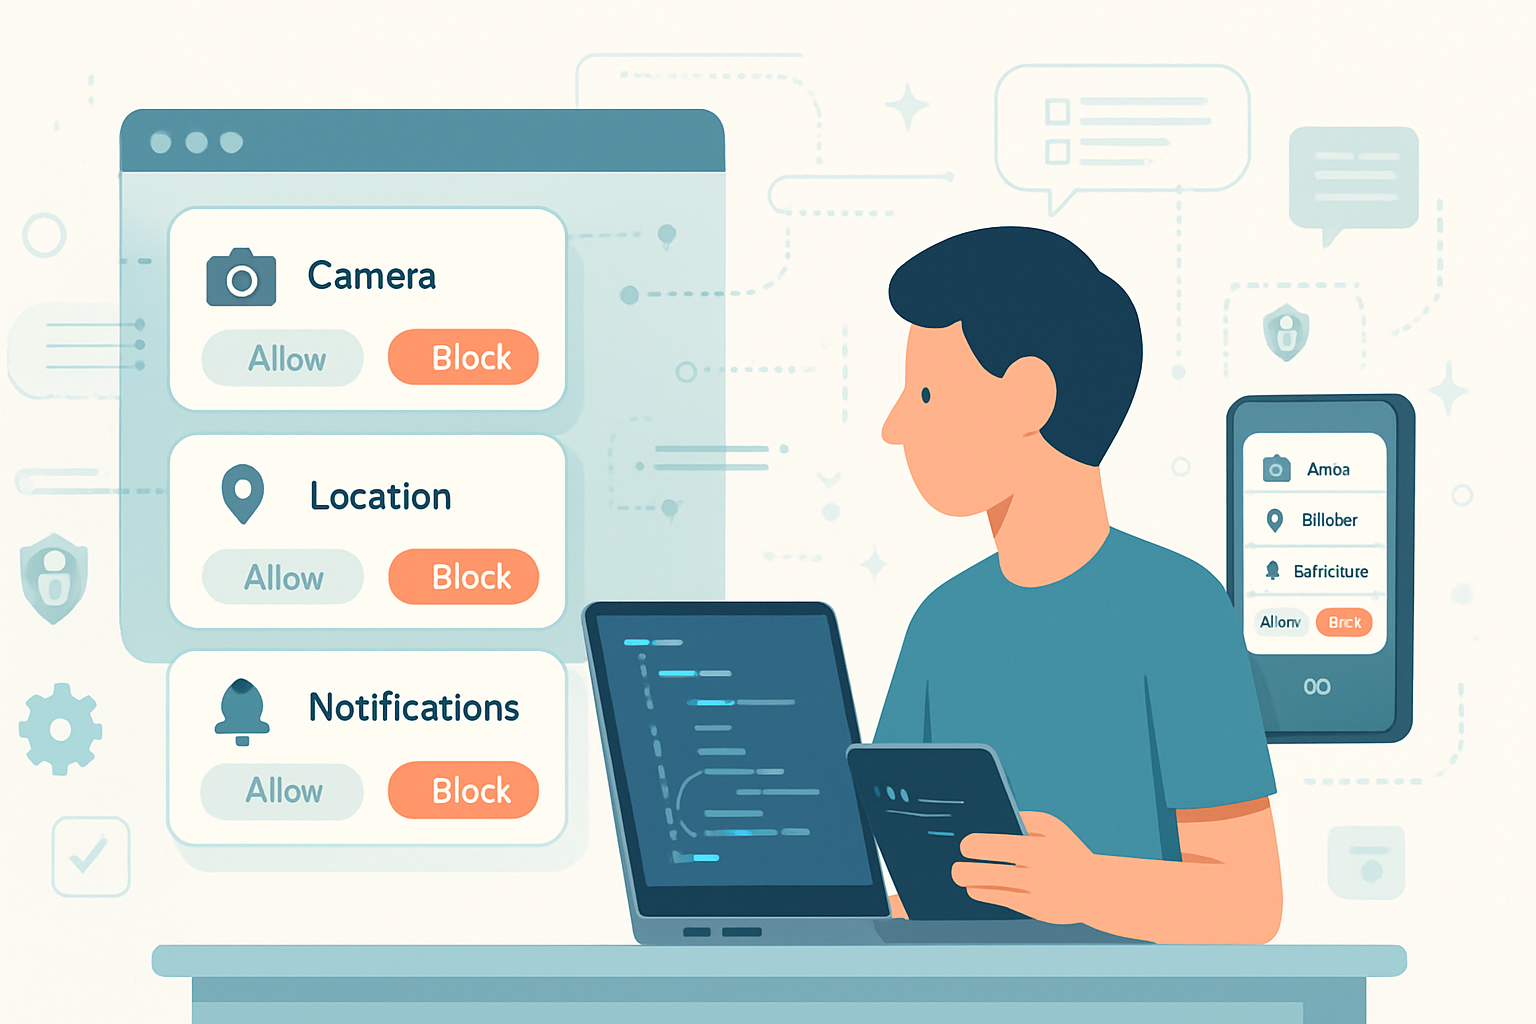
Quick overview: What is the Permissions API?
The Permissions API gives web pages a standardized way to check the current permission state for a feature (for example: notifications, camera, microphone, geolocation) and to listen for changes to that state. It does not replace the feature-specific permission prompts - it helps you ask smarter and respond gracefully.
Key concepts:
- Permission descriptor: a small object describing which permission you want to check (e.g. { name: ‘geolocation’ }).
- PermissionStatus: the object returned by navigator.permissions.query; it has a
.stateproperty and an.onchangeevent. - States: ‘granted’, ‘denied’, ‘prompt’.
Important: the Permissions API is a tool for checking and observing - to actually request access you still use the feature-specific APIs (e.g. navigator.geolocation.getCurrentPosition, Notification.requestPermission(), navigator.mediaDevices.getUserMedia()).
References: MDN provides a practical reference for supported permission names and examples: https://developer.mozilla.org/en-US/docs/Web/API/Permissions_API
How it works - the minimal flow
- Feature-detect the Permissions API.
- Query the permission state you care about.
- Update your UI accordingly.
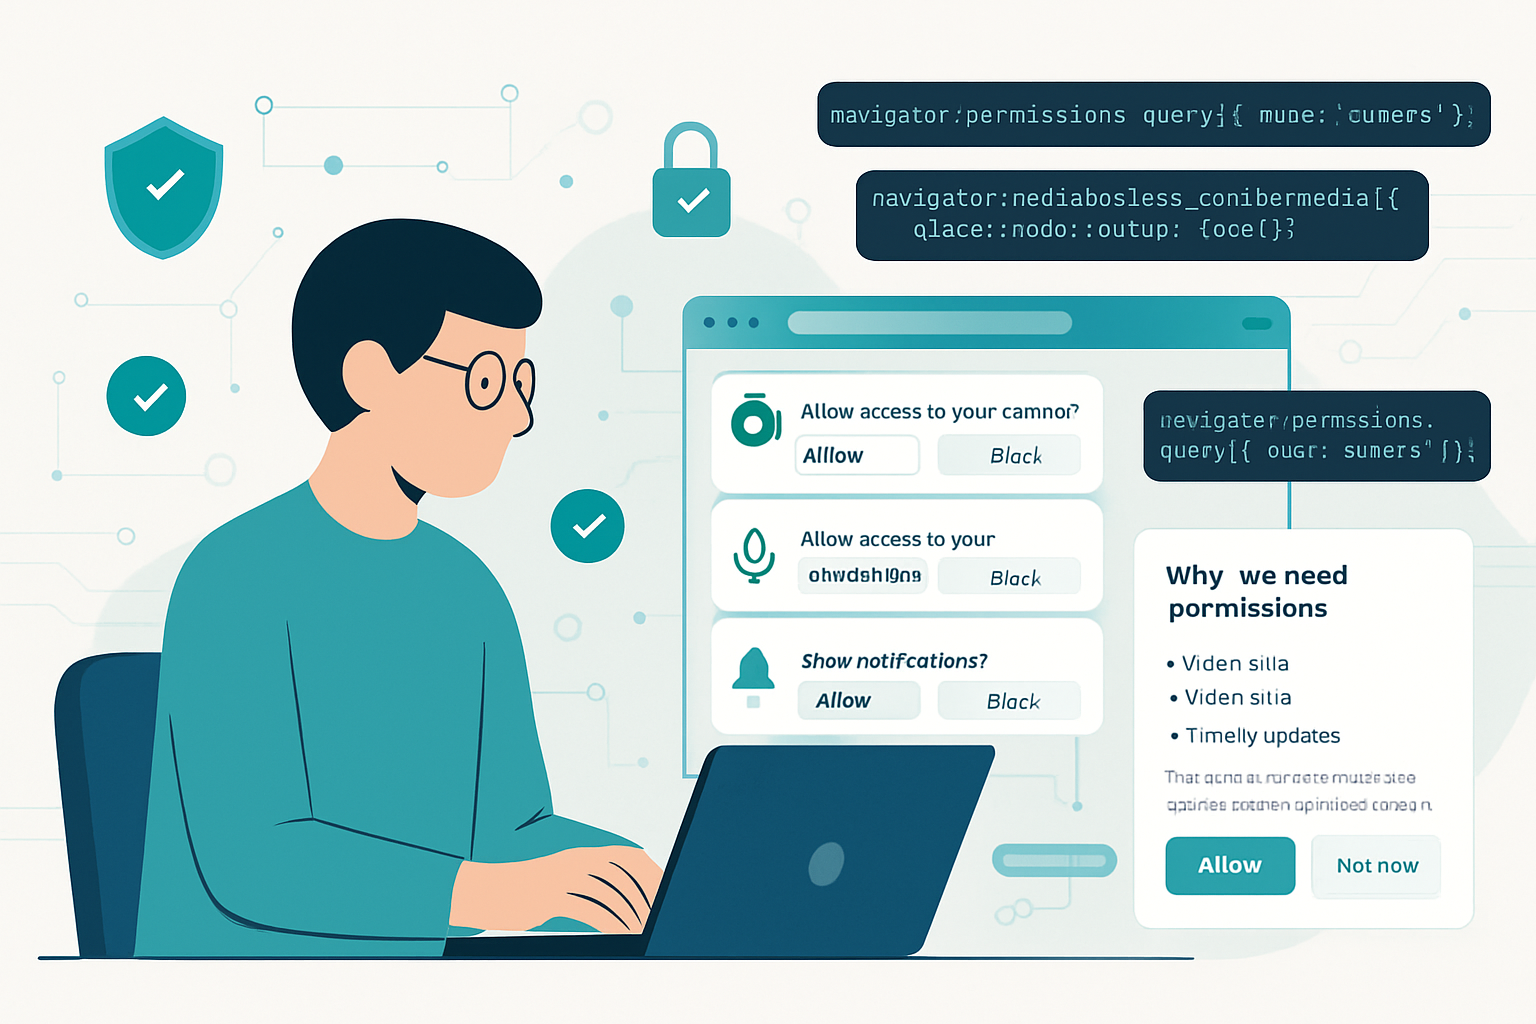
- If the state is ‘prompt’, show an explanatory UI and only then invoke the feature-specific request.
- Listen for changes via PermissionStatus.onchange so your UI stays in sync.
Example: query notification permission state (basic):
if ('permissions' in navigator) {
  navigator.permissions.query({ name: 'notifications' }).then(status => {
    console.log('Notification permission state:', status.state); // 'granted' | 'denied' | 'prompt'
    status.onchange = () =>
      console.log('Notifications permission changed to', status.state);
  });
}
Note: Notification.permission still exists and is used to request permission (Notification.requestPermission()). The Permissions API simply tells you the current state without showing a prompt.
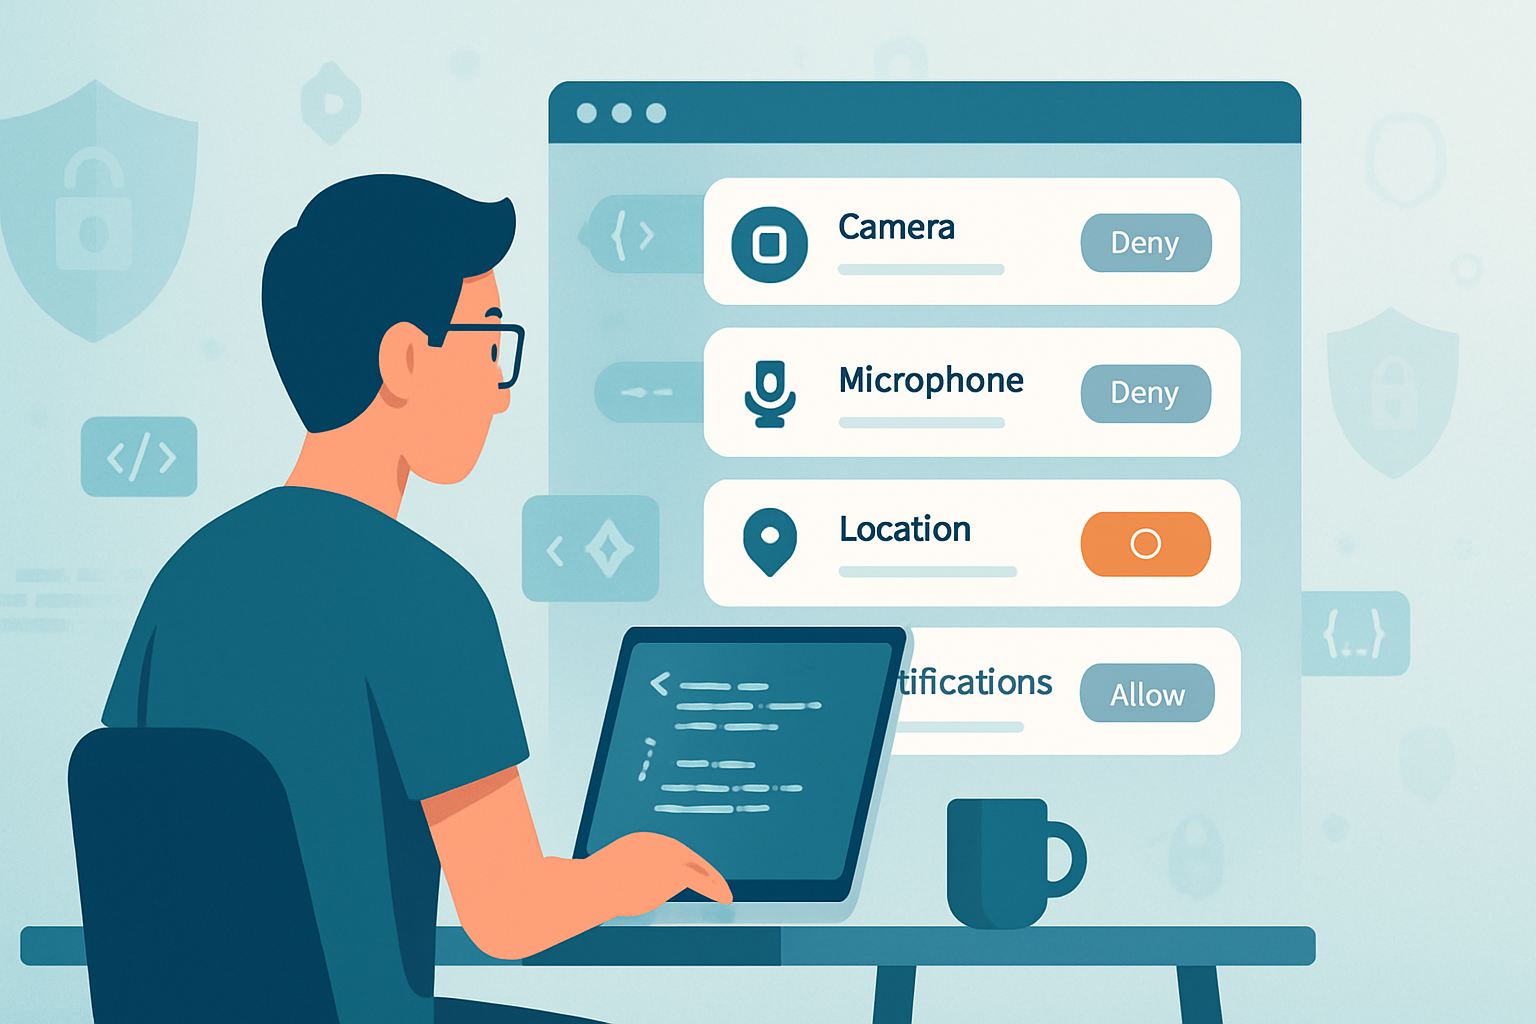
Permission descriptor names (common ones)
Not all browsers support every name. Commonly used descriptors include:
- geolocation
- notifications
- push (usually with options like {name: ‘push’, userVisibleOnly: true})
- camera
- microphone
- persistent-storage
- midi (and midi with sysex)
- ambient-light-sensor, accelerometer, gyroscope, magnetometer
- clipboard-read, clipboard-write
See the MDN list (keeps changing): https://developer.mozilla.org/en-US/docs/Web/API/Permissions/query
Practical examples and patterns
Below are concrete patterns you can reuse.
1) Feature-detection helper
Always check support first - the API surface and behavior differ between browsers.
function supportsPermissions() {
  return !!(navigator.permissions && navigator.permissions.query);
}
2) Query and react to state
Use the returned PermissionStatus to set UI and subscribe to changes.
async function watchPermission(name, options = {}) {
  if (!supportsPermissions()) return null;
  try {
    const status = await navigator.permissions.query({ name, ...options });
    // initial state
    handlePermissionState(name, status.state);
    // listen for changes
    status.onchange = () => handlePermissionState(name, status.state);
    return status;
  } catch (err) {
    console.warn('Permission API query failed for', name, err);
    return null;
  }
}

function handlePermissionState(name, state) {
  // Update your UI: show granted features, or a button to request, or an explanation if denied
  console.log(name, 'is', state);
}
3) Requesting access - explain first, then request
Don’t call getUserMedia() or requestPermission() immediately on page load. Instead:
- Let the user perform a relevant action (click ‘Record’).
- Show a short explanation about why your app needs the permission.
- Then call the API.
Example: camera flow
async function requestCamera() {
  // 1) Query current state
  const perm = await navigator.permissions?.query?.({ name: 'camera' });
  if (perm?.state === 'granted') {
    return navigator.mediaDevices.getUserMedia({ video: true });
  }
  // 2) If prompt, show an explanation UI, then call getUserMedia (which triggers the browser prompt)
  if (perm?.state === 'prompt' || perm == null) {
    // show explanatory UI here (modal/tooltip)
    return navigator.mediaDevices.getUserMedia({ video: true });
  }
  // 3) If denied, show help to change settings
  throw new Error(
    'Camera permission was denied. Ask user to change site settings.'
  );
}
4) Clipboard with user gestures
Clipboard read tends to require a user gesture and stricter policies. Use Permissions API only for feature detection and to decide whether to show a UI affordance.
// Request clipboard-read on user gesture
button.addEventListener('click', async () => {
  try {
    const text = await navigator.clipboard.readText();
    console.log('Pasted text:', text);
  } catch (err) {
    console.error('Clipboard read failed', err);
  }
});
Use navigator.permissions.query({name: ‘clipboard-read’}) only to check state where supported.
Browser support and gotchas
- The Permissions API is widely available in Chromium-based browsers and Firefox, but support for specific permission names varies. Safari historically has limited support for navigator.permissions. Check up-to-date compatibility before relying on specific descriptors.
- Some permissions return inaccurate or intentionally coarse state values for privacy reasons. For example, camera/microphone may be ‘prompt’ until the user interacts with a getUserMedia request, and some browsers deliberately avoid revealing detailed permission state to prevent fingerprinting.
- Querying some descriptors requires a secure context (HTTPS) and/or a user gesture.
Check compatibility: https://caniuse.com/mdn-api_permissions
Specification and behavior notes: https://w3c.github.io/permissions/ and https://developer.mozilla.org/en-US/docs/Web/API/Permissions_API
Handling denied permissions - UX strategies
A denied permission is not a bug. It’s a user preference. How you handle it determines whether users keep using your app.
Good practices:
- Respect ‘denied’. Provide clear, actionable instructions for changing site-level permissions in the browser (don’t attempt to circumvent them).
- Offer degraded experiences with graceful fallbacks.
- Allow users to re-try after a clearly described change (e.g., a ‘Retry with instructions’ button).
Example: fallback for denied geolocation
function showLocationFallback() {
  // Provide manual zip-code input or let user enter coordinates.
  // Update UI to reflect that location isn't available automatically.
}
Avoid repeated modal prompts; they frustrate users and increase denial rates.
Security, privacy, and anti-fingerprinting considerations
- Browsers may intentionally limit what the Permissions API reveals to reduce fingerprinting. Do not assume every descriptor will return a meaningful state.
- Only request permissions when necessary and explain why. Users are far more likely to grant permissions when they understand the value and the app offers immediate benefit.
- Limit telemetry: avoid logging raw permission states to analytics unless explicitly consented to by the user.
Debugging and testing tips
- Use the browser’s site settings (Chrome: chrome://settings/content, Firefox: Site Settings) to simulate different states.
- In DevTools you can usually simulate permission states. Example: Chrome DevTools -> Application -> Permission.
- Clear site data between tests: cached permissions can persist and affect behavior.
Checklist: How to add permissions correctly
- Feature-detect navigator.permissions before use.
- Query state, don’t assume.
- Explain why you need the permission before asking.
- Request the permission on a meaningful user gesture.
- Provide a fallback when permission is denied.
- Listen to PermissionStatus.onchange to keep UI up-to-date.
- Avoid logging permission state to third-party analytics without user consent.
Example: end-to-end flow for camera with graceful UX
<!-- Show a clear call-to-action -->
<button id="start-camera">Record a video</button>
<div id="explanation" style="display:none">
  We only need your camera to record short clips for your profile.
</div>
const btn = document.getElementById('start-camera');
btn.addEventListener('click', async () => {
// Show brief explanation UI before triggering browser prompt
document.getElementById('explanation').style.display = 'block';
try {
// Query first (if available)
const perm = await navigator.permissions?.query?.({ name: 'camera' });
if (perm?.state === 'denied') {
alert(
'Camera access is blocked. Please enable camera permissions in your browser settings.'
);
return;
}
// Now request camera (this triggers the browser prompt)
const stream = await navigator.mediaDevices.getUserMedia({ video: true });
// Use the stream: show preview, start recording, etc.
} catch (err) {
console.error('Camera request failed:', err);
// Offer fallback or instructions
}
});This pattern reduces surprise and increases the chance users will grant access.
Where to read more
- MDN - Permissions API: https://developer.mozilla.org/en-US/docs/Web/API/Permissions_API
- WHATWG / W3C specs - Permissions: https://w3c.github.io/permissions/
- Can I Use - feature support: https://caniuse.com/mdn-api_permissions
Summary - what every developer should remember
The Permissions API is a lightweight, non-blocking way to learn about permission states and to react to changes. It does not replace feature-specific request APIs, but it helps you design respectful, user-friendly flows: query first, explain why, request on action, fall back gracefully. That approach protects user privacy and leads to better adoption of your app’s features.