· deepdives · 7 min read
Understanding the MediaStream Recording API: A Step-by-Step Guide for Beginners
A practical, step-by-step guide that teaches you how to capture audio and video with the MediaStream Recording API, save recordings, choose formats, handle browser compatibility and common pitfalls - aimed at beginners who want to build reliable in-browser recording features.
Outcome: By the end of this guide you’ll be able to capture webcam or screen streams, record audio and video using the MediaStream Recording API (MediaRecorder), save recordings to disk, and choose appropriate formats - with code you can drop into your project.
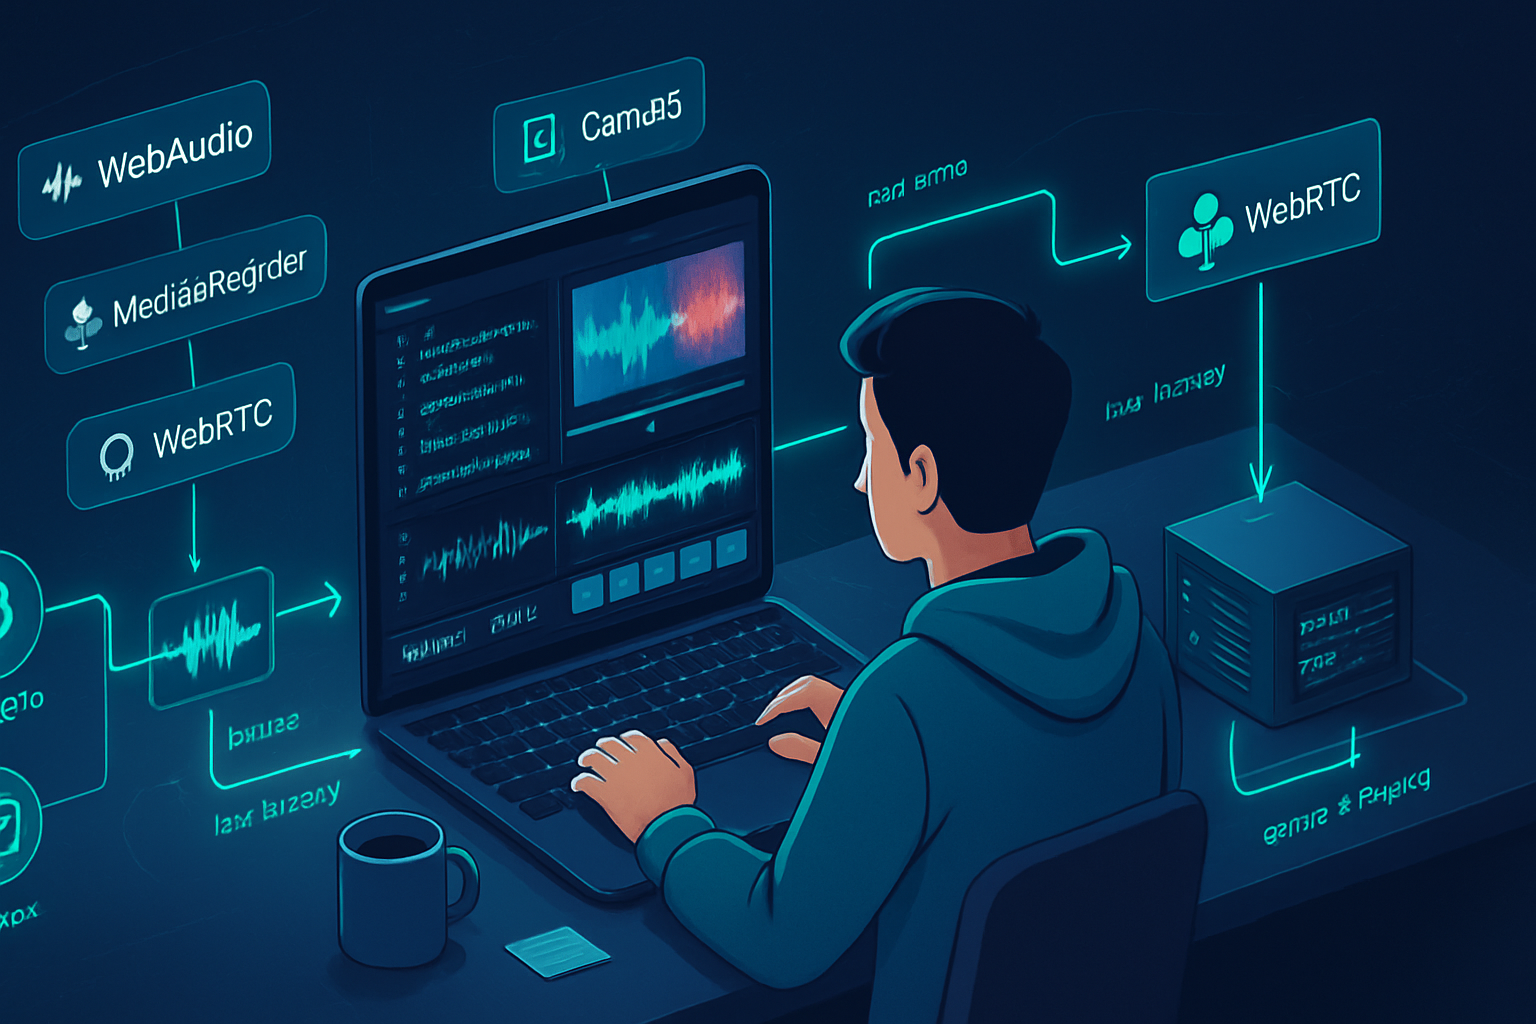
You don’t need to be an expert in codecs or WebRTC. We’ll walk through the essentials, show working examples, explain common pitfalls and how to handle them.
Quick overview - what you’ll learn
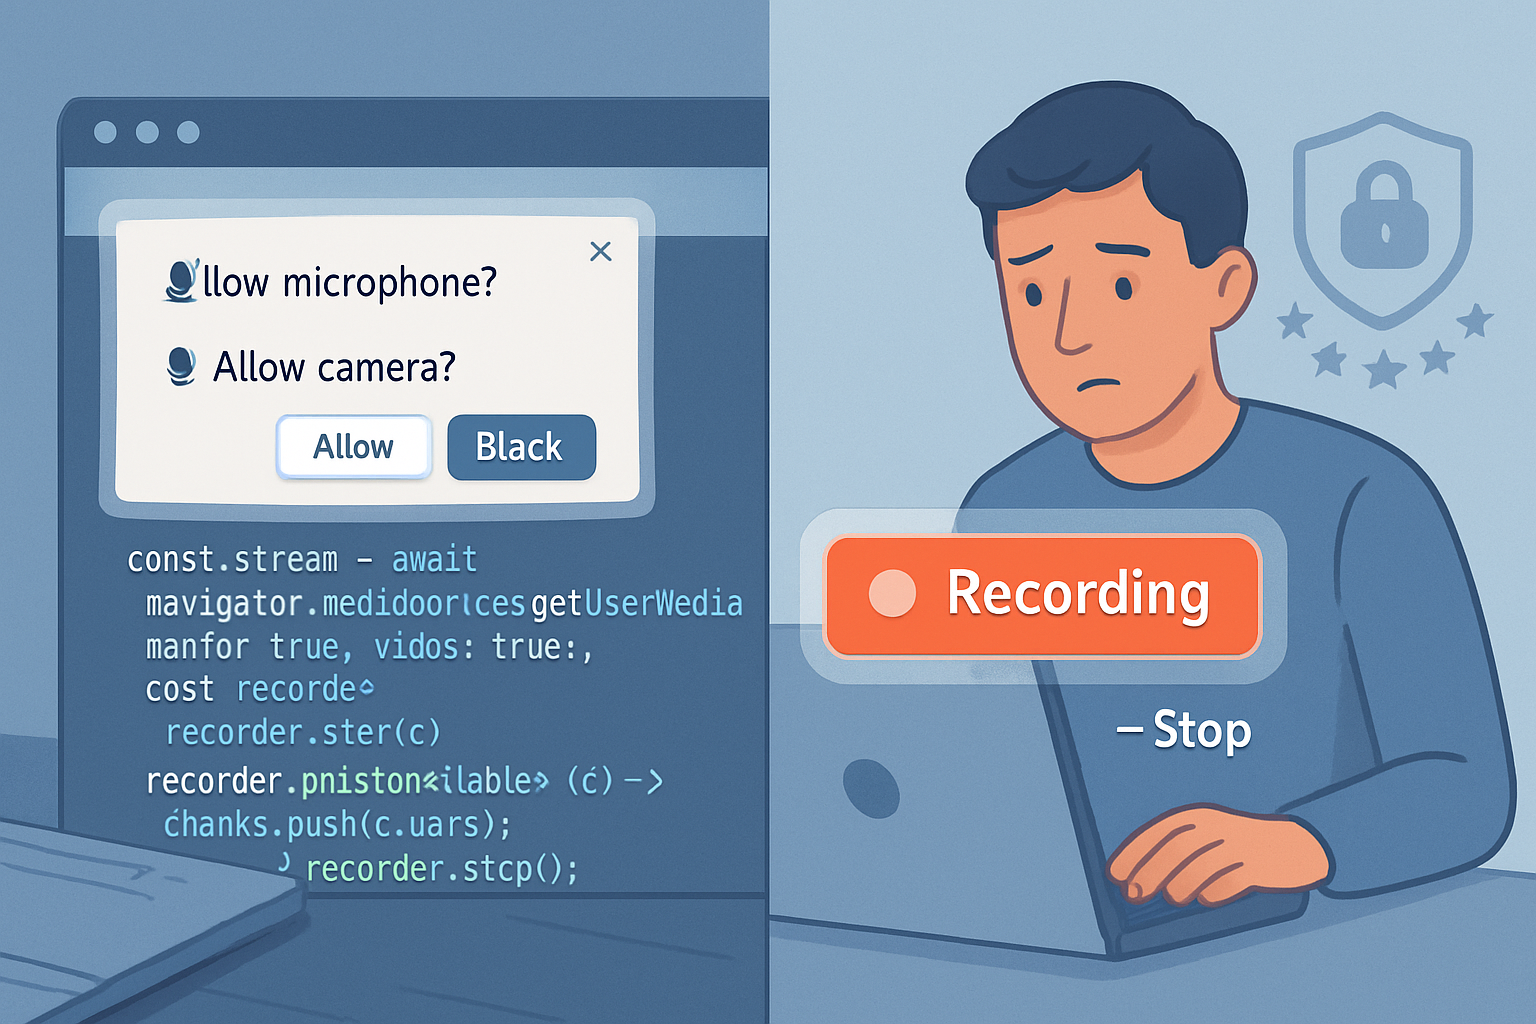
- How to ask for camera and microphone access (getUserMedia).
- How to start, chunk and stop a recording with MediaRecorder.
- How to save the recorded data to a file and play it back.
- How to choose and check MIME types and bitrates.
- Strategies for long recordings and streaming uploads.
- Compatibility notes and alternatives for older browsers.
1 - The basics: get a MediaStream
First step: get a MediaStream from the user using navigator.mediaDevices.getUserMedia(). This gives you live audio/video tracks you can preview or record.
Example (camera + mic preview):
const constraints = { audio: true, video: { width: 1280, height: 720 } };
try {
  const stream = await navigator.mediaDevices.getUserMedia(constraints);
  const videoEl = document.querySelector('#preview');
  videoEl.srcObject = stream;
  videoEl.play();
} catch (err) {
  console.error('getUserMedia error:', err);
}
Notes:
- The user will see a permission prompt. Don’t try to bypass it.
- You can also capture the screen via
navigator.mediaDevices.getDisplayMedia()for screen recording.
References: getUserMedia (MDN), Screen Capture API (MDN)
2 - Create a MediaRecorder and record
The MediaRecorder API turns a MediaStream into a sequence of Blob chunks. Basic flow:
- create MediaRecorder(stream, options)
- listen for
dataavailableevents (these contain Blob chunks) - call
recorder.start()andrecorder.stop()
Minimal example that records to a single Blob and then downloads it:
<!-- HTML -->
<video id="preview" autoplay muted playsinline></video>
<button id="start">Start</button>
<button id="stop" disabled>Stop</button>
<a id="download" style="display:none">Download</a>
const startBtn = document.getElementById('start');
const stopBtn = document.getElementById('stop');
const download = document.getElementById('download');
let recorder; // MediaRecorder
let recordedChunks = [];
startBtn.addEventListener('click', async () => {
const stream = await navigator.mediaDevices.getUserMedia({
audio: true,
video: true,
});
document.querySelector('#preview').srcObject = stream;
// Choose a MIME type if supported
const mimeType = MediaRecorder.isTypeSupported('video/webm;codecs=vp9,opus')
? 'video/webm;codecs=vp9,opus'
: 'video/webm';
recorder = new MediaRecorder(stream, { mimeType });
recorder.ondataavailable = e => {
if (e.data && e.data.size > 0) recordedChunks.push(e.data);
};
recorder.onstop = () => {
const blob = new Blob(recordedChunks, { type: mimeType });
const url = URL.createObjectURL(blob);
download.href = url;
download.download = 'recording.webm';
download.style.display = 'inline';
recordedChunks = [];
// Stop tracks to release camera and mic
stream.getTracks().forEach(t => t.stop());
};
recorder.start();
startBtn.disabled = true;
stopBtn.disabled = false;
});
stopBtn.addEventListener('click', () => {
recorder.stop();
startBtn.disabled = false;
stopBtn.disabled = true;
});Key points:
ondataavailablefires when the recorder has a Blob chunk. If you callrecorder.start(1000), it will fire every 1000 ms (useful for chunked uploads).- The
stop()event gives you a final chunk and triggersonstop. - Call
stream.getTracks().forEach(track => track.stop())to turn off camera/mic.
Reference: MediaRecorder (MDN)
3 - Choosing the right MIME type and codecs
Different browsers support different container formats and codecs. Common combinations:
- video/webm;codecs=vp8,opus - widely supported in Chrome, Firefox.
- video/webm;codecs=vp9,opus - better compression if available.
- audio/ogg;codecs=opus - audio-only Ogg + Opus in some browsers.
- video/mp4 - not usually available to MediaRecorder because browsers restrict MP4 encoding.
Always test with MediaRecorder.isTypeSupported before attempting to use a mimeType. Fallbacks are essential.
const preferred = 'video/webm;codecs=vp9,opus';
const mimeType = MediaRecorder.isTypeSupported(preferred)
  ? preferred
  : 'video/webm';
If you need MP4 or WAV outputs across all users, you often need server-side transcoding or client-side encoding using libraries - or to capture raw audio and encode a WAV in the browser using AudioWorklet/Recorder.js.
4 - Recording audio-only and saving as WAV (brief)
MediaRecorder will typically give you audio in a compressed container (webm/ogg). If you require WAV (PCM), you need to capture raw audio frames and write a WAV header, or use a library like Recorder.js or an AudioWorklet-based encoder.
Simplified path:
- Use MediaRecorder for quick audio recording - you’ll get .webm or .ogg with Opus.
- If WAV is required for compatibility with legacy systems, either transcode server-side (recommended for production) or implement client-side PCM capture and WAV encoding.
5 - Chunked recording and streaming uploads
Recording very long sessions into memory can cause problems. Instead, record in chunks and upload each chunk as it’s produced.
// example: start with 2s timeslice
recorder.start(2000); // every 2 seconds `ondataavailable` will fire with a Blob
recorder.ondataavailable = async e => {
  if (e.data.size > 0) {
    // upload chunk to server
    await fetch('/upload-chunk', { method: 'POST', body: e.data });
  }
};
Server can stitch chunks together or process them incrementally. This is the recommended approach for long recordings, unstable networks, or live processing.
6 - Pause/Resume and bitrate control
MediaRecorder supports pause() and resume() for user-controlled pauses. For bitrate you can pass bitsPerSecond in the options when creating a MediaRecorder:
const options = { mimeType: 'video/webm', bitsPerSecond: 2_500_000 }; // 2.5 Mbps
const recorder = new MediaRecorder(stream, options);
Be conservative on mobile devices - high bitrate means large files and heavy CPU usage.
7 - Handling errors and permission issues
Always wrap getUserMedia in try/catch. Listen for recorder.onerror. Check for permission states:
navigator.permissions
  .query({ name: 'camera' })
  .then(status => console.log(status.state));
If the user denies permission, provide a clear UI message and guidance.
8 - Playback and saving
Once you have a Blob, you can:
- Play it by assigning URL.createObjectURL(blob) to a
- Save it by creating an anchor () with the blob URL and calling click(), or using the File System Access API when available.
Example download helper:
function downloadBlob(blob, filename) {
  const url = URL.createObjectURL(blob);
  const a = document.createElement('a');
  a.style.display = 'none';
  a.href = url;
  a.download = filename;
  document.body.appendChild(a);
  a.click();
  setTimeout(() => {
    URL.revokeObjectURL(url);
    a.remove();
  }, 100);
}
For large blobs prefer streaming to server storage or using the File System Access API for saving without keeping the whole blob in memory.
9 - Browser compatibility and gotchas
- MediaRecorder is supported in modern Chrome and Firefox. Safari has added support in recent versions but with limitations; check current compatibility before relying on it in production.
- Different browsers produce different default containers and codecs.
- Mobile browsers may limit resolution, frame rate, or CPU usage.
- If bitrate or codec is unsupported, MediaRecorder may throw or refuse to start.
Compatibility resources: MDN MediaRecorder, Can I Use - MediaRecorder
10 - Best practices and tips
- Always check
MediaRecorder.isTypeSupported()before selecting mimeType. - Use chunked recording (
recorder.start(timeslice)) for long recordings and streaming uploads. - Release tracks with
stream.getTracks().forEach(t => t.stop())when finished. - Handle permission denials gracefully with clear UI feedback.
- Prefer server-side transcoding when you need universal formats like MP4.
- For audio-only, if WAV is required, use dedicated client-side encoding libraries or server-side conversion.
11 - Example: Full minimal app (camera + recording + download)
Here’s a complete example you can try in a secure context (https) in a modern browser.
<!doctype html>
<html>
  <body>
    <video
      id="preview"
      autoplay
      playsinline
      muted
      style="width:320px;height:180px;background:#000"
    ></video>
    <div>
      <button id="start">Start</button>
      <button id="stop" disabled>Stop</button>
      <a id="download" style="display:none">Download</a>
    </div>
    <script>
      const startBtn = document.getElementById('start');
      const stopBtn = document.getElementById('stop');
      const download = document.getElementById('download');
      const preview = document.getElementById('preview');
      let recorder,
        recorded = [];

      startBtn.onclick = async () => {
        try {
          const stream = await navigator.mediaDevices.getUserMedia({
            video: true,
            audio: true,
          });
          preview.srcObject = stream;

          const mime = MediaRecorder.isTypeSupported(
            'video/webm;codecs=vp9,opus'
          )
            ? 'video/webm;codecs=vp9,opus'
            : 'video/webm';
          recorder = new MediaRecorder(stream, { mimeType: mime });

          recorder.ondataavailable = e => {
            if (e.data && e.data.size) recorded.push(e.data);
          };
          recorder.onstop = () => {
            const blob = new Blob(recorded, { type: mime });
            recorded = [];
            download.href = URL.createObjectURL(blob);
            download.download = 'capture.webm';
            download.style.display = 'inline';
            stream.getTracks().forEach(t => t.stop());
          };

          recorder.start();
          startBtn.disabled = true;
          stopBtn.disabled = false;
        } catch (err) {
          console.error(err);
          alert('Could not start recording: ' + err.message);
        }
      };

      stopBtn.onclick = () => {
        recorder.stop();
        startBtn.disabled = false;
        stopBtn.disabled = true;
      };
    </script>
  </body>
</html>
12 - When MediaRecorder isn’t enough
- Need MP4 output? Transcode on server or use specialized client encoders.
- Need pristine WAV audio? Use AudioWorklet or an encoding library.
- Need frame-by-frame control or custom video processing? Consider WebCodecs or Canvas capture and encode manually.
Final checklist before shipping
- Test on target browsers and devices.
- Check supported mime types programmatically.
- Use chunked uploads for long sessions.
- Provide clear UI for permissions and errors.
- Free hardware resources (stop tracks) after recording.
Recording media in the browser is simpler than many developers expect. With getUserMedia and MediaRecorder you can implement reliable in-browser recording quickly. Start small, test widely, and use chunked uploads or server-side transcoding when you need production-grade compatibility and durability.