· deepdives · 9 min read
Beyond Basics: Advanced Use Cases for the Web Serial API
Take the Web Serial API beyond simple serial terminals. Learn to build a browser-based firmware uploader, a real-time IoT data logger, and interactive hardware prototypes with robust code samples, error handling, and performance tips.
What you’ll achieve
In this article you’ll learn how to use the Web Serial API to build production-ready browser tools: a firmware uploader for microcontrollers, a resilient real-time data logger for IoT devices, and interactive hardware prototypes that respond to live user controls. You’ll get concrete code patterns for streaming binary data, framing and ACK-based upload protocols, continuous reading and persistent storage, plus performance and security best practices.
Read on and you’ll be able to move from a simple serial terminal to full-featured, user-friendly browser tools that connect directly to hardware.
Quick primer (recap)
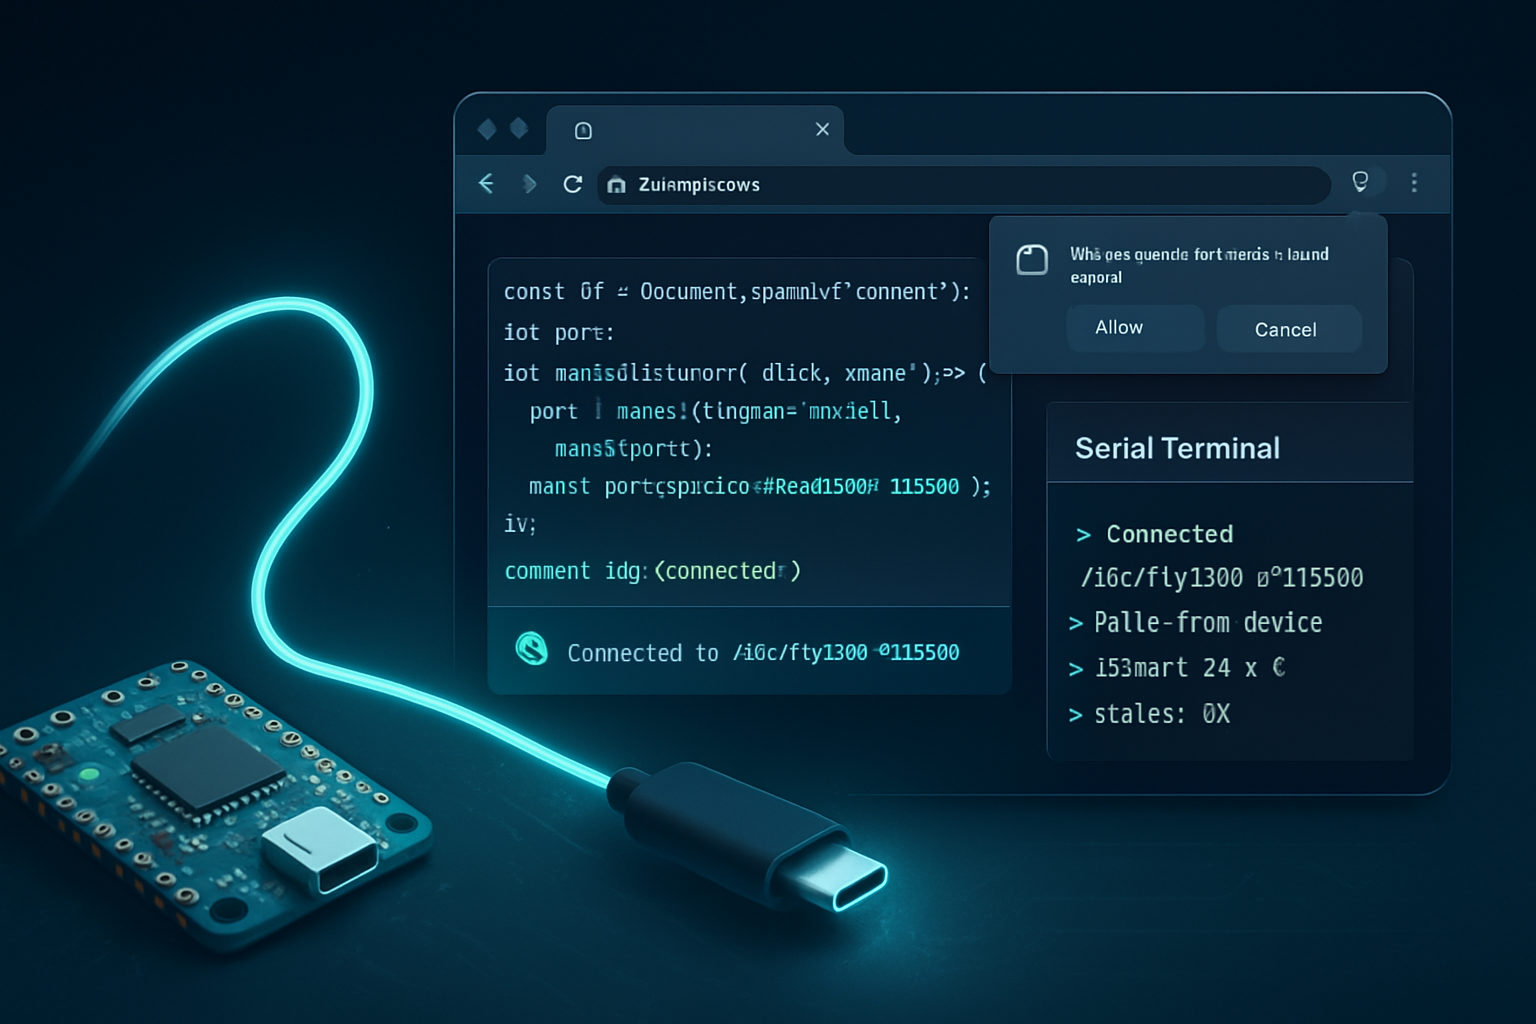
The Web Serial API exposes serial ports to web pages via a secure user prompt. The key methods you’ll use:
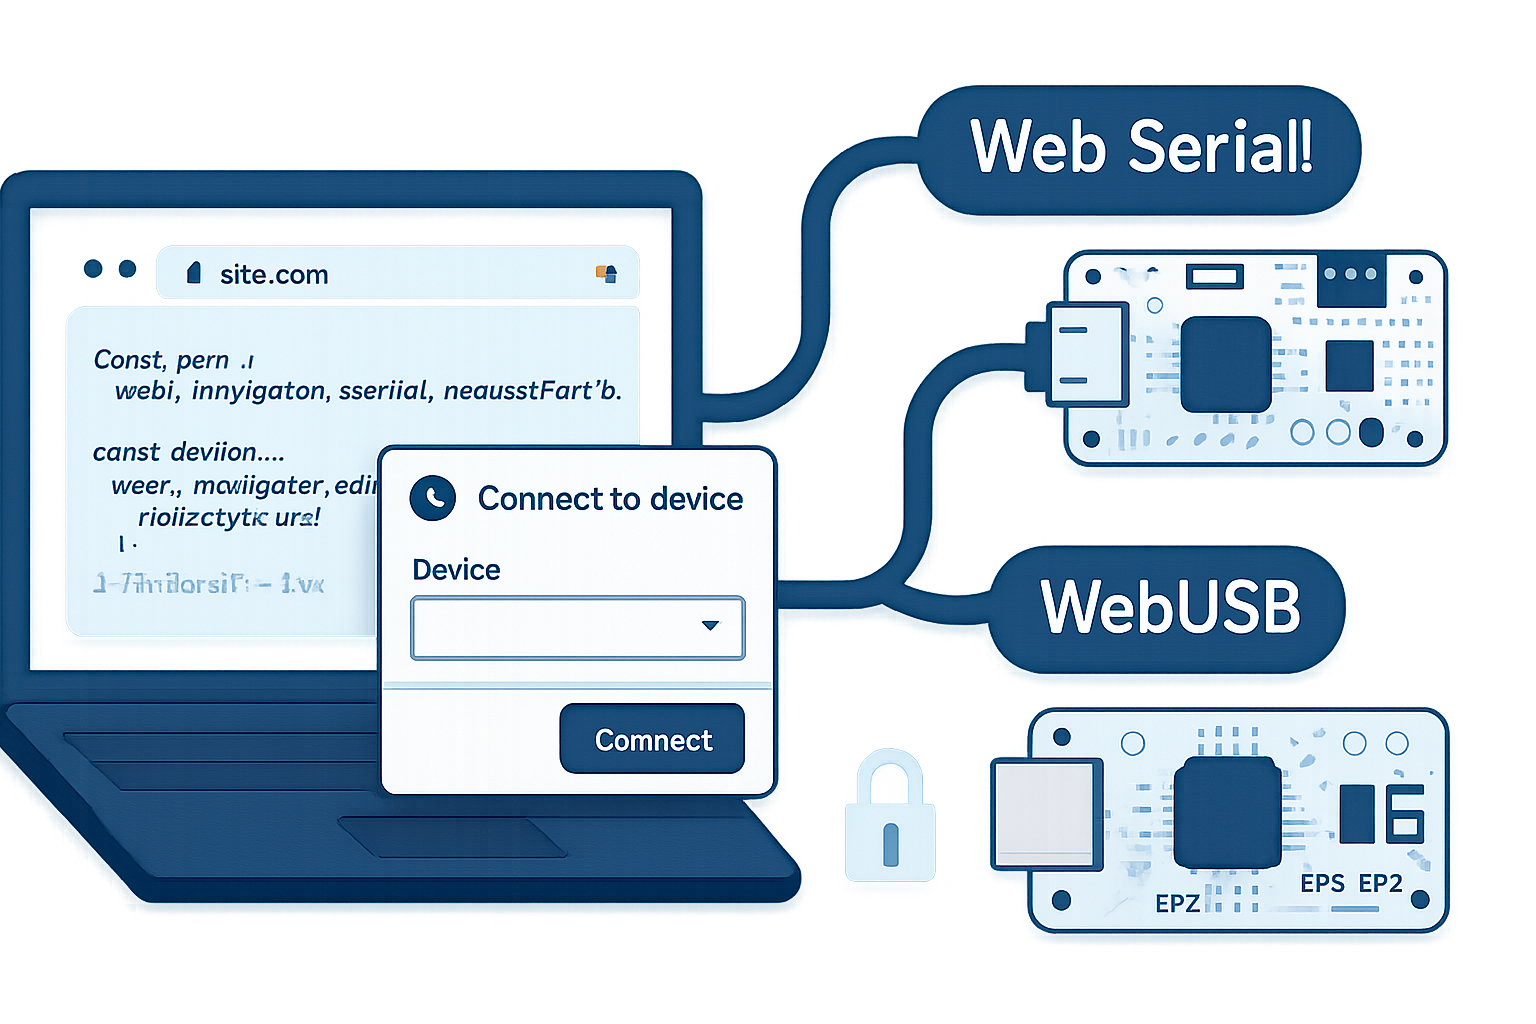
- navigator.serial.requestPort() - ask the user to pick a port (user gesture required).
- port.open({ baudRate }) - open the chosen port.
- port.readable / port.writable - Streams API readable and writable streams for efficient I/O.
- port.close() - close the port.
For reference: MDN’s Web Serial docs and the WICG spec are useful reference points:
- https://developer.mozilla.org/en-US/docs/Web/API/Serial
- https://wicg.github.io/serial/
- A practical Chrome article: https://developer.chrome.com/articles/serial-api/
Common building blocks (patterns you’ll reuse)
- Use TextEncoder/TextDecoder for textual framing and Uint8Array for binary.
- Always lock the writer/reader with getWriter()/getReader() and release when done.
- Use a TransformStream to convert raw byte streams into framed messages (lines, JSON messages, or fixed-size frames).
- Implement timeouts and retries for reliability.
- Keep UI updates off the read loop (use requestAnimationFrame or message passing to a worker).
Below are detailed examples applying these patterns.
Use case 1 - Browser-based firmware upload tool
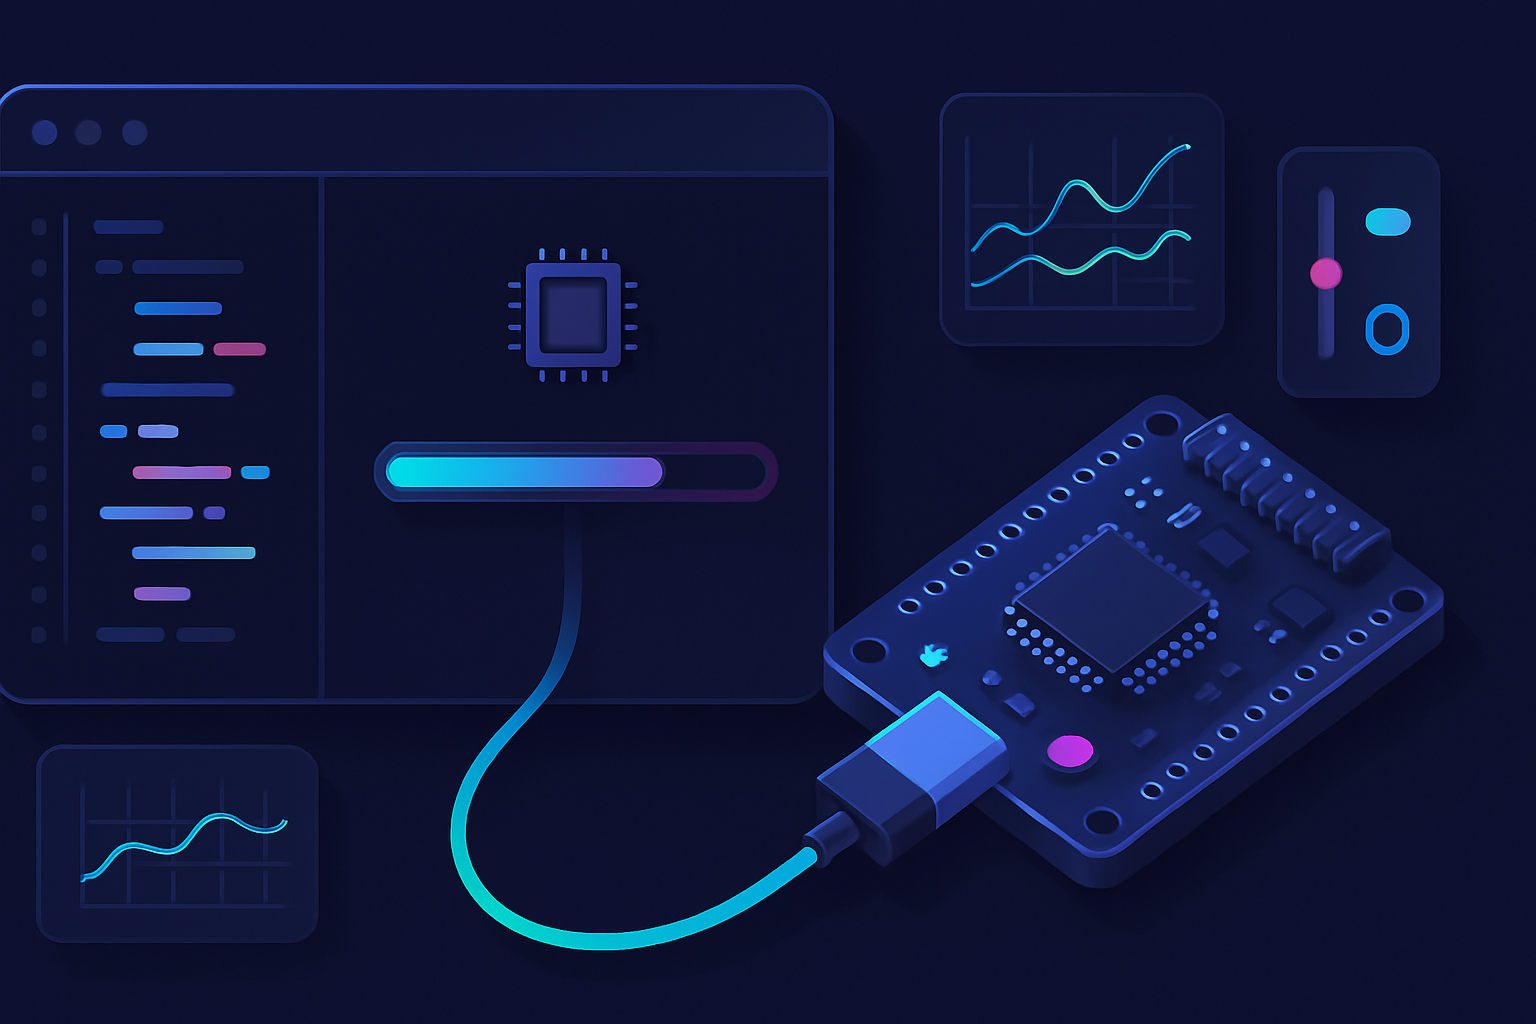
Outcome: a web app that uploads binary firmware to a microcontroller using a simple framed protocol with checks, retries, and progress feedback.
High-level flow:
- User selects a serial port and firmware file.
- App opens the port and performs a handshake with the device bootloader.
- Firmware is split into small chunks (e.g., 256–1024 bytes). Each chunk is framed with sequence number and CRC, sent, and an ACK is awaited.
- App reports progress and retries failed chunks. On success, a final finalize command is issued.
Notes: Actual bootloaders vary (STM32, AVR, ESP32, RP2040). The code below provides a generic, ACK-based uploader pattern that you adapt to your device’s bootloader commands.
Core uploader (simplified, robust)
// Helper CRC-16 (polynomial 0x1021) for simple integrity check.
function crc16(buffer) {
  let crc = 0xffff;
  for (let b of buffer) {
    crc ^= b << 8;
    for (let i = 0; i < 8; i++) {
      crc = crc & 0x8000 ? (crc << 1) ^ 0x1021 : crc << 1;
      crc &= 0xffff;
    }
  }
  return crc & 0xffff;
}

// Frame: [SYNC(1)=0x55][SEQ(2)][LEN(2)][DATA(len)][CRC(2)]
function buildFrame(seq, data) {
  const sync = 0x55;
  const seqBuf = new Uint8Array([seq >> 8, seq & 0xff]);
  const lenBuf = new Uint8Array([data.length >> 8, data.length & 0xff]);
  const header = new Uint8Array([sync, ...seqBuf, ...lenBuf]);
  const payload = new Uint8Array(data);
  const crc = crc16(new Uint8Array([...seqBuf, ...lenBuf, ...payload]));
  const crcBuf = new Uint8Array([crc >> 8, crc & 0xff]);
  return new Uint8Array([...header, ...payload, ...crcBuf]);
}

async function requestPortAndOpen(baudRate = 115200) {
  const port = await navigator.serial.requestPort(); // user gesture necessary
  await port.open({ baudRate });
  return port;
}

async function uploadFirmware(
  port,
  file,
  { chunkSize = 512, timeout = 3000, maxRetries = 5, onProgress } = {}
) {
  // Read file as ArrayBuffer
  const ab = await file.arrayBuffer();
  const view = new Uint8Array(ab);
  const total = view.length;

  const writer = port.writable.getWriter();
  // We'll create a simple reader for responses
  const reader = port.readable.getReader();

  let seq = 0;
  for (let offset = 0; offset < total; offset += chunkSize) {
    const chunk = view.subarray(offset, Math.min(offset + chunkSize, total));
    const frame = buildFrame(seq, chunk);

    let attempt = 0;
    let ackOk = false;

    while (attempt < maxRetries && !ackOk) {
      attempt++;
      // send
      await writer.write(frame);

      // wait for ACK/NAK (device protocol assumed: single byte 0x06=ACK, 0x15=NAK)
      const { value, done } = await readWithTimeout(reader, timeout);
      if (done || !value) throw new Error('Port closed while waiting for ack');

      const resp = value[0];
      if (resp === 0x06) {
        ackOk = true;
      } else if (resp === 0x15) {
        // NAK -> retry
      } else {
        // Unknown response, treat as NAK
      }
    }

    if (!ackOk) {
      reader.releaseLock();
      writer.releaseLock();
      throw new Error(`Chunk seq=${seq} failed after ${maxRetries} attempts`);
    }

    seq++;
    if (typeof onProgress === 'function')
      onProgress(Math.min(1, (offset + chunk.length) / total));
  }

  // Finalize (device-specific; here we send 0x04 as 'finish')
  await writer.write(new Uint8Array([0x04]));

  reader.releaseLock();
  writer.releaseLock();
}

// Utility: wrap reader.read() with timeout and return first bytes
function readWithTimeout(reader, ms) {
  return new Promise(async (resolve, reject) => {
    const timer = setTimeout(() => resolve({ value: null, done: false }), ms);
    try {
      const result = await reader.read();
      clearTimeout(timer);
      resolve(result);
    } catch (err) {
      clearTimeout(timer);
      reject(err);
    }
  });
}

// Example use:
// const port = await requestPortAndOpen(115200);
// await uploadFirmware(port, fileInput.files[0], { onProgress: p => progressBar.value = p });
// await port.close();
Notes and adaptations:
- The frame layout, sync byte, ACK/NAK values and finalize command are illustrative. Adapt to your microcontroller’s bootloader protocol.
- Use a device-specific handshake: e.g., toggle DTR/RTS lines before opening port (if supported) to force bootloader mode.
- Keep chunk size moderate to avoid device-side RAM exhaustion.
Use case 2 - Real-time data logger for IoT devices
Outcome: continuously receive telemetry, parse newline-delimited JSON (or CSV), plot in real time and persist to IndexedDB for later download and analysis.
Design highlights:
- Use a streaming parser to convert arbitrary-length reads to messages.
- Buffer incoming data; split on newline to reconstruct messages.
- Decouple I/O (fast) from UI updates (less frequent) to avoid UI jank.
- Persist messages into IndexedDB as they arrive.
Streamed reader and parser
// Helper: stream-to-line parser using TransformStream
function createLineSplitter() {
  let buffer = '';
  const dec = new TextDecoder();
  return new TransformStream({
    transform(chunk, controller) {
      buffer += dec.decode(chunk, { stream: true });
      let idx;
      while ((idx = buffer.indexOf('\n')) >= 0) {
        const line = buffer.slice(0, idx);
        buffer = buffer.slice(idx + 1);
        controller.enqueue(line);
      }
    },
    flush(controller) {
      if (buffer.length) controller.enqueue(buffer);
    },
  });
}

async function startLogging(port, { onMessage }) {
  await port.open({ baudRate: 115200 });
  const reader = port.readable.pipeThrough(createLineSplitter()).getReader();

  // example IndexedDB wrapper (very small) - in production use idb library
  const dbName = 'iot-logger-db';
  const storeName = 'telemetry';
  const db = await new Promise((res, rej) => {
    const r = indexedDB.open(dbName, 1);
    r.onupgradeneeded = () =>
      r.result.createObjectStore(storeName, { autoIncrement: true });
    r.onsuccess = () => res(r.result);
    r.onerror = () => rej(r.error);
  });

  const txStore = obj =>
    new Promise((res, rej) => {
      const tx = db.transaction(storeName, 'readwrite');
      tx.objectStore(storeName).add(obj);
      tx.oncomplete = () => res();
      tx.onerror = () => rej(tx.error);
    });

  try {
    while (true) {
      const { value, done } = await reader.read();
      if (done) break;
      try {
        // assume value is a string line
        const msg = JSON.parse(value);
        // Persist and notify UI, but do not block reading
        txStore({ ts: Date.now(), msg }).catch(console.error);
        if (onMessage) onMessage(msg);
      } catch (err) {
        // non-JSON or parse error: you can log it or skip
        console.warn('failed to parse line', value, err);
      }
    }
  } finally {
    reader.releaseLock();
    db.close();
    await port.close();
  }
}
Real-time plotting (pattern)
- Accumulate readings in an in-memory circular buffer.
- Update the visual plot at 10–30Hz using requestAnimationFrame or a throttled timer.
- Chart libraries (Chart.js, Plotly) work well. Update datasets incrementally rather than re-rendering everything.
Sketch of integration with Chart.js:
// assume `chart` is a Chart.js instance with one dataset
const buffer = [];
function onMessage(msg) {
  buffer.push({ x: new Date(), y: msg.value });
  if (buffer.length > 1000) buffer.shift();
}

function refreshChart() {
  chart.data.datasets[0].data = buffer.slice(-500); // last 500
  chart.update('none'); // fast update
  requestAnimationFrame(refreshChart);
}
requestAnimationFrame(refreshChart);
This pattern keeps the heavy I/O loop separate from UI updates and ensures high throughput while keeping the UI smooth.
Use case 3 - Interactive hardware prototypes
Outcome: a web app that sends real-time control messages (e.g., slider values, button events) to a microcontroller and receives immediate feedback. Useful for UI-driven prototypes and demos.
Key ideas:
- Use a message framing format that is compact (binary or short JSON with newline delimiter).
- Debounce high-frequency inputs (e.g., a slider) and send sampled values at a limited rate.
- Use a dedicated worker or requestIdleCallback for expensive tasks.
- Provide a simple protocol for commands and telemetry.
Example: live control panel
// Simple command builder: JSON-per-line for readability
function cmd(name, payload) {
  return JSON.stringify({ cmd: name, payload }) + '\n';
}

async function openControlPort(baud = 115200) {
  const port = await navigator.serial.requestPort();
  await port.open({ baudRate: baud });
  const writer = port.writable.getWriter();

  // Reader for device status messages
  const reader = port.readable.pipeThrough(createLineSplitter()).getReader();
  (async () => {
    try {
      while (true) {
        const { value, done } = await reader.read();
        if (done) break;
        // value is line string from microcontroller
        // parse and update UI accordingly
        const msg = JSON.parse(value);
        handleDeviceMessage(msg);
      }
    } catch (err) {
      console.error('read loop error', err);
    }
  })();

  return {
    sendCommand: async (name, payload) => {
      const data = cmd(name, payload);
      const enc = new TextEncoder();
      await writer.write(enc.encode(data));
    },
    close: async () => {
      reader.releaseLock();
      writer.releaseLock();
      await port.close();
    },
  };
}

// Example of debounced slider control
function wireSlider(sliderEl, controller) {
  let lastSent = 0;
  sliderEl.addEventListener('input', () => {
    const now = performance.now();
    // throttle to 30hz
    if (now - lastSent < 33) return;
    lastSent = now;
    controller.sendCommand('set_pwm', {
      channel: 0,
      value: Number(sliderEl.value),
    });
  });
}
Advanced interactive features:
- Simulate device responses in the UI if the device disconnects (useful for demos).
- Use binary-encoded messages for lower latency when bandwidth matters.
- Provide a small scripting console in the page that sends commands with safety checks.
Architecting for reliability and UX
- Always handle port disconnects and notify the user. The device can be unplugged unexpectedly.
- Offer reconnection flow: remember device filters (if allowed) and try to re-open if user accepts.
- Use clear progress indicators and logs for firmware uploads.
- When writing large data, chunk and call writer.releaseLock() only after the entire sequence is complete to avoid concurrent writers.
Security, permissions and cross-browser support
- Web Serial requires a user gesture to call requestPort() and only works on secure contexts (HTTPS).
- Currently supported mainly in Chromium-based browsers; always feature-detect:
if (!('serial' in navigator)) {
  // fallback or show message
}- The user grants access per-origin and per-port; respect those permissions.
For up-to-date status, see the MDN and WICG links above and the Chromium article:
- https://developer.mozilla.org/en-US/docs/Web/API/Serial
- https://wicg.github.io/serial/
- https://developer.chrome.com/articles/serial-api/
Testing, debugging and developer tips
- Use a USB-to-serial loopback or a simple echo firmware on a microcontroller to test framing and retries.
- Log raw bytes in hex for diagnosing framing or CRC mismatches.
- Use hardware flow control lines (RTS/CTS) if the device supports them and the browser exposes these features.
- Stress test by sending at maximum rate while monitoring for dropped frames and CPU usage.
Performance tips
- Use binary frames and minimize framing overhead when channel capacity is limited.
- Batch UI updates and persist writes (for logging) asynchronously using IndexedDB transactions.
- Prefer TransformStream parsing to manual buffer management for clarity and performance.
Conclusion
The Web Serial API enables powerful browser-based tools that used to require native apps. With careful framing, timeouts, retries, and separation of I/O and UI, you can implement robust firmware updaters, high-throughput telemetry loggers, and feature-rich interactive prototypes-all in the browser. The browser becomes a full-fledged hardware development toolchain component.
Useful references:
- MDN: https://developer.mozilla.org/en-US/docs/Web/API/Serial
- WICG spec: https://wicg.github.io/serial/
- Chrome developer guide: https://developer.chrome.com/articles/serial-api/