· deepdives · 7 min read
Unlocking the EyeDropper API: A Developer's Guide to Color Detection in 2023
Learn how to use the EyeDropper API to pick colors from the screen, implement robust fallbacks, and apply color detection to improve web design and accessibility in your projects.
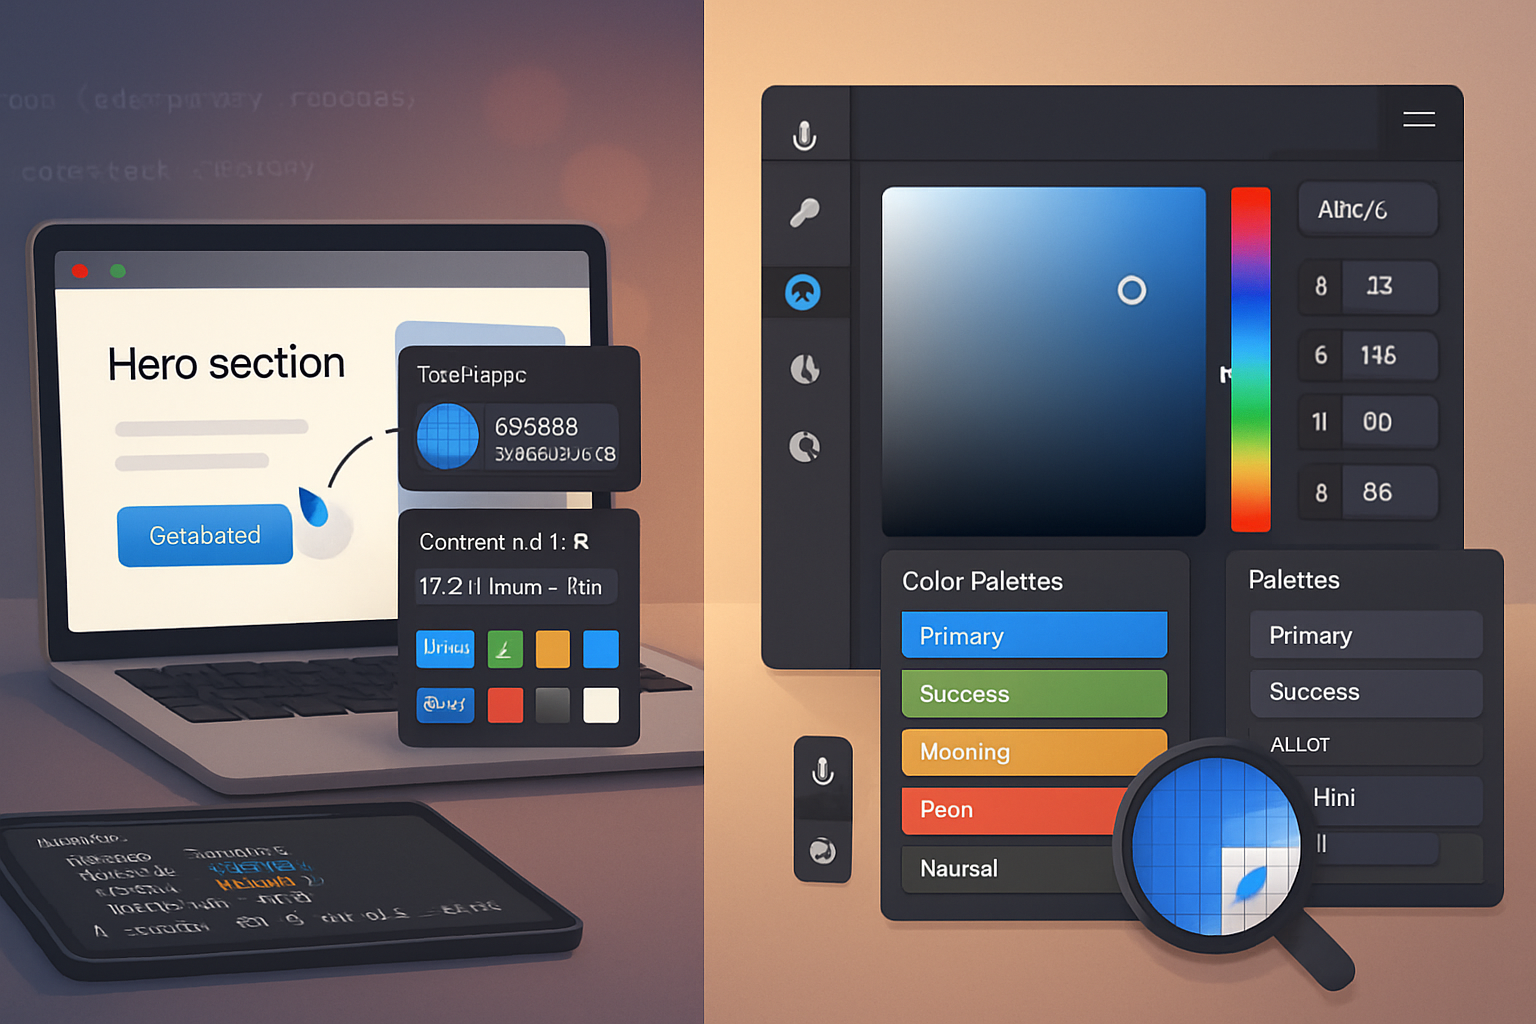
What you’ll build and why it matters
By the end of this guide you’ll be able to: open the EyeDropper UI, capture a color from anywhere on the screen, convert and use the color value in your app, and provide solid fallbacks and accessibility-aware behavior where the API isn’t available. That means faster color workflows for designers, better color tools in your apps, and improved accessibility checks for your interface.
Short. Practical. Applicable.
Quick overview - what the EyeDropper API does
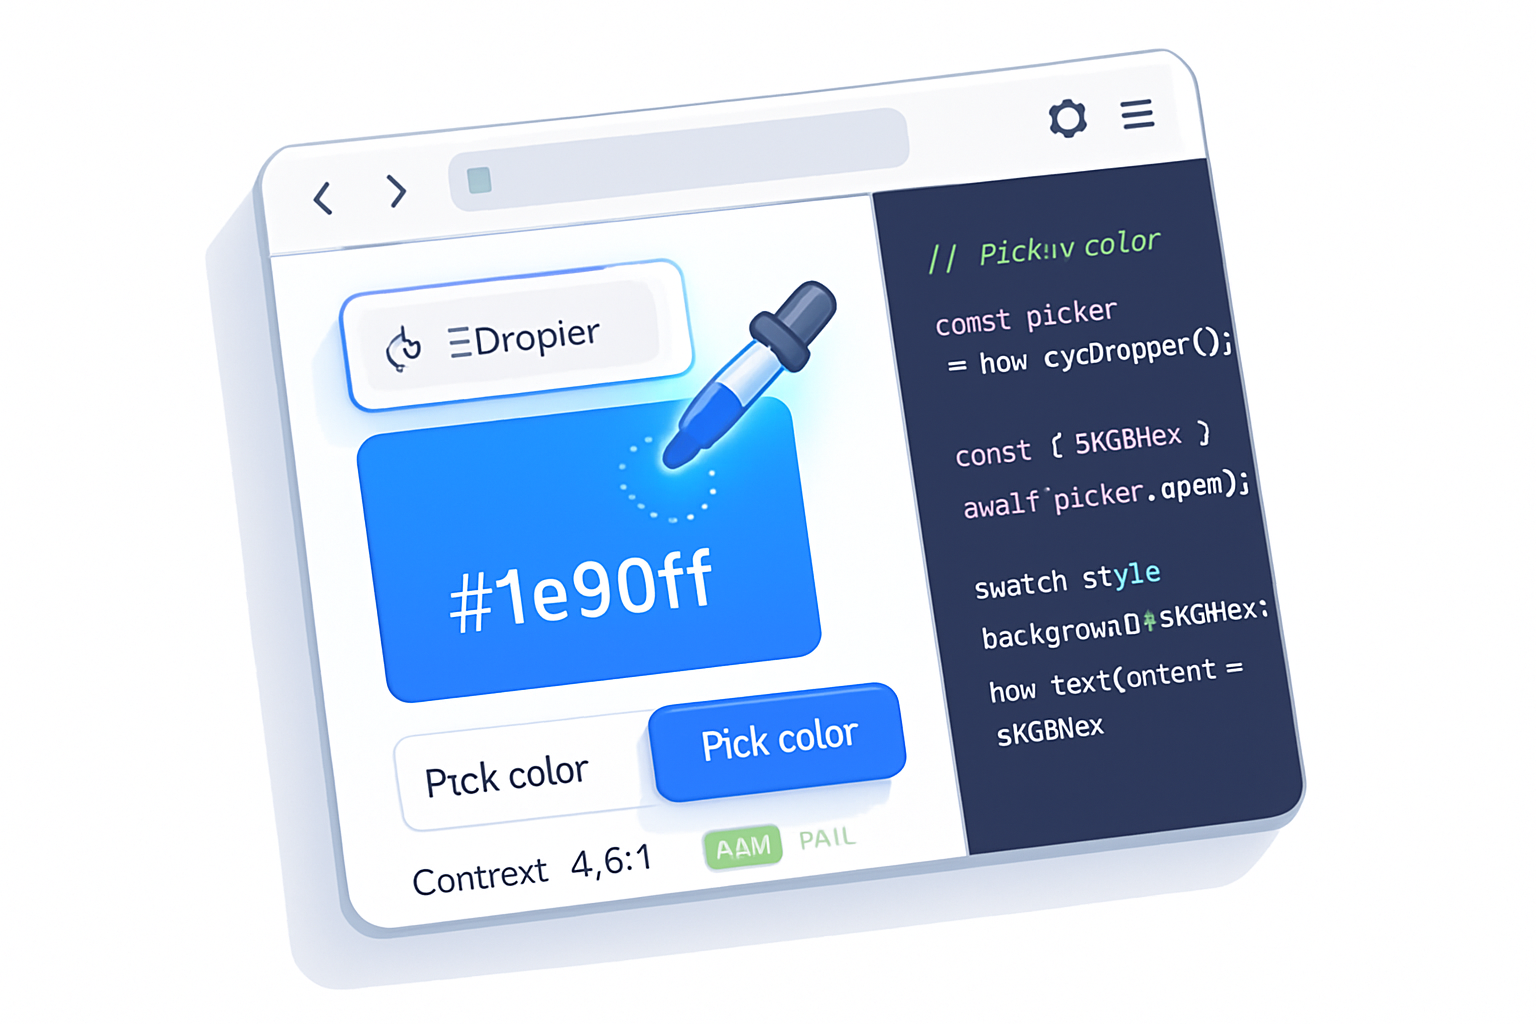
The EyeDropper API provides a native UI that lets a user pick a pixel color from anywhere on the screen. When the user selects a pixel, the API returns an object with an sRGB hex string (e.g., {"sRGBHex":"#1e90ff"}).
Highlights:
- Native browser UI for picking colors.
- Returns a single color as an sRGB hex string.
- Permission is implicitly requested when the picker is opened - a browser prompt or UI appears.
Browser support is not universal. Check support before using it in production and provide fallbacks. See the spec and compatibility notes on MDN and Can I Use.
- MDN EyeDropper API: https://developer.mozilla.org/en-US/docs/Web/API/EyeDropper
- Can I Use: https://caniuse.com/mdn-api_eyedropper
- Chrome article: https://developer.chrome.com/articles/eyedropper
Basic usage (vanilla JS)
This is the minimalist, real-world pattern you’ll use. Feature-detect, then open the picker on user action.
// Minimal EyeDropper usage
async function pickColor() {
  if (!('EyeDropper' in window)) {
    console.warn('EyeDropper API not supported');
    return null;
  }

  try {
    const eyeDropper = new EyeDropper();
    const result = await eyeDropper.open(); // { sRGBHex: '#RRGGBB' }
    return result.sRGBHex;
  } catch (err) {
    // User cancelled or there was an error
    console.error('Color pick cancelled or failed', err);
    return null;
  }
}

// Example usage attached to a button
document.querySelector('#pickBtn').addEventListener('click', async () => {
  const color = await pickColor();
  if (color) {
    document.querySelector('#swatch').style.background = color;
    document.querySelector('#hex').textContent = color;
  }
});
Notes:
- open() must be called in response to a user gesture (click/tap). Browsers enforce this.
- The returned string is an sRGB hex like
#RRGGBB.
Handling permissions and errors gracefully
The EyeDropper UI triggers permission implicitly. But you still must handle these cases:
- user cancels the picker (rejection or specific error)
- browser denies access (rare, but possible)
- API not available
Pattern:
try/catcharoundopen()to catch cancellations and runtime errors- Provide clear UI state: “Pick a color”, “Cancelled”, “Failed - try again”
- Don’t call open() without a user gesture; browsers block it
Fallbacks and progressive enhancement
Because support is incomplete, always provide a fallback. Good fallbacks:
- A simple
<input type="color">to let users pick a color manually - A canvas-based pixel picker for images you control (note cross-origin restrictions)
- Allow manual hex/RGBA input
Example fallback that falls back to an input[type=color]:
<button id="pickBtn">Pick a color</button>
<input id="colorFallback" type="color" style="display:none" />
<div id="swatch" style="width:40px; height:40px; border:1px solid #ccc"></div>
<span id="hex"></span>

<script>
  async function pickColorWithFallback() {
    if ('EyeDropper' in window) {
      try {
        const { sRGBHex } = await new EyeDropper().open();
        return sRGBHex;
      } catch (err) {
        return null; // user cancelled
      }
    }

    // Fallback: open hidden input[type=color]
    return new Promise(resolve => {
      const input = document.getElementById('colorFallback');
      function onChange() {
        resolve(input.value);
        input.removeEventListener('input', onChange);
      }
      input.addEventListener('input', onChange);
      input.click();
    });
  }
</script>
Picking colors from images or canvases - cross-origin caveat
If you want to sample colors from an or
- Use EyeDropper to pick anywhere (user can pick pixels from images inside the page)
- Or implement manual pixel sampling using a canvas 2D context (getImageData)
Important: drawing cross-origin images onto a canvas will taint it and prevent pixel access unless the remote server supplies the correct CORS headers. Use img.crossOrigin = 'anonymous' and ensure the image host sets Access-Control-Allow-Origin.
Manual sampling example:
function samplePixel(canvas, x, y) {
  const ctx = canvas.getContext('2d');
  const [r, g, b, a] = ctx.getImageData(x, y, 1, 1).data;
  return rgbaToHex(r, g, b, a);
}

function rgbaToHex(r, g, b, a = 255) {
  const hex = n => n.toString(16).padStart(2, '0');
  if (a === 255) return `#${hex(r)}${hex(g)}${hex(b)}`;
  return `#${hex(r)}${hex(g)}${hex(b)}${hex(a)}`; // includes alpha
}
Working with color formats
EyeDropper returns sRGB hex. But you’ll often want other formats:
- RGB / RGBA values
- HSL
- CSS variable assignment
Convert hex to rgba and vice versa easily:
function hexToRgba(hex) {
  const clean = hex.replace('#', '');
  const bigint = parseInt(clean, 16);
  const r = (bigint >> 16) & 255;
  const g = (bigint >> 8) & 255;
  const b = bigint & 255;
  return { r, g, b, a: 1 };
}

function rgbaStringFromHex(hex) {
  const { r, g, b } = hexToRgba(hex);
  return `rgba(${r}, ${g}, ${b}, 1)`;
}
Accessibility & WCAG: use color detection to improve contrast
One powerful use of EyeDropper is checking color contrast between a picked color and a background to ensure accessibility.
WCAG contrast requirements: https://www.w3.org/TR/WCAG21/#contrast-minimum
Compute relative luminance and contrast ratio:
function relativeLuminance({ r, g, b }) {
  const srgb = [r, g, b]
    .map(v => v / 255)
    .map(c => (c <= 0.03928 ? c / 12.92 : Math.pow((c + 0.055) / 1.055, 2.4)));
  return 0.2126 * srgb[0] + 0.7152 * srgb[1] + 0.0722 * srgb[2];
}

function contrastRatio(hex1, hex2) {
  const rgb1 = hexToRgba(hex1);
  const rgb2 = hexToRgba(hex2);
  const L1 = relativeLuminance(rgb1);
  const L2 = relativeLuminance(rgb2);
  const lighter = Math.max(L1, L2);
  const darker = Math.min(L1, L2);
  return (lighter + 0.05) / (darker + 0.05);
}

// Example: check against white
const ratio = contrastRatio('#1e90ff', '#ffffff');
console.log('Contrast ratio', ratio);
Use the ratio to suggest accessible foreground colors or to show warnings when contrast fails.
Integrating with frameworks
React example: a small hook that opens EyeDropper and returns the color (or null)
import { useState, useCallback } from 'react';

export function useEyeDropper() {
  const [color, setColor] = useState(null);

  const pick = useCallback(async () => {
    if (!('EyeDropper' in window)) return null;
    try {
      const { sRGBHex } = await new EyeDropper().open();
      setColor(sRGBHex);
      return sRGBHex;
    } catch (err) {
      return null;
    }
  }, []);

  return { color, pick };
}
Vue and other frameworks follow the same pattern - call open() on user gesture and update reactive state.
UX best practices for color-picking features
- Always attach open() to an explicit user action - do not try to call it automatically.
- Provide clear feedback when the picker is active (e.g., change button label to “Click anywhere to sample” or show an overlay hint).
- If the user cancels, don’t spam with permission prompts - handle gracefully.
- Offer manual inputs and a history of recent picks for convenience.
- Provide a copy-to-clipboard button and keyboard-friendly interactions. The Clipboard API is useful: https://developer.mozilla.org/en-US/docs/Web/API/Clipboard_API
Example: copying a picked hex string:
async function copyHex(hex) {
  try {
    await navigator.clipboard.writeText(hex);
    // Notify success (aria-live, toast, etc.)
  } catch (err) {
    // Fallback: create textarea, select, execCommand('copy')
  }
}
Performance and privacy considerations
- EyeDropper only returns a single string - it doesn’t expose entire pixels, nor continuous frames. It is lightweight.
- The picker requires a user gesture to open, which limits automated scraping of pixel data.
- You should still avoid storing or sending picked colors to third parties without consent if it could reveal private information (for instance, color-coded personal content).
Example real-world apps and use cases
- Design tools: sample colors from live previews or imported images for swatches.
- CMS editors: let content creators match brand colors from uploaded graphics.
- Accessibility tooling: let auditors verify color contrast between elements quickly.
- E-commerce: let users pick colors from product photos to find matching variations.
Limitations and gotchas
- Not supported in all browsers and not available on some mobile browsers. Use feature detection and fallbacks.
- Picking from cross-origin images may be possible with EyeDropper since the UI is system-level, but manual canvas sampling will be blocked for tainted canvases.
- EyeDropper returns hex only. If you need alpha or other spaces (e.g., linear RGB), convert explicitly.
Example: small end-to-end sample
- User clicks “Pick color”.
- EyeDropper UI opens. 3) User picks a pixel anywhere. 4) App shows the swatch, hex, contrast to white/black, and a copy button.
This is a robust, progressive-enhanced approach that improves workflows while remaining usable where the API isn’t supported.
Summary - when to use EyeDropper
Use it when you want a quick, native, user-friendly way to let people sample colors from the screen. Use it with feature detection and practical fallbacks so your app still works for everyone. Combine it with contrast checks and accessible UI to turn a neat feature into a production-ready tool.
Further reading and references
- MDN: EyeDropper API - https://developer.mozilla.org/en-US/docs/Web/API/EyeDropper
- Can I use: EyeDropper API support - https://caniuse.com/mdn-api_eyedropper
- Chrome Developers: EyeDropper article - https://developer.chrome.com/articles/eyedropper
- WCAG 2.1 Contrast Requirements - https://www.w3.org/TR/WCAG21/#contrast-minimum