· deepdives · 7 min read
Unlocking Real-Time Notifications: A Deep Dive into the Push API
Learn how to add real-time push notifications to your PWA. This deep dive covers the Push API, service worker integration, VAPID keys, server-side sending with Node.js, handling payloads, cross-browser considerations, and best practices to keep users happy.
Outcome-first introduction
By the end of this article you’ll be able to add real-time push notifications to a Progressive Web App (PWA), send encrypted payloads from a server, and handle interactions - all while following best practices that protect users and increase engagement. Read on to implement reliable, respectful push that actually improves the user experience.
Why push notifications matter for PWAs
Push notifications let you reach users even when they don’t have your app open. They increase retention, drive re-engagement, and-when done right-deliver timely value (news, messages, reminders). But push is also easy to abuse. So success comes from technical know-how plus good UX and policy decisions.
This article covers:
- The roles of the Push API, Notifications API, and Service Workers
- How to register and subscribe from the client
- Generating and using VAPID keys
- Sending notifications from a Node.js server with the web-push library
- Service worker handling: showNotification, click actions, and payload handling
- Cross-browser differences and limits
- Security, privacy, and UX best practices
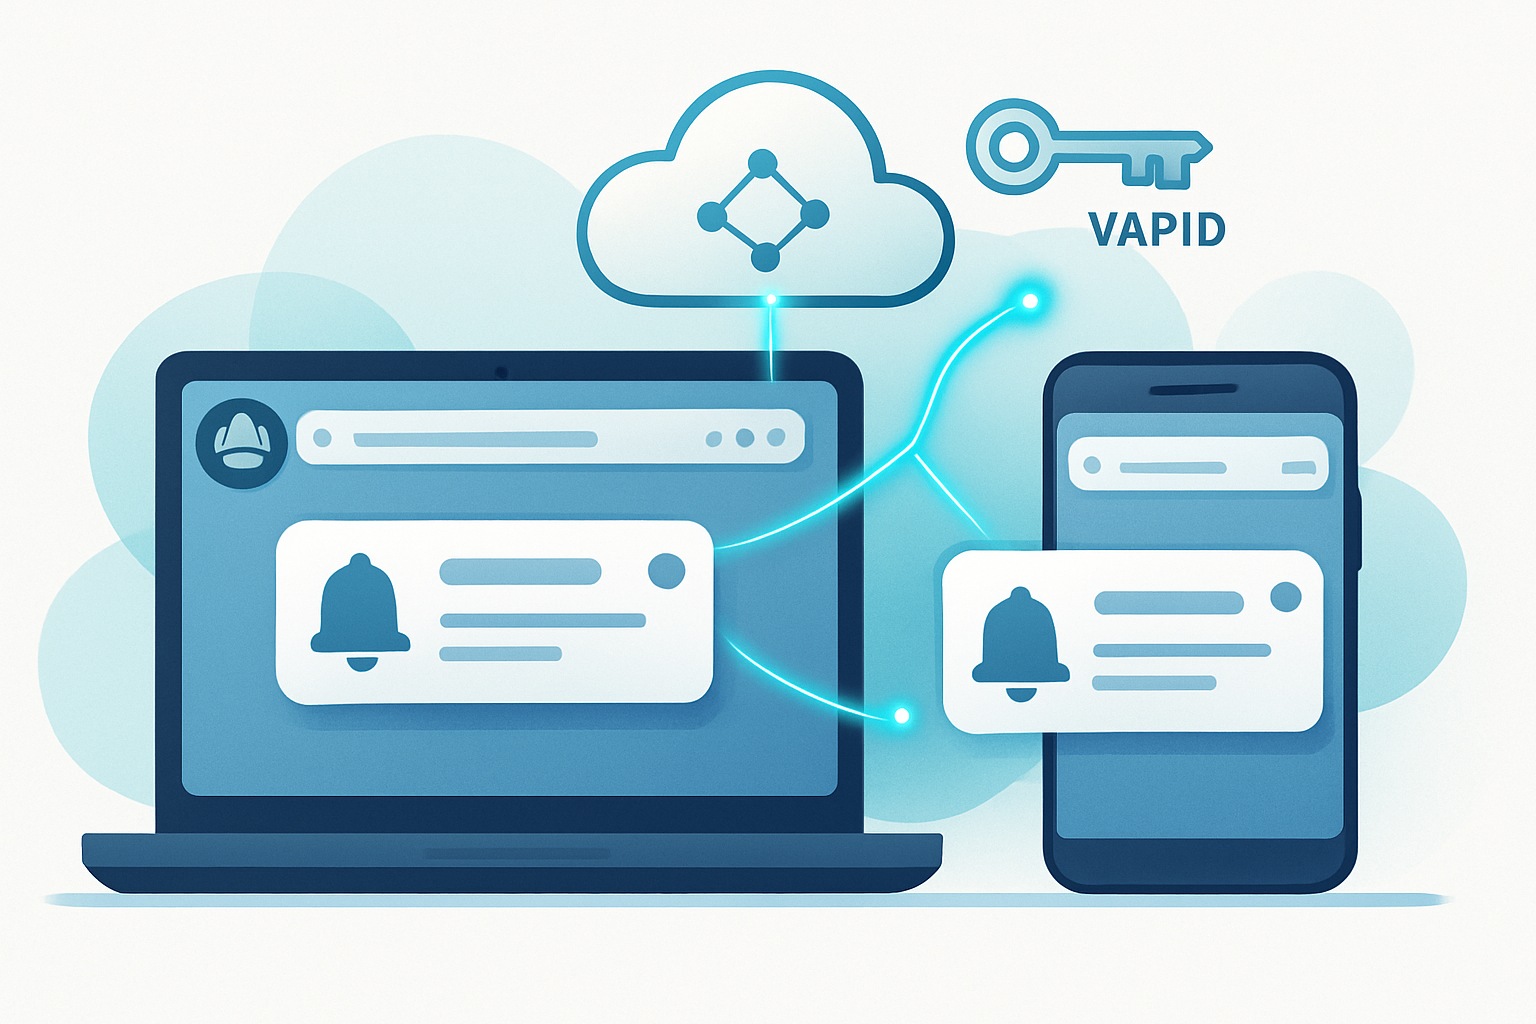
Conceptual map: how push works (brief)
- Service Worker runs in the background and listens for
pushevents. - The Push Service (browser vendor) holds an endpoint for each subscription.
- Your server posts a push message to that endpoint (using VAPID for identification and encrypted payloads).
- The Service Worker receives the
pushevent and usually callsself.registration.showNotification()to present a notification.
Think of the Push Service as the relay; the Service Worker as the messenger; and your server as the sender.
Key APIs and where they fit
- Push API: subscribe to a push service and receive push events in a service worker. See MDN: https://developer.mozilla.org/en-US/docs/Web/API/Push_API
- Notifications API: display notifications from pages or service workers. See MDN: https://developer.mozilla.org/en-US/docs/Web/API/Notifications_API
- Service Workers: background scripts that respond to push events and show notifications. Guide: https://developer.mozilla.org/en-US/docs/Web/API/Service_Worker_API
- Web Push Protocol (VAPID + encryption): how servers send messages to push endpoints. Learn more: https://tools.ietf.org/html/rfc8291 and https://github.com/web-push-libs/web-push
Step 1 - Service worker and manifest (PWA prerequisites)
Your site must be served over HTTPS and have a service worker and a manifest. Minimal manifest snippet (manifest.json):
{
  "name": "My PWA",
  "short_name": "PWA",
  "start_url": "/",
  "display": "standalone",
  "icons": [
    { "src": "/icons/icon-192.png", "sizes": "192x192", "type": "image/png" }
  ]
}
Register the service worker from your main app script:
if ('serviceWorker' in navigator) {
  navigator.serviceWorker
    .register('/sw.js')
    .then(reg => console.log('SW registered', reg))
    .catch(err => console.error('SW registration failed', err));
}
Step 2 - Ask for permission (UI & timing)
Only request permission in response to a user gesture or after they’ve seen value from your app. Don’t ask on first visit. Short example flow:
async function requestNotificationPermission() {
  const permission = await Notification.requestPermission();
  return permission === 'granted';
}
If the user grants permission, move on to subscribe to push.
Step 3 - Generate VAPID keys
VAPID (Voluntary Application Server Identification) lets your server identify itself to the push service. Generate a pair and store them securely (private key on server only).
Using the web-push npm tool:
npx web-push generate-vapid-keys --jsonIt outputs an object with publicKey and privateKey. The publicKey will be used in the browser (applicationServerKey) and the privateKey is used server-side when sending.
You can also generate keys via libraries in other languages. Save them in environment variables or a secure key management system.
Step 4 - Subscribe on the client
Subscribe the user to the Push Service. Use the VAPID public key (base64 URL-safe). Example client code:
// helper to urlBase64 -> Uint8Array
function urlBase64ToUint8Array(base64String) {
  const padding = '='.repeat((4 - (base64String.length % 4)) % 4);
  const base64 = (base64String + padding).replace(/-/g, '+').replace(/_/g, '/');
  const rawData = atob(base64);
  return Uint8Array.from([...rawData].map(char => char.charCodeAt(0)));
}

async function subscribeUser(publicVapidKey) {
  const reg = await navigator.serviceWorker.ready;
  const sub = await reg.pushManager.subscribe({
    userVisibleOnly: true,
    applicationServerKey: urlBase64ToUint8Array(publicVapidKey),
  });
  // Send subscription JSON to your server for storage
  await fetch('/api/save-subscription', {
    method: 'POST',
    headers: { 'Content-Type': 'application/json' },
    body: JSON.stringify(sub),
  });
  return sub;
}
The subscription object contains an endpoint and cryptographic keys (p256dh, auth). Store that JSON on your server associated with the user.
What the subscription looks like (example)
{
  "endpoint": "https://fcm.googleapis.com/fcm/send/abcd...",
  "expirationTime": null,
  "keys": {
    "p256dh": "...",
    "auth": "..."
  }
}
Step 5 - Server: send a push message (Node.js example)
Use the web-push library. It handles encryption and VAPID signing.
// server/sendPush.js
const webpush = require('web-push');

const VAPID_SUBJECT = 'mailto:you@example.com';
webpush.setVapidDetails(
  VAPID_SUBJECT,
  process.env.VAPID_PUBLIC,
  process.env.VAPID_PRIVATE
);

async function sendNotification(subscription, payload) {
  try {
    await webpush.sendNotification(subscription, payload);
    console.log('Push sent');
  } catch (err) {
    console.error('Push error', err);
    // handle unsubscribed endpoints and remove them from DB if 410/404
  }
}

module.exports = { sendNotification };
Call sendNotification(subscription, JSON.stringify({ title: 'Hello', body: 'World' })) from your server when you want to push.
Notes:
- The web-push library encrypts payloads for you using the subscription keys.
- A push endpoint may be short-lived or return errors-handle 404/410 by removing subscriptions.
References: https://github.com/web-push-libs/web-push
Step 6 - Handle push in the service worker
In sw.js, listen for push and call showNotification. Use event.waitUntil() so the browser knows you have asynchronous work.
self.addEventListener('push', event => {
  let payload = { title: 'Default title', body: 'Default body' };
  if (event.data) {
    try {
      payload = event.data.json();
    } catch (e) {
      payload = { body: event.data.text() };
    }
  }

  const options = {
    body: payload.body,
    icon: '/icons/icon-192.png',
    badge: '/icons/badge-72.png',
    data: payload.data || {},
    actions: payload.actions || [],
  };

  event.waitUntil(
    self.registration.showNotification(payload.title || 'Notification', options)
  );
});

self.addEventListener('notificationclick', event => {
  event.notification.close();
  const urlToOpen =
    event.notification.data && event.notification.data.url
      ? event.notification.data.url
      : '/';

  event.waitUntil(
    clients
      .matchAll({ type: 'window', includeUncontrolled: true })
      .then(windowClients => {
        for (let client of windowClients) {
          if (client.url === urlToOpen && 'focus' in client) {
            return client.focus();
          }
        }
        if (clients.openWindow) {
          return clients.openWindow(urlToOpen);
        }
      })
  );
});
This pattern opens an app window or focuses an existing one when the user clicks the notification.
Payload size and limits
Push payload sizes are limited. Chrome allows up to ~4KB for the payload. If you need larger data, send a lightweight push that tells the client to fetch the full content from your server (data-only push). Avoid large payloads.
Cross-browser notes and Safari
- Chrome, Firefox, Edge, and Opera support Web Push with the standard Push API.
- Safari historically used Apple Push Notification Service (APNs) with a different flow. As of 2023–2024 Apple added Web Push support to macOS and iOS in some versions; behavior and permissions differ. Always test on target Safari versions.
- Check compatibility: https://developer.mozilla.org/en-US/docs/Web/API/Push_API#browser_compatibility and https://web.dev/push-notifications-overview/
Reliability and error handling
- Handle server responses. If the push endpoint returns 404 or 410, unsubscribe the subscription on your side and remove it from your DB.
- Retries: implement exponential backoff for transient errors.
- Monitor push success rates and user interaction metrics.
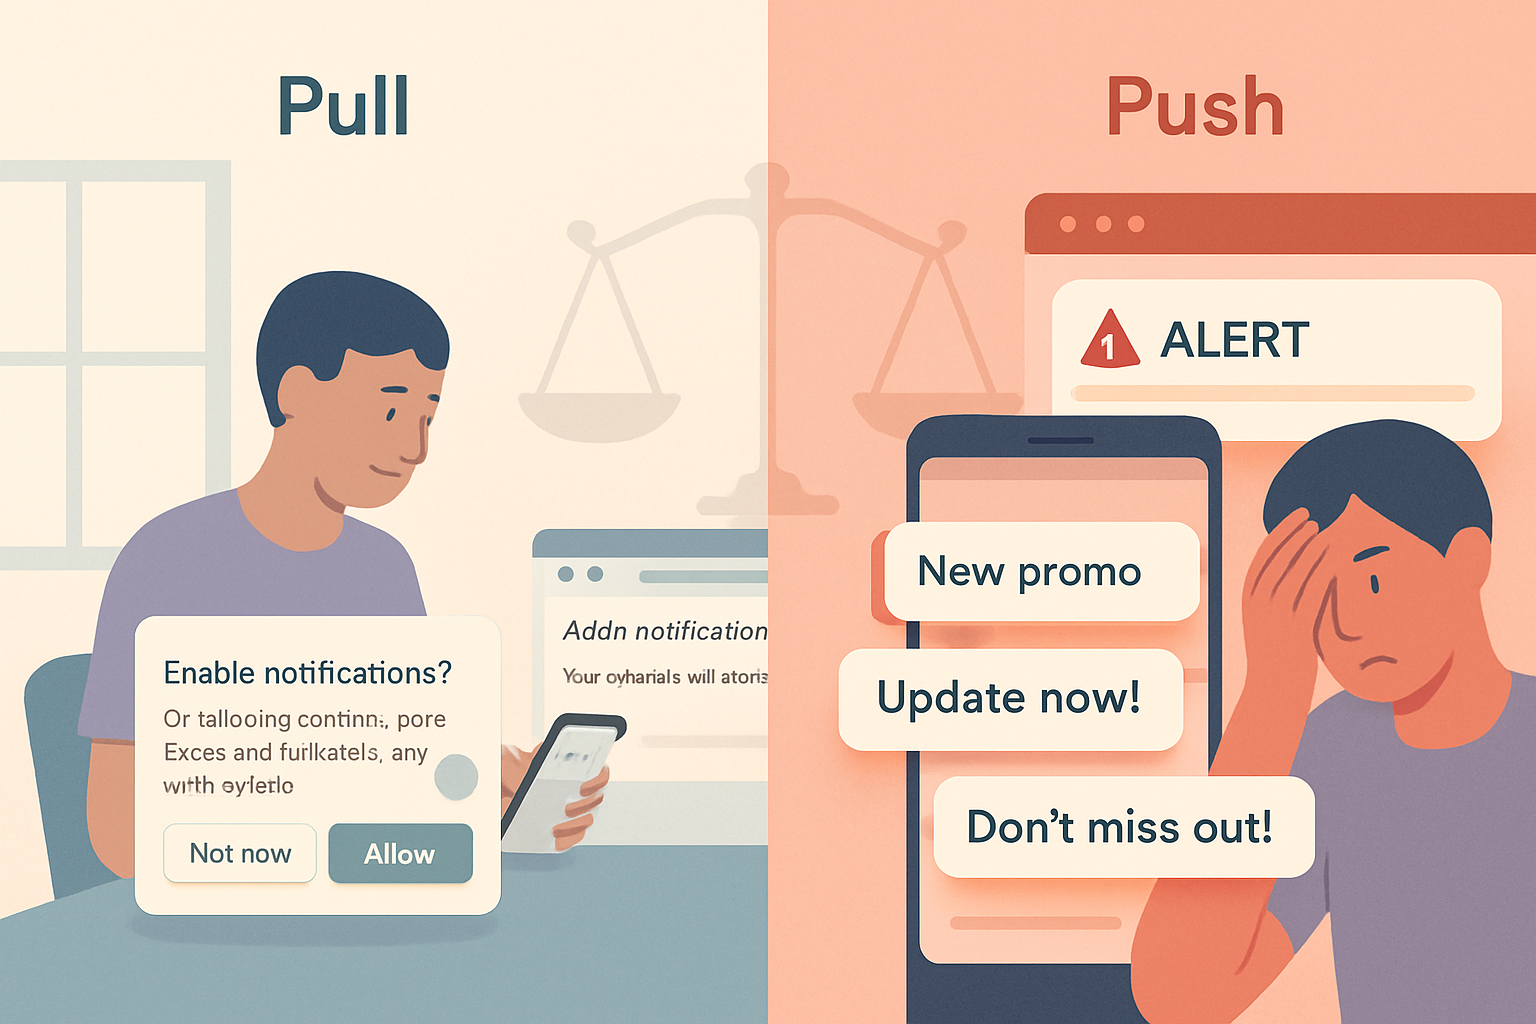
UX & policy best practices
- Ask for permission at the right time - after the user understands value.
- Provide settings to opt out and control frequency/topics.
- Use clear, concise notification text and actionable buttons.
- Avoid sending too many notifications. One thoughtful notification is better than multiple annoying ones.
- When notifications are important (e.g., security alerts), mark them as high priority sparingly. Some browsers expose urgency hints.
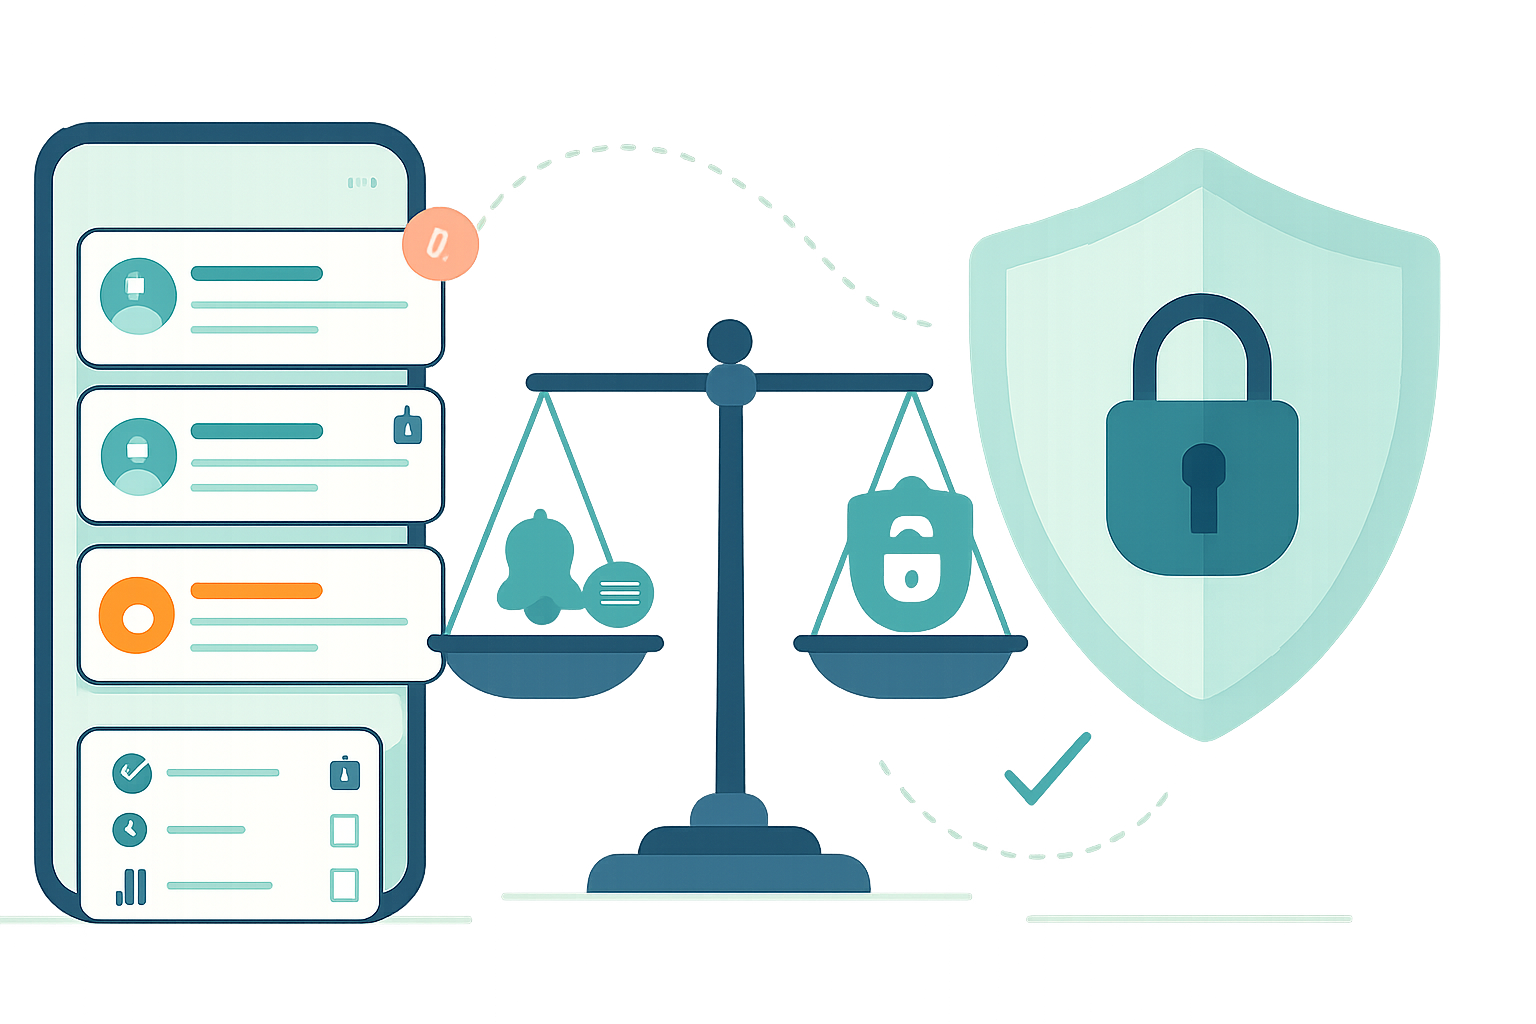
Security and privacy
- Serve over HTTPS. Push and service workers require secure contexts.
- Keep the VAPID private key on the server only.
- Do not leak sensitive data in notifications that might appear on lock screens.
- Respect Notification permission and don’t re-prompt after denial; provide in-app controls instead.
Testing tips
- Use Chrome DevTools > Application > Service Workers and Push Messaging to test push messages.
- For development, you can use
web-pushto send test messages. Example:
npx web-push send-notification --endpoint='<endpoint>' --key='<p256dh>' --auth='<auth>' --vapid-subject='mailto:you@example.com' --vapid-pubkey='<PUBLIC>' --vapid-pvtkey='<PRIVATE>' --payload '{"title":"Test","body":"Hello"}'- Test on real devices and different browsers. Mobile behavior, battery optimizations, and OS notification settings affect delivery.
Advanced topics (quick overview)
- Topic-based subscriptions: store topic preferences server-side, and send to filtered subscriptions.
- Silent pushes / data-only pushes: useful for background sync, but many browsers limit or throttle them.
- Analytics: track delivered vs. clicked notifications and use that to tune message content and timing.
Example end-to-end flow recap (short)
- Generate VAPID keys on server, keep private key safe.
- Register service worker and manifest in the PWA.
- Request Notification permission at an appropriate time.
- Call
pushManager.subscribe()with the VAPID public key and send subscription JSON to your server. - Server stores subscription and calls web-push to send messages (encrypted payloads).
- Service worker receives
pushand displays a notification. Handlenotificationclickto navigate users.
Useful links and references
- MDN Push API: https://developer.mozilla.org/en-US/docs/Web/API/Push_API
- Web Push (web.dev): https://web.dev/push-notifications-overview/
- web-push GitHub: https://github.com/web-push-libs/web-push
- Web Push Protocol (VAPID): https://tools.ietf.org/html/rfc8291
Final thoughts
Push notifications give your PWA a powerful channel. Implement them properly and they become a warm bridge back to your product. Implement them poorly and you lose users’ trust. Choose technical correctness, respectful UX, and careful testing-and you’ll have a feature that reliably delivers value to your users.