· deepdives · 8 min read
Understanding the Idle Detection API: Revolutionizing User Engagement in Web Applications
Learn how to use the Idle Detection API to reliably detect when users are idle or their screen is locked, how to implement it in web apps, real-world use cases, privacy considerations, fallbacks for unsupported browsers, and how to integrate idle events with analytics to improve engagement metrics.
What you’ll achieve
By the end of this article you’ll be able to:
- Explain what the Idle Detection API does and when to use it.
- Add the Idle Detection API to a web application with correct permission handling.
- Build fallbacks for unsupported browsers using the Visibility API and input listeners.
- Integrate idle events into analytics and session-management to improve engagement metrics.
Short outcome: you’ll move from guessing whether users are present to measuring active time precisely - and using that insight to make smarter UX decisions.
Why the Idle Detection API matters (fast answer)
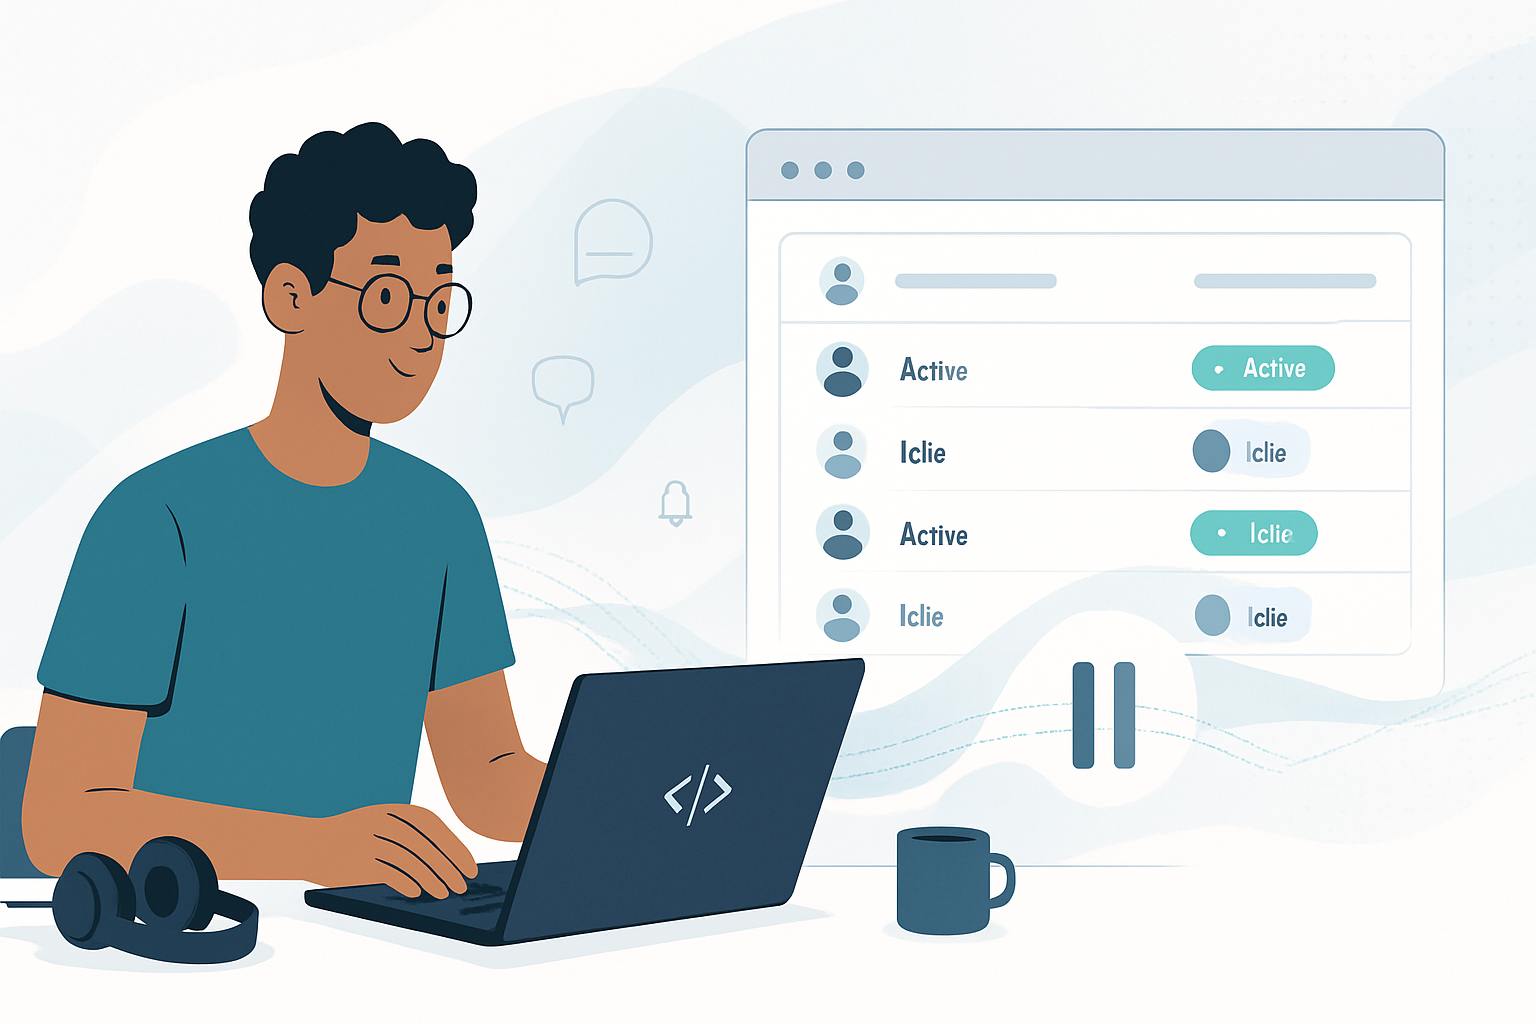
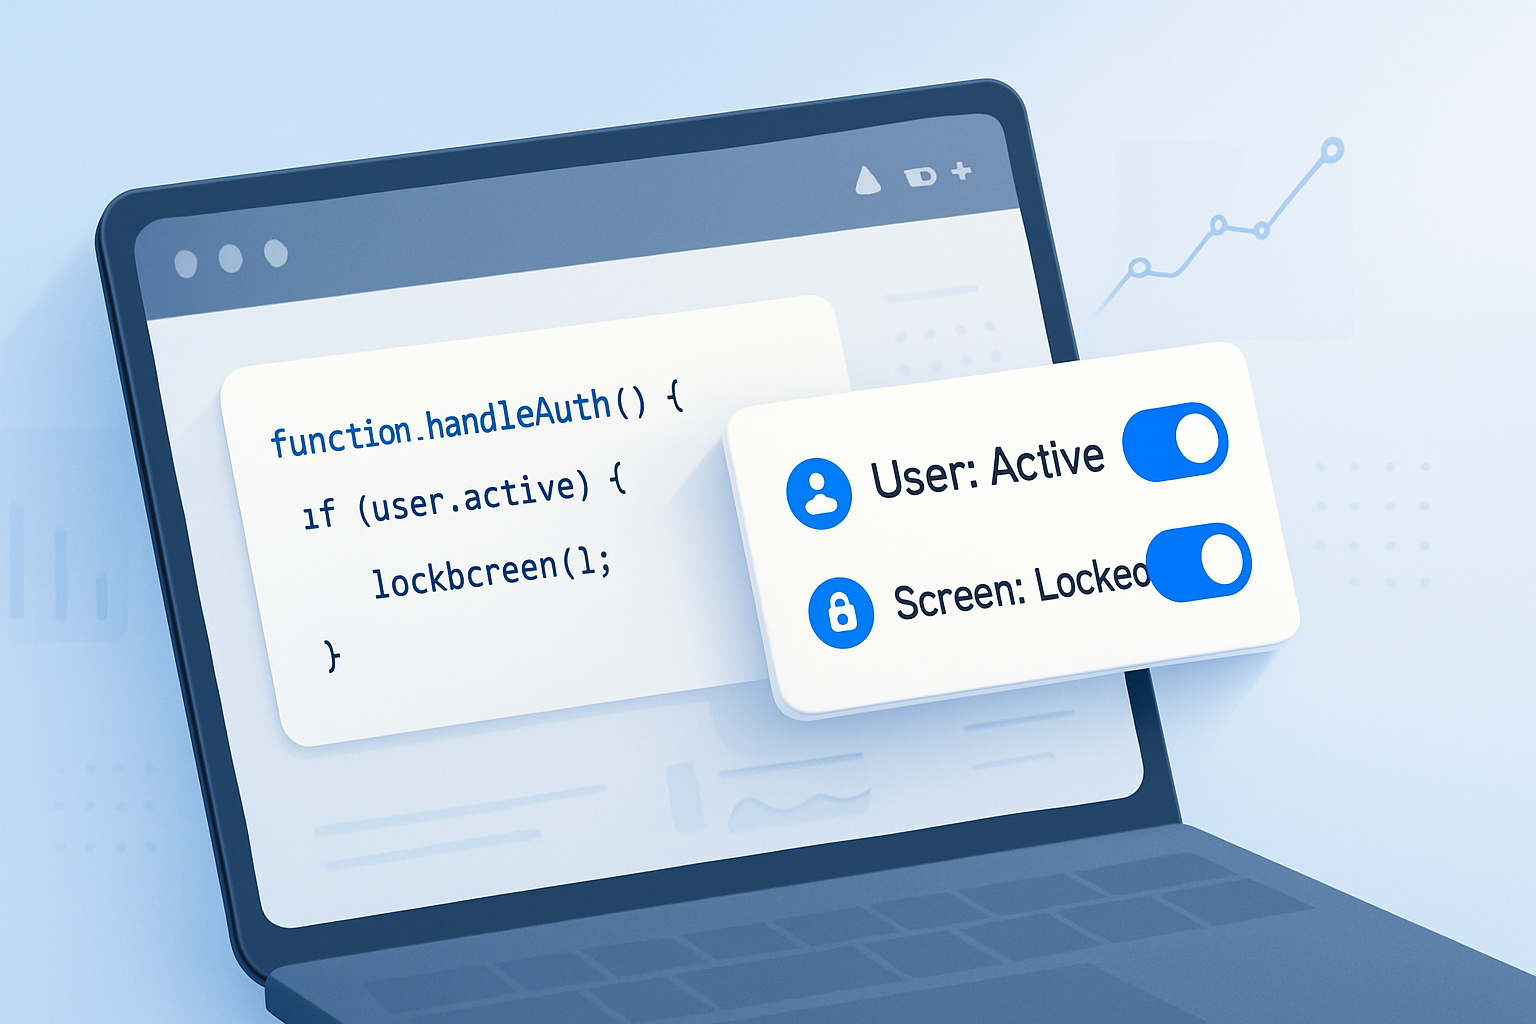
Traditional techniques for detecting user presence - like the Page Visibility API or listening for input events - are useful but incomplete. They can’t reliably tell you if the user locked their screen or stepped away while the page remains visible. The Idle Detection API fills that gap by combining user activity and screen lock state, giving you explicit signals: the user is “active” or “idle”, and the screen is “locked” or “unlocked”.
This lets you do things like:
- Pause live updates or heavy background work when the user is away.
- Delay or resume notifications and marketing flows based on presence.
- Track true engaged time to improve retention and conversion metrics.
Learn more about the API and spec details here: https://developer.mozilla.org/en-US/docs/Web/API/Idle_Detection_API and a practical overview: https://web.dev/idle-detection/.
Quick primer: the core concepts
- userState: ‘active’ or ‘idle’. Indicates whether the user has interacted recently (keyboard, mouse, touch) according to the threshold you provide.
- screenState: ‘locked’ or ‘unlocked’. Indicates whether the device screen is locked (or similar locked state).
- Permission model: the API requires explicit permission from the user to run because it senses presence information.
- Secure contexts only: must be served over HTTPS.
Minimum working example
This snippet shows the simplest practical flow: request permission, start the detector, react to changes, and stop when done.
// Request permission first. This returns a promise that resolves to 'granted' or throws.
try {
  const permissionState = await IdleDetector.requestPermission();
  if (permissionState !== 'granted') {
    console.warn('Idle Detection permission not granted');
    return;
  }

  const idleDetector = new IdleDetector();

  // threshold is in milliseconds; this example sets 60s
  await idleDetector.start({ threshold: 60_000 });

  idleDetector.addEventListener('change', () => {
    console.log(
      `User is ${idleDetector.userState} and screen is ${idleDetector.screenState}`
    );
    // react to state changes here
  });

  // To stop later:
  // idleDetector.stop();
} catch (err) {
  console.error('IdleDetector error:', err);
}
Notes:
- userState values: ‘active’ or ‘idle’.
- screenState values: ‘locked’ or ‘unlocked’.
- threshold defines how long of no user activity counts as idle (ms).
References: https://developer.mozilla.org/en-US/docs/Web/API/Idle_Detection_API
Real-world scenarios and code patterns
Below are concrete ways teams use the Idle Detection API to improve UX and metrics.
1) Pause expensive background work
If a user is idle or the screen is locked, stop polling, animations, or heavy background data processing.
async function startAutoPause() {
  if (!('IdleDetector' in window)) return; // fallback below

  await IdleDetector.requestPermission();
  const detector = new IdleDetector();
  await detector.start({ threshold: 30_000 });

  detector.addEventListener('change', () => {
    if (detector.userState === 'idle' || detector.screenState === 'locked') {
      stopPolling(); // stop network polling, animations, etc.
    } else {
      startPolling();
    }
  });
}
Outcome: save CPU, network, and battery while the user is away.
2) More accurate engaged-time metrics
Instead of measuring session time from page load to unload, track cumulative “active time”.
let activeStart = Date.now();
let totalActive = 0;

function onStateChange(detector) {
  if (detector.userState === 'active') {
    activeStart = Date.now();
  } else if (detector.userState === 'idle') {
    totalActive += Date.now() - activeStart;
    // send incremental metric
    sendEngagementToAnalytics(totalActive);
  }
}
This lets you report “actual engaged seconds” for features such as video watching, tutorials, or editor usage.
3) Smart session timeouts
Auto-save and session logout should be driven by explicit idle/locked signals rather than assumptions.
detector.addEventListener('change', () => {
  if (detector.userState === 'idle' && detector.screenState === 'locked') {
    // more conservative logout timer
    scheduleLogout(5 * 60_000);
  }
});
4) Delay marketing banners and modals
If a user is ‘idle’ or has the screen locked, avoid showing modals or promotional overlays until they return - it prevents disturbing an absent user and improves perceived UX.
Privacy and security considerations (must-reads)
- The API requires explicit user permission for good reason - it reveals presence-related information.
- Do not use idle signals for fingerprinting or to correlate with other cross-site identifiers.
- Be transparent: explain in your privacy policy why you request idle permission and what you do with the data.
- Minimize data retention: keep only aggregated/derived engagement metrics unless you have a clear reason to store raw timestamps.
For reference: privacy guidance and implementation notes: https://web.dev/idle-detection/
Browser support and progressive enhancement
The Idle Detection API is relatively new and not universally supported. Chromium-based browsers (Chrome, Edge) have implemented it, but Firefox and Safari do not (as of this article). Always detect availability and build fallbacks.
Feature-detect and fallback pattern:
if ('IdleDetector' in window) {
  // use IdleDetector as shown above
} else {
  // fallback: combine Page Visibility and input listeners
}
Fallback strategy (simple):
- Use the Page Visibility API (document.visibilityState) to detect when a tab is backgrounded.
- Listen for input events (mousemove, keydown, touchstart) to detect user activity and reset an inactivity timer.
- Listen for focus/blur events as additional signals.
Example fallback (lightweight):
let fallbackTimer = null;
let fallbackIdle = false;
const IDLE_MS = 60_000;

function resetTimer() {
  if (fallbackIdle) {
    fallbackIdle = false;
    console.log('User active (fallback)');
  }
  clearTimeout(fallbackTimer);
  fallbackTimer = setTimeout(() => {
    fallbackIdle = true;
    console.log('User idle (fallback)');
  }, IDLE_MS);
}

['mousemove', 'keydown', 'touchstart'].forEach(evt =>
  window.addEventListener(evt, resetTimer)
);
window.addEventListener('visibilitychange', () => {
  if (document.visibilityState === 'hidden') {
    console.log('Tab hidden - treat as away');
  }
});

resetTimer();
This fallback is not the same as detecting screen locks, but it’s a practical approach until Idle Detector is available.
Integrating with analytics and server-side events
Key principles:
- Debounce events. Idle state can flip quickly; avoid sending many small analytics hits on every change.
- Aggregate active durations and send periodic summaries (e.g., every 30s or on state transitions).
- Use meaningful event names like
user_idle,user_active,screen_locked,screen_unlockedand include context (threshold used, duration, page id, feature toggles) without including raw personal details.
Example: throttled analytics sender
let lastSent = 0;
function sendEngagementToAnalytics(payload) {
  const now = Date.now();
  if (now - lastSent < 30_000) return; // throttle to 30s
  navigator.sendBeacon('/analytics/idle', JSON.stringify(payload));
  lastSent = now;
}

idleDetector.addEventListener('change', () => {
  sendEngagementToAnalytics({
    userState: idleDetector.userState,
    screenState: idleDetector.screenState,
    timestamp: Date.now(),
  });
});
Using sendBeacon helps avoid losing events when the page unloads.
Testing and debugging tips
- Manual testing: lock your screen, step away and return, and observe the change events.
- Use Chrome DevTools to simulate conditions where possible; sometimes you can emulate input suppression or test on a mobile device.
- Build a development toggle to simulate ‘idle’ and ‘locked’ states so you can develop UI behavior without physically locking the device.
Simple dev-simulate helper:
function simulate(detector, userState, screenState) {
  // Only for development: invoke your change handler with custom states
  // Do NOT ship this to production
  console.log(`Simulating ${userState}/${screenState}`);
  onIdleChange({ userState, screenState });
}
Performance and battery considerations
- Idle detection is lightweight compared to continuous polling. Still, respect the user’s device by throttling analytics and stopping expensive operations when idle.
- Prefer event-driven updates rather than polling while the user is active.
Best practices checklist
- Feature-detect IdleDetector and provide fallbacks.
- Request permission only when you need the signals; explain why.
- Choose an appropriate threshold for your use case (e.g., 30–120s for chat or presence; longer for billing or long-form editors).
- Debounce and aggregate analytics events.
- Be transparent in privacy notices and minimize retained data.
- Use idle signals to improve UX (pause work, defer notifications), not to punish users.
Example: combining IdleDetector + fallback in one helper module
export async function createPresenceMonitor({ threshold = 60_000, onChange }) {
  if ('IdleDetector' in window) {
    try {
      const perm = await IdleDetector.requestPermission();
      if (perm !== 'granted') throw new Error('Permission denied');

      const detector = new IdleDetector();
      await detector.start({ threshold });
      detector.addEventListener('change', () =>
        onChange({
          userState: detector.userState,
          screenState: detector.screenState,
        })
      );

      return { stop: () => detector.stop() };
    } catch (err) {
      console.warn(
        'IdleDetector not available or permission denied, falling back',
        err
      );
    }
  }

  // Fallback implementation
  let timer = null;
  let fallbackIdle = false;
  const reset = () => {
    if (fallbackIdle) {
      fallbackIdle = false;
      onChange({ userState: 'active', screenState: 'unlocked' });
    }
    clearTimeout(timer);
    timer = setTimeout(() => {
      fallbackIdle = true;
      onChange({ userState: 'idle', screenState: 'unlocked' });
    }, threshold);
  };

  ['mousemove', 'keydown', 'touchstart'].forEach(e =>
    window.addEventListener(e, reset)
  );
  window.addEventListener('visibilitychange', () => {
    if (document.visibilityState === 'hidden')
      onChange({ userState: 'idle', screenState: 'unlocked' });
  });

  reset();
  return {
    stop: () => {
      clearTimeout(timer);
      ['mousemove', 'keydown', 'touchstart'].forEach(e =>
        window.removeEventListener(e, reset)
      );
    },
  };
}
Final thoughts - why this is a game-changer
The Idle Detection API gives you reliable, permissioned signals about user presence that were previously messy or impossible to gather. Use it to reduce wasted resources, make smarter UI timing decisions, and report meaningful engaged-time metrics that reflect how people actually use your app.
Start small: use it to pause background work and collect a few aggregated engagement metrics. Then expand into features like intelligent session timeouts and adaptive notifications. When you balance privacy, clarity, and performance, you’ll notice improved user satisfaction and cleaner engagement data.
References
- MDN: Idle Detection API - https://developer.mozilla.org/en-US/docs/Web/API/Idle_Detection_API
- web.dev: Idle Detection: https://web.dev/idle-detection/