· frameworks · 8 min read
The Power of Middleware: Advanced NestJS Techniques for Better APIs
Learn advanced NestJS middleware techniques to make APIs safer and faster: DI-ready middleware, correlation IDs, rate limiting with Redis, auth patterns, async handling, testing, and best practices with step-by-step code examples.
Start here: what you’ll be able to do
By the end of this post you’ll be able to design middleware that improves API security and observability without hurting performance. You’ll know how to: attach correlation IDs, implement rate limiting backed by Redis, wire DI-friendly middleware into modules, safely add lightweight auth checks, and write tests for your middleware. Clear, practical examples follow. Read on and implement better APIs today.
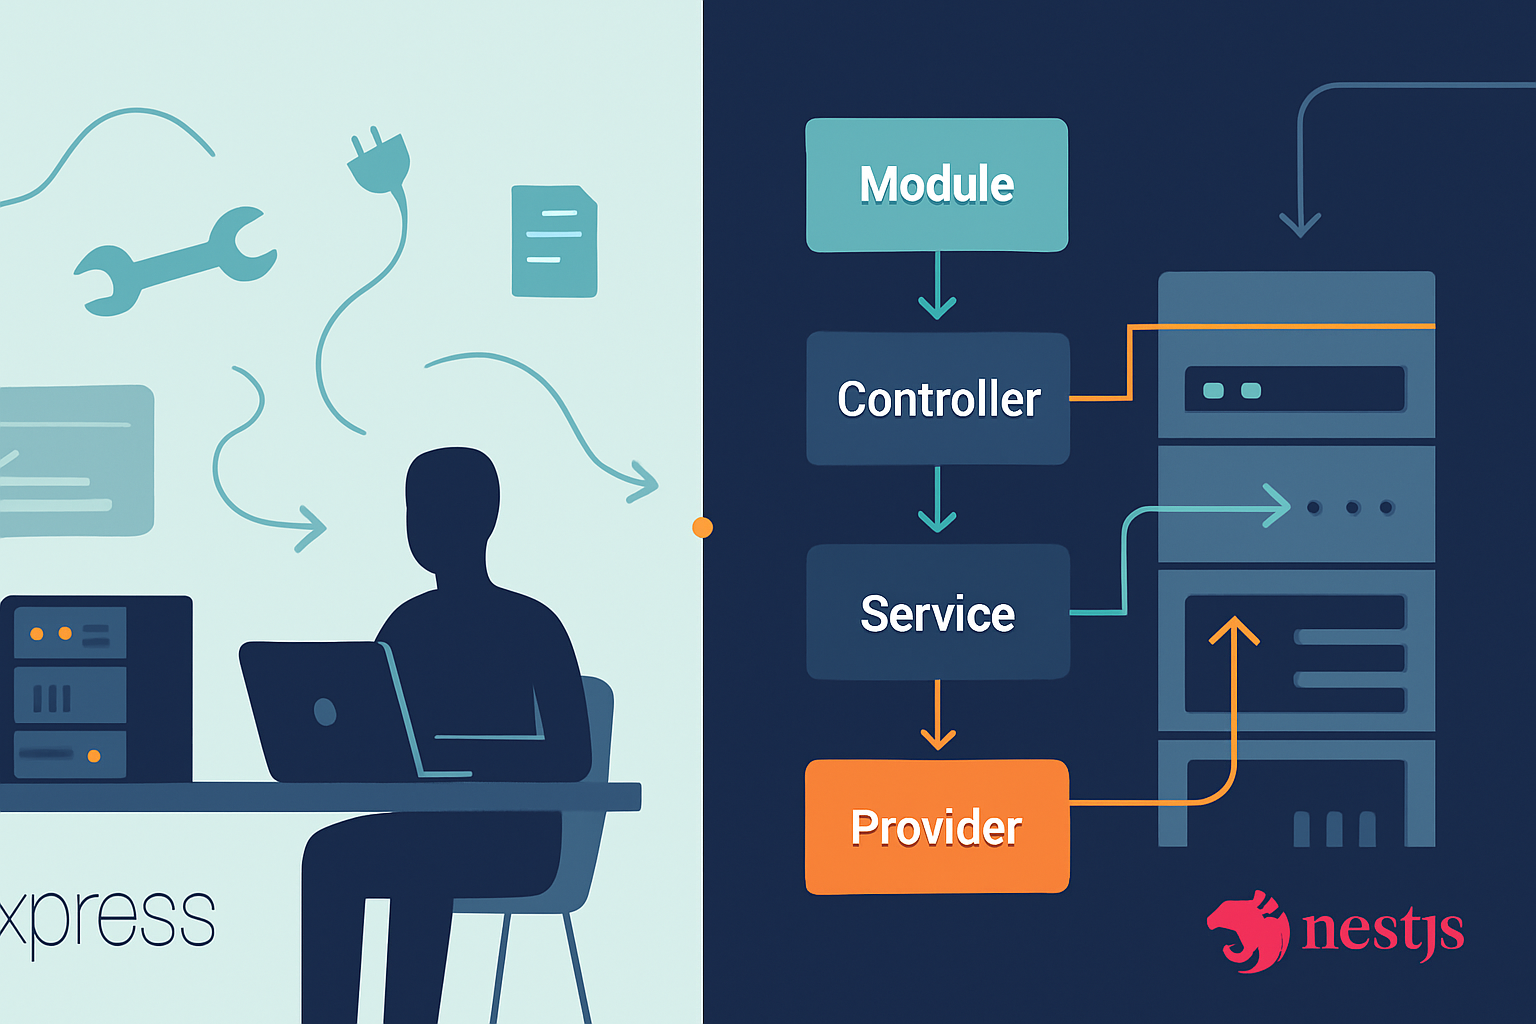
Why middleware still matters in NestJS
Middleware runs before controllers. It’s the logical place to: log requests, attach per-request context, enforce throttles, sanitize inputs, or add security headers. Nest gives you the flexibility to use Express/Koa middleware or write framework-aware middleware that can receive injected services. Done well, middleware makes APIs more secure, observable, and efficient. Done poorly, it becomes a source of latency and brittle behavior. This article focuses on the “done well”.
Important rule: keep middleware fast and minimal. If you need complex async business logic, consider Guards, Interceptors, or dedicated services. Middleware should prepare the request, not do the heavy lifting.
References: NestJS middleware docs: https://docs.nestjs.com/middleware
Middleware types in NestJS (quick overview)
- Functional middleware: simple functions (req, res, next) => void. Great for quick adapters or when using third-party Express middleware.
- Class-based middleware: classes that implement
NestMiddlewareand optionally receive DI via constructor. Great for testability and reuse. - Third-party Express/Koa middleware loaded with
app.use()or viaconsumer.apply().
Remember: Middleware runs before Guards and Interceptors.
1) Simple request logging middleware (step-by-step)
This is the first building block. It adds a correlation id, records timing, and logs minimal info.
Step 1: Extend Request type to hold extra fields
// src/types/express.d.ts
import { Request } from 'express';

declare module 'express' {
  interface Request {
    correlationId?: string;
    startTime?: number;
    user?: any; // if you attach a user later
  }
}
Step 2: Implement a DI-friendly logging middleware
// src/middleware/request-logger.middleware.ts
import { Injectable, NestMiddleware, Logger } from '@nestjs/common';
import { v4 as uuidv4 } from 'uuid';
import { Request, Response, NextFunction } from 'express';

@Injectable()
export class RequestLoggerMiddleware implements NestMiddleware {
  private readonly logger = new Logger(RequestLoggerMiddleware.name);

  use(req: Request, res: Response, next: NextFunction) {
    req.correlationId = (req.headers['x-correlation-id'] as string) || uuidv4();
    req.startTime = Date.now();

    res.on('finish', () => {
      const duration = Date.now() - (req.startTime ?? Date.now());
      this.logger.log(
        `${req.method} ${req.originalUrl} ${res.statusCode} - ${duration}ms - cid=${req.correlationId}`
      );
    });

    // expose correlation id for downstream handlers
    res.setHeader('x-correlation-id', req.correlationId);

    next();
  }
}
Step 3: Register the middleware in a module
// src/app.module.ts
import { Module, NestModule, MiddlewareConsumer } from '@nestjs/common';
import { RequestLoggerMiddleware } from './middleware/request-logger.middleware';

@Module({})
export class AppModule implements NestModule {
  configure(consumer: MiddlewareConsumer) {
    consumer.apply(RequestLoggerMiddleware).forRoutes('*'); // apply globally or route-specific
  }
}
Why this is useful: every request now has a correlation id, which ties logs, traces, and errors together. Keep this middleware small and synchronous for speed.
2) Middleware factory with Dependency Injection (advanced pattern)
Sometimes you need a middleware that uses services (e.g., a feature flag service or a DB-backed allowlist). Because Nest’s middleware constructor supports DI, you can inject services into class-based middleware, but sometimes you want dynamic options. The factory pattern handles that.
Example: A middleware that checks an IP allowlist stored in a service and can be configured per module.
// src/middleware/ip-allowlist.middleware.ts
import { Injectable, NestMiddleware } from '@nestjs/common';
import { Request, Response, NextFunction } from 'express';
import { AllowlistService } from '../services/allowlist.service';

@Injectable()
export class IpAllowlistMiddleware implements NestMiddleware {
  constructor(
    private allowlistService: AllowlistService,
    private opts: { allowedWhenDev?: boolean }
  ) {}

  async use(req: Request, res: Response, next: NextFunction) {
    if (this.opts.allowedWhenDev && process.env.NODE_ENV === 'development')
      return next();

    const ip = req.ip;
    const allowed = await this.allowlistService.isAllowed(ip);
    if (!allowed) {
      return res.status(403).json({ message: 'Forbidden' });
    }
    next();
  }
}

// A factory wrapper - note: Nest will inject AllowlistService when we instantiate
export const IpAllowlistMiddlewareFactory = (opts: {
  allowedWhenDev?: boolean;
}) => {
  // We return a class with injected service and options.
  @Injectable()
  class _IpAllowlistMiddleware extends IpAllowlistMiddleware {
    constructor(allowlistService: AllowlistService) {
      super(allowlistService, opts);
    }
  }
  return _IpAllowlistMiddleware;
};
Registering the factory in a module:
// src/app.module.ts
import { Module, NestModule, MiddlewareConsumer } from '@nestjs/common';
import { IpAllowlistMiddlewareFactory } from './middleware/ip-allowlist.middleware';

@Module({
  providers: [
    /* AllowlistService */
  ],
})
export class AppModule implements NestModule {
  configure(consumer: MiddlewareConsumer) {
    consumer
      .apply(IpAllowlistMiddlewareFactory({ allowedWhenDev: true }))
      .forRoutes('payments/*');
  }
}
This pattern gives you per-module configuration while still using DI.
3) Rate limiting: express-rate-limit + Redis store (practical step-by-step)
A simple in-memory rate limiter is fine for single-instance apps. For clustered or horizontal deployments use Redis.
Step 1: Install packages
npm install express-rate-limit rate-limit-redis ioredisStep 2: Create a rate-limit middleware that uses Redis
// src/middleware/rate-limit.middleware.ts
import { Injectable, NestMiddleware } from '@nestjs/common';
import rateLimit from 'express-rate-limit';
import RedisStore from 'rate-limit-redis';
import Redis from 'ioredis';

@Injectable()
export class RateLimitMiddleware implements NestMiddleware {
  private limiter;

  constructor() {
    const redisClient = new Redis({ host: process.env.REDIS_HOST });

    this.limiter = rateLimit({
      store: new RedisStore({
        sendCommand: (...args) => redisClient.call(...args) as any,
      }),
      windowMs: 15 * 60 * 1000, // 15 minutes
      max: 100, // limit each IP to 100 requests per window
      standardHeaders: true,
      legacyHeaders: false,
      keyGenerator: req => (req.headers['x-forwarded-for'] as string) || req.ip,
      handler: (req, res) =>
        res.status(429).json({ message: 'Too many requests' }),
    });
  }

  use(req, res, next) {
    // call the express rate limiter
    return this.limiter(req, res, next);
  }
}
Step 3: Apply to sensitive routes or globally
consumer.apply(RateLimitMiddleware).forRoutes('/api/');Notes: Use X-Forwarded-For when behind proxies. Keep limits conservative. Consider whitelisting internal IPs or service accounts.
Relevant packages: https://github.com/express-rate-limit/express-rate-limit, https://github.com/wyattjoh/rate-limit-redis
4) Authentication in middleware vs Guards: the right split
You may see JWT verification implemented in middleware. Fine for attaching a pre-validated user to req.user. But authorization decisions are best implemented in Guards.
Pattern:
- Middleware: verify token signature quickly, decode claims, attach
req.userminimal object. - Guard: load roles/permissions (maybe from a DB or cache) and decide whether a route is allowed.
Example lightweight JWT attach middleware (use only to verify signature and add claims):
// src/middleware/jwt-attach.middleware.ts
import { Injectable, NestMiddleware } from '@nestjs/common';
import { Request, Response, NextFunction } from 'express';
import * as jwt from 'jsonwebtoken';

@Injectable()
export class JwtAttachMiddleware implements NestMiddleware {
  use(req: Request, res: Response, next: NextFunction) {
    const auth = req.headers['authorization'];
    if (!auth) return next();

    const token = auth.replace('Bearer ', '');
    try {
      const payload = jwt.verify(token, process.env.JWT_PUBLIC_KEY || 'secret');
      // Attach only the minimum claims
      req.user = { sub: payload['sub'], roles: payload['roles'] };
    } catch (err) {
      // Invalid signature -> do not stop the request here; leave it to Guards to enforce
      // Optionally: clear any partial data and proceed
    }
    next();
  }
}
Guard example: check req.user and authorize
// src/guards/roles.guard.ts
import { CanActivate, ExecutionContext, Injectable } from '@nestjs/common';

@Injectable()
export class RolesGuard implements CanActivate {
  constructor(private readonly allowedRoles: string[]) {}

  canActivate(context: ExecutionContext) {
    const req = context.switchToHttp().getRequest();
    const user = req.user;
    if (!user) return false;
    return this.allowedRoles.some(r => user.roles?.includes(r));
  }
}
Use @UseGuards at the controller/route level. This separation keeps middleware fast and Guards responsible for access control decisions.
5) Async middleware and error handling
Middleware can be async (returning a Promise). But be careful: throwing inside async middleware must call next(err) or let Express handle it. Wrap async middleware with a small wrapper to forward errors to Nest’s exception filters.
Helper:
// src/utils/async-mw.ts
export const asyncMiddleware = fn => (req, res, next) => {
  Promise.resolve(fn(req, res, next)).catch(next);
};
Use it when registering functional middleware:
consumer
  .apply(
    asyncMiddleware(async (req, res, next) => {
      await someAsyncCheck();
      next();
    })
  )
  .forRoutes('...');
Or implement async use(req, res, next) in a class-based middleware and wrap calls with try/catch and call next(err) on error.
6) Performance and best practices
- Keep middleware synchronous and fast when possible. IO in middleware blocks request handling.
- Use caches for remote checks (Redis, in-memory LRU) with reasonable TTL.
- Prefer attaching lightweight claims in middleware and performing heavy user lookups lazily in Guards or Controllers.
- Validate and sanitize early. But use Nest Pipes for route-level validation where possible.
- Use helmet and security headers via middleware to prevent common web attacks.
Quick example for security headers:
// main.ts
import * as helmet from 'helmet';
app.use(helmet());
Helmet docs: https://github.com/helmetjs/helmet
7) Conditional middleware: apply and exclude
You can apply middleware to routes and exclude specific paths. Example:
consumer
  .apply(RequestLoggerMiddleware)
  .exclude({ path: 'health', method: RequestMethod.GET })
  .forRoutes('*');
This is useful to reduce noise on health checks or static assets.
8) Ordering and composition
Order matters. consumer.apply(m1, m2) runs m1 then m2. If m1 short-circuits the request (e.g., responds early), downstream middleware won’t run. Compose thoughtfully: put authentication/validation before expensive processing; put logging early but finish logging on res.on('finish') so durations include the whole request.
9) Testing middleware (Jest example)
Unit test a middleware by mocking req/res/next. Keep it simple.
// src/middleware/__tests__/request-logger.spec.ts
import { RequestLoggerMiddleware } from '../request-logger.middleware';

describe('RequestLoggerMiddleware', () => {
  it('attaches a correlation id and startTime', () => {
    const mw = new RequestLoggerMiddleware();
    const req: any = { headers: {}, ip: '1.2.3.4' };
    const res: any = { on: jest.fn(), setHeader: jest.fn() };
    const next = jest.fn();

    mw.use(req, res, next);

    expect(req.correlationId).toBeDefined();
    expect(req.startTime).toBeDefined();
    expect(res.setHeader).toHaveBeenCalledWith(
      'x-correlation-id',
      req.correlationId
    );
    expect(next).toHaveBeenCalled();
  });
});
Integration tests: spin up the Nest app with test module and use SuperTest to assert headers and rate limiting. For Redis-backed rate-limiting tests use a test Redis instance or a mock store.
10) When NOT to use middleware
- Heavy business logic or DB-bound authorization (use Guards/Services).
- Transforming responses (use Interceptors).
- Centralized error handling (use ExceptionFilters).
Middleware’s job: prepare, secure, and annotate the request.
Summary: best practices checklist
- Keep middleware minimal and fast.
- Use class-based middleware for DI and testability.
- Use middleware for cross-cutting concerns: logging, correlation ids, light auth attach, throttling, headers.
- Use Guards and Interceptors for authorization and response transformation.
- Prefer Redis-backed stores for rate limiting in clustered environments.
- Always handle async errors and forward with next(err).
- Test middleware in isolation and integration.
Do this and your APIs will be more secure, observable, and robust. Middleware prepares the battlefield. Guards and services win the fight.
References
- NestJS middleware docs: https://docs.nestjs.com/middleware
- express-rate-limit: https://github.com/express-rate-limit/express-rate-limit
- helmet: https://github.com/helmetjs/helmet