· deepdives · 8 min read
Beyond the Basics: Enhancing User Experience with Advanced MediaStream Recording Techniques
Learn how to transform ordinary screen or camera capture into polished, interactive recordings by adding GPU-accelerated filters, live annotations, processed audio, and synchronized analytics. Includes code patterns, performance tips, and integration ideas.
Outcome first: by the end of this article you’ll be able to record not just raw video and audio, but polished media with GPU-accelerated filters, live annotations, processed audio, and synchronized analytics - all captured into a single downloadable recording plus a timeline of rich metadata.
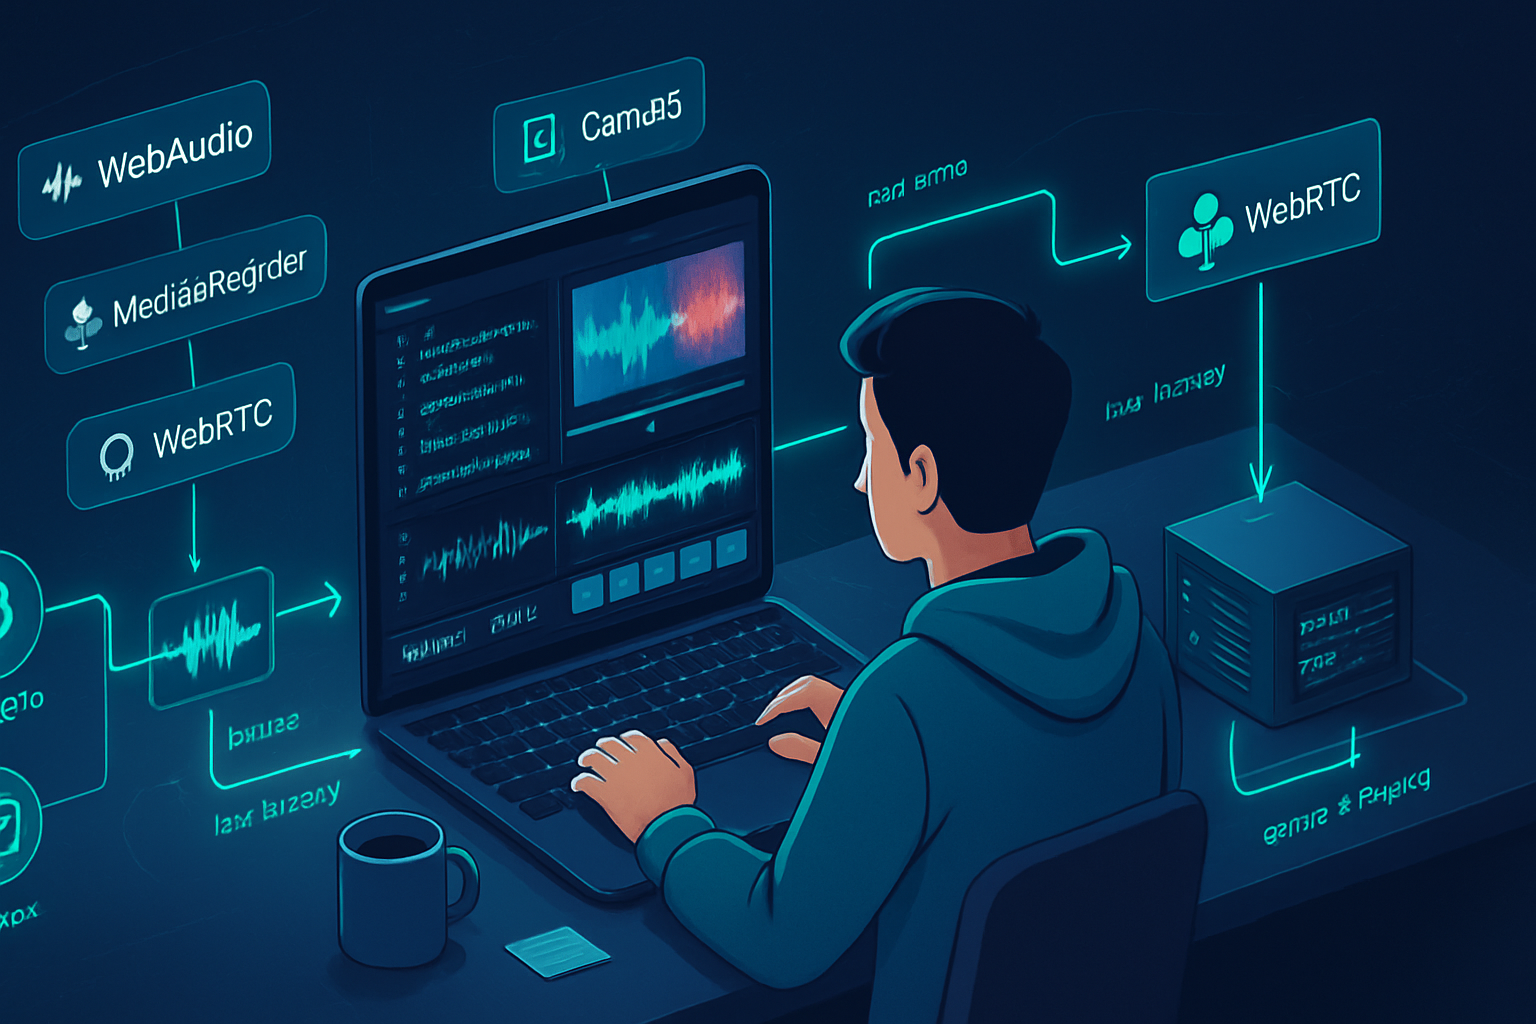
Why this matters. Simple recordings capture pixels. Great recordings capture context: branded overlays, real-time insights, searchable events, and clearer sound. You’ll learn practical, production-ready patterns built on the MediaStream Recording API and companion web APIs so you can add these features without re-inventing the encoder.
What you need and compatibility checks
- Browser support: MediaRecorder, canvas.captureStream(), Web Audio API are widely supported. For maximum performance,
OffscreenCanvas,requestVideoFrameCallback, andWebCodecsare newer - check support at MDN or Can I use. - Feature detection examples:
const canRecord = typeof MediaRecorder !== 'undefined';
const canCanvasCapture =
  HTMLCanvasElement.prototype.captureStream !== undefined;
if (!canRecord || !canCanvasCapture)
  throw new Error('Recording not supported in this environment');
References: MDN on MediaRecorder and canvas captureStream.
- MediaRecorder: https://developer.mozilla.org/en-US/docs/Web/API/MediaRecorder
- canvas.captureStream: https://developer.mozilla.org/en-US/docs/Web/API/HTMLCanvasElement/captureStream
Pattern 1 - GPU-accelerated video filters via canvas (fast and simple)
Idea: draw your video into a canvas, use CanvasRenderingContext2D.filter or WebGL shaders to apply color grading, blur, LUTs, etc., then canvas.captureStream() produces a MediaStream you can feed into MediaRecorder.
Why canvas? You get full control: overlays, per-frame processing, and consistent output for recording.
Example: simple CSS-like filters applied on the canvas
<!-- assume <video id="v" autoplay playsinline> is streaming a camera or screen -->
<canvas id="c"></canvas>
const video = document.getElementById('v');
const canvas = document.getElementById('c');
const ctx = canvas.getContext('2d');
canvas.width = 1280; canvas.height = 720;
// set an effect chain
ctx.filter = 'contrast(1.1) saturate(1.2) blur(0.5px)';
function draw() {
ctx.drawImage(video, 0, 0, canvas.width, canvas.height);
// optionally draw overlays/annotations here
requestAnimationFrame(draw);
}
draw();
// capture and record
const filteredStream = canvas.captureStream(30); // 30fps
const rec = new MediaRecorder(filteredStream, { mimeType: 'video/webm; codecs=vp9' });
rec.ondataavailable = e => /* collect blob chunks */;
rec.start(1000); // emit blobs every secondNotes:
ctx.filteruses the GPU in many browsers, but for complex color grading use WebGL shader-based rendering for stronger performance and LUT support.- To ensure frame-accurate timing use
requestVideoFrameCallback(if available) instead ofrequestAnimationFrame.
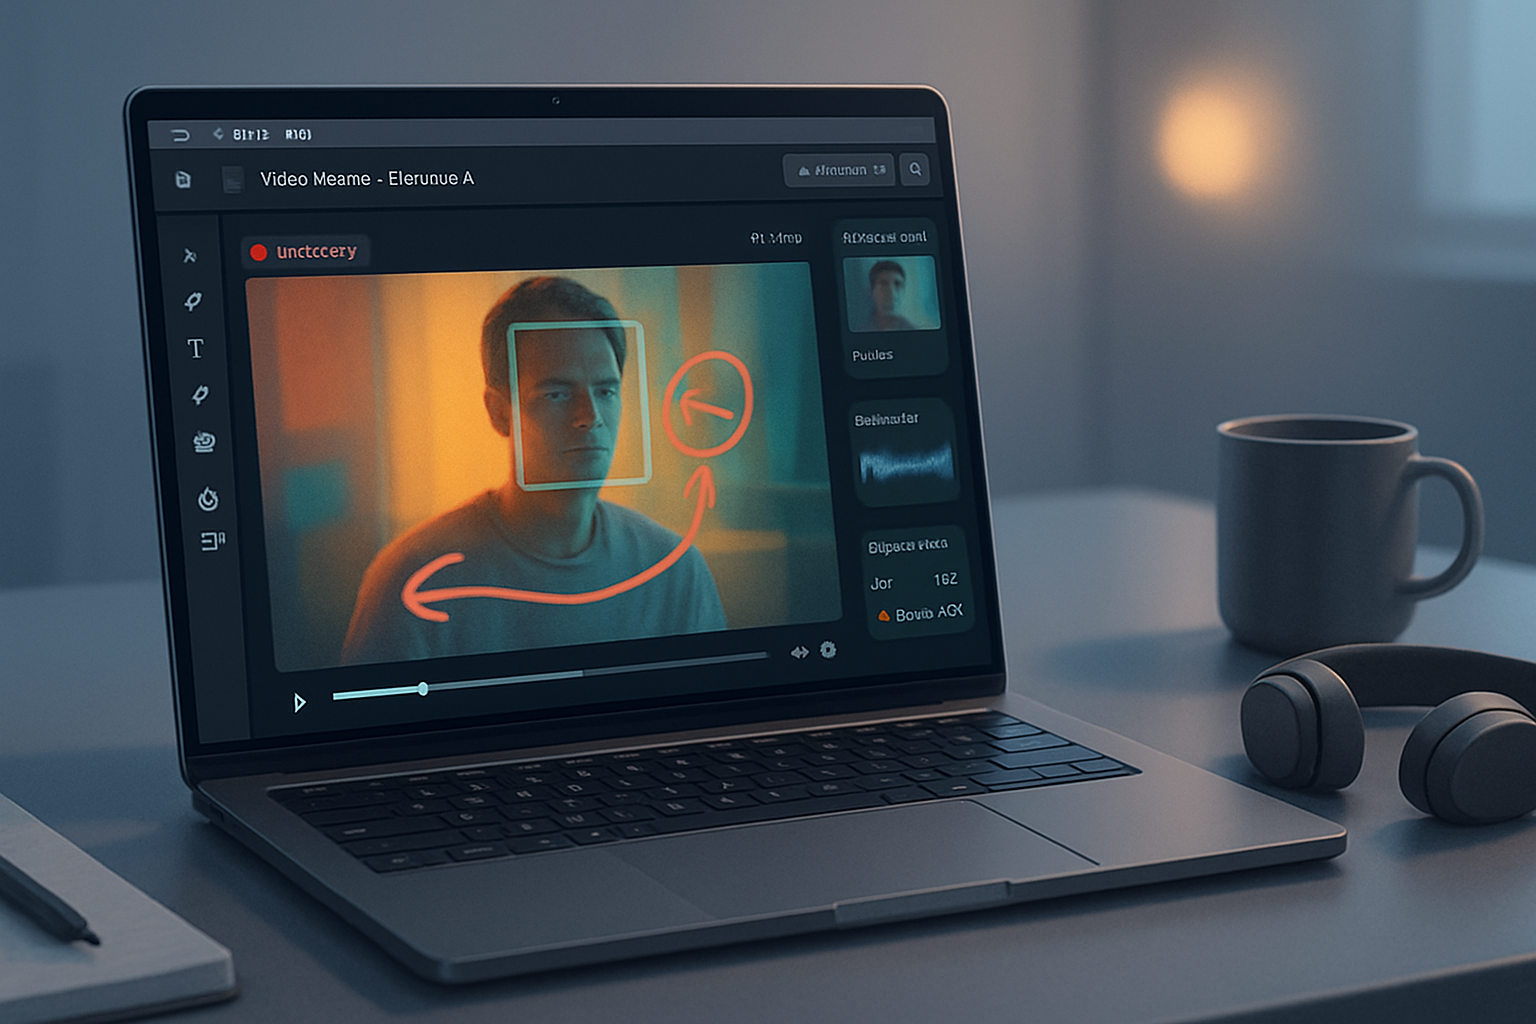
Pattern 2 - Live annotations and interactive overlays
You can draw annotations (freehand, shapes, timestamps) onto the same canvas before capture. This ensures annotations are baked into the recording.
Example: drawing with pointer events and compositing onto the recording canvas
const annotationCanvas = document.createElement('canvas');
annotationCanvas.width = canvas.width;
annotationCanvas.height = canvas.height;
const aCtx = annotationCanvas.getContext('2d');
aCtx.lineWidth = 4;
aCtx.strokeStyle = 'rgba(255, 0, 0, 0.9)';

let drawing = false;
annotationCanvas.addEventListener('pointerdown', e => {
  drawing = true;
  aCtx.beginPath();
  aCtx.moveTo(e.offsetX, e.offsetY);
});
annotationCanvas.addEventListener('pointermove', e => {
  if (!drawing) return;
  aCtx.lineTo(e.offsetX, e.offsetY);
  aCtx.stroke();
});
annotationCanvas.addEventListener('pointerup', () => (drawing = false));

function draw() {
  ctx.drawImage(video, 0, 0, canvas.width, canvas.height);
  // composite annotations on top of the video
  ctx.drawImage(annotationCanvas, 0, 0);
  requestAnimationFrame(draw);
}
Tips:
- Keep annotation drawing on a separate offscreen layer to make undo/redo simple.
- Store vector commands (strokes) in memory so you can export them as searchable metadata alongside the recording.
Pattern 3 - Processed audio using Web Audio (clearer, louder, filtered audio)
Take the raw audio track, pipe it through Web Audio nodes (EQ, compressor, reverb), and capture the processed audio via a MediaStreamDestination node.
// assume origStream contains an audio track
const audioCtx = new (window.AudioContext || window.webkitAudioContext)();
const src = audioCtx.createMediaStreamSource(origStream);
const compressor = audioCtx.createDynamicsCompressor();
compressor.threshold.setValueAtTime(-24, audioCtx.currentTime);
compressor.ratio.setValueAtTime(6, audioCtx.currentTime);
const highpass = audioCtx.createBiquadFilter();
highpass.type = 'highpass';
highpass.frequency.value = 80;

src.connect(highpass);
highpass.connect(compressor);

const destination = audioCtx.createMediaStreamDestination();
compressor.connect(destination);

// combine with processed video stream
const processedAudioTracks = destination.stream.getAudioTracks();
const videoTracks = filteredStream.getVideoTracks();
const finalStream = new MediaStream([...videoTracks, ...processedAudioTracks]);

const recorder = new MediaRecorder(finalStream, {
  mimeType: 'video/webm; codecs=vp9,opus',
});
Notes:
- Use
createChannelSplitter/mergerfor advanced multi-channel work. - Always check
MediaRecorder.isTypeSupportedfor codec support before choosing a MIME.
Pattern 4 - Real-time analytics: detect events and sync them with recording
Real-time analytics add contextual value: scene change detection, face detection, speech activity, or a live transcript. The basic flow:
- Run lightweight analysis on each frame or on sampled frames.
- Emit timestamped events (e.g., { t: ms, type: ‘face’, data: { x, y, w, h } }).
- Persist events to a timeline JSON while you record; optionally overlay visual markers on the canvas.
Important choices:
- Where to analyze? Main thread vs web worker with OffscreenCanvas or VideoFrame.
- How to synchronize? Use high-resolution timings from
performance.now()matched to record blobs and/orMediaRecordertimestamps.
Example: motion/brightness sampling using OffscreenCanvas in a worker
Main thread: send a video frame to the worker every Nth frame.
// requestVideoFrameCallback gives you a precise timestamp
if (video.requestVideoFrameCallback) {
  video.requestVideoFrameCallback((now, metadata) => {
    // metadata.presentedFrames etc
    // grab current image into ImageBitmap
    createImageBitmap(video).then(bitmap =>
      worker.postMessage({ bitmap, t: performance.now() }, [bitmap])
    );
    video.requestVideoFrameCallback(arguments.callee);
  });
}
Worker (using OffscreenCanvas to read pixels cheaply):
onmessage = async e => {
  const { bitmap, t } = e.data;
  const off = new OffscreenCanvas(bitmap.width, bitmap.height);
  const ctx = off.getContext('2d');
  ctx.drawImage(bitmap, 0, 0);
  const img = ctx.getImageData(0, 0, bitmap.width, bitmap.height);
  // compute mean brightness quickly
  let sum = 0;
  for (let i = 0; i < img.data.length; i += 4)
    sum += (img.data[i] + img.data[i + 1] + img.data[i + 2]) / 3;
  const mean = sum / (bitmap.width * bitmap.height);
  if (mean < 40) postMessage({ type: 'dark', t });
  // free bitmap automatically by transfer
};
For heavier tasks (face detection, object detection, speech-to-text), use specialized libraries: TensorFlow.js, MediaPipe, or WebAssembly models. Run them in a worker to avoid jank.
References:
- requestVideoFrameCallback: https://developer.mozilla.org/en-US/docs/Web/API/HTMLVideoElement/requestVideoFrameCallback
- OffscreenCanvas: https://developer.mozilla.org/en-US/docs/Web/API/OffscreenCanvas
Embedding analytics/annotations with the recording (synchronization strategies)
The browser doesn’t give a simple API to insert timed JSON metadata into a WebM/MP4 file while recording. These common approaches work:
Sidecar timeline: record a JSON array of events with wall-clock times (performance.now()) and save it alongside the blob. Later, when playing back, load JSON and sync by relative time.
Chunked pairing: Collect small blobs from MediaRecorder (e.g., every second). For each blob chunk, also store the analytics events that fell into that chunk’s time window. This makes server-side muxing easier.
Post-processing mux: Send recorded blob + timeline to a server tool (FFmpeg, MP4Box) to embed timed metadata or subtitles (WebVTT) into the final file.
Advanced: use WebCodecs / MediaStreamTrackGenerator to produce a custom metadata track or use RTP-style metadata with WebRTC - both are advanced and browser support is limited.
Example of creating a sidecar timeline:
const timeline = [];
function recordEvent(type, payload) {
  timeline.push({ t: performance.now(), type, payload });
}
// when stopping recording:
const videoBlob = new Blob(chunks, { type: 'video/webm' });
const timelineBlob = new Blob([JSON.stringify(timeline)], {
  type: 'application/json',
});
// Offer both for download
Advanced: WebCodecs, MediaStreamTrackProcessor/Generator for low-latency pipelines
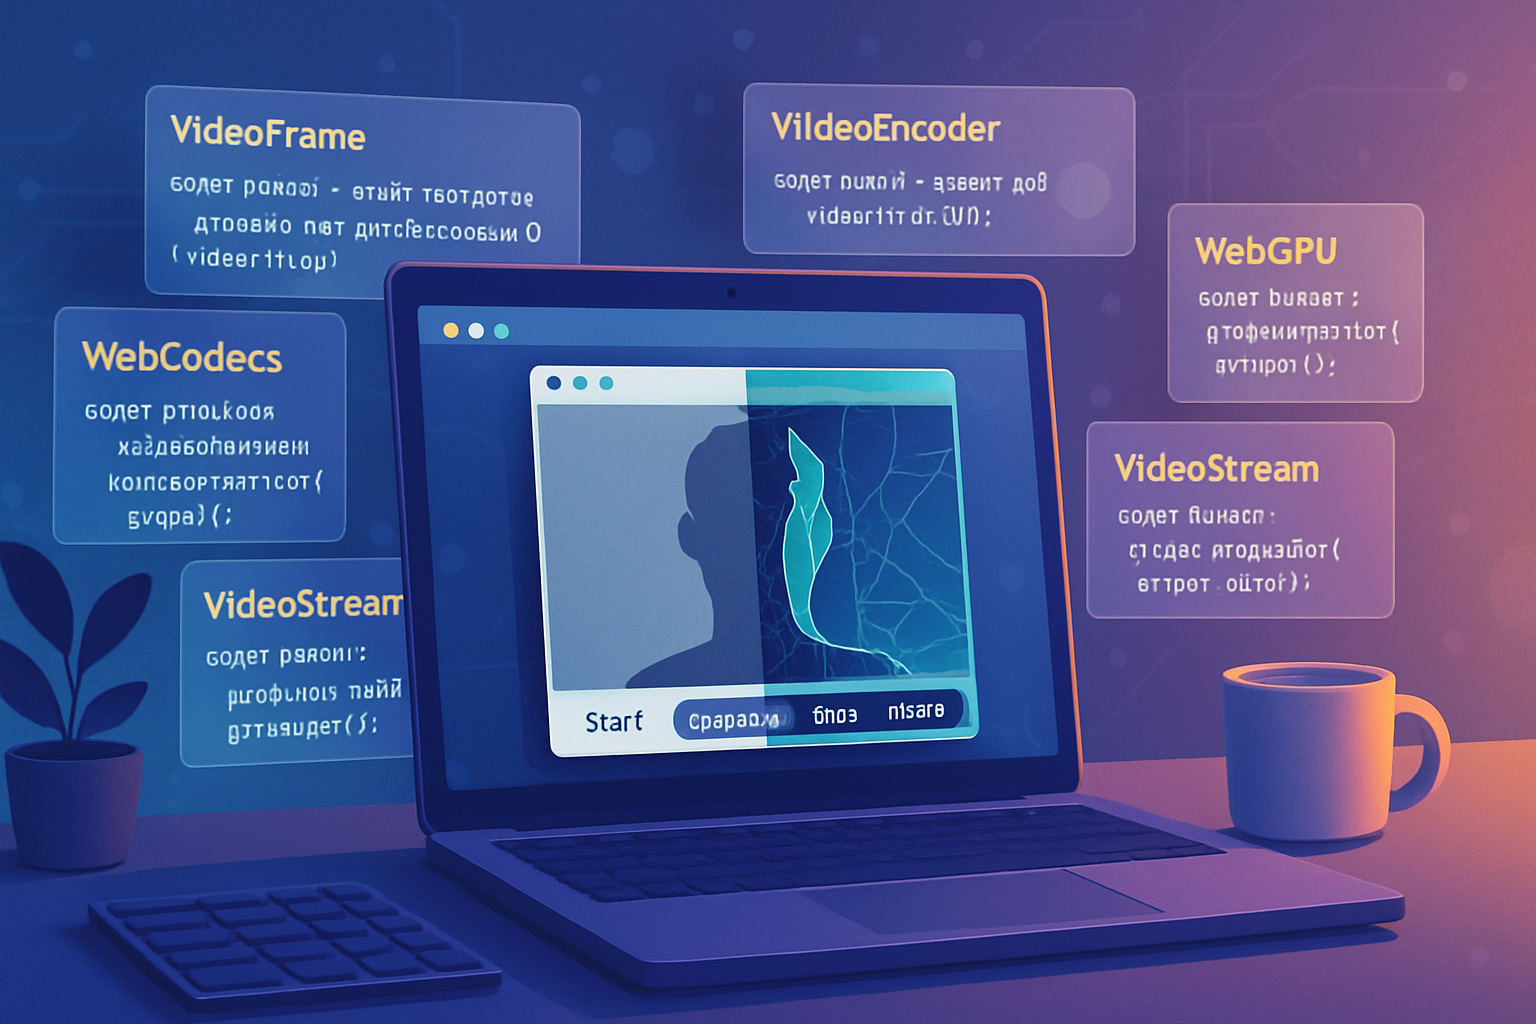
If you need frame-level control and the lowest latency, look into the emerging WebCodecs APIs and MediaStreamTrackProcessor/Generator. They let you manipulate raw VideoFrame objects (and encode them yourself) and can be used to create additional tracks (for example, an embedded metadata track encoded as a sequence of small images or as dedicated data frames).
Resources:
- WebCodecs: https://developer.mozilla.org/en-US/docs/Web/API/WebCodecs_API
- MediaStreamTrackProcessor: https://developer.mozilla.org/en-US/docs/Web/API/MediaStreamTrackProcessor
These APIs are powerful for: custom codecs, live drawing over frames, and injecting frame-level diagnostic overlays before encoding.
Example: Full mini-architecture (combine processed video + audio + timeline)
- Capture camera/screen ->
- Draw frames + overlays to an OffscreenCanvas (worker) or main canvas (GPU) with filters.
- Create processed audio via Web Audio -> MediaStreamDestination.
- Combine video track from canvas.captureStream() + processed audio track.
- Start MediaRecorder with desired mime, collect chunks.
- Simultaneously log analytics events with high-res timestamps into a timeline array (or per-chunk mapping).
- On stop, export: recorded blob + timeline JSON. Optionally upload to server for muxing / embedding.
Code sketch combining pieces:
// 1/ create processed video stream
const processedVideoStream = canvas.captureStream(30);
// 2/ create processed audio stream described earlier into `destination`
const finalStream = new MediaStream([
  ...processedVideoStream.getVideoTracks(),
  ...destination.stream.getAudioTracks(),
]);

const chunks = [];
const timeline = [];
const recorder = new MediaRecorder(finalStream, {
  mimeType: 'video/webm; codecs=vp9,opus',
});
recorder.ondataavailable = e => chunks.push(e.data);
recorder.onstop = async () => {
  const blob = new Blob(chunks, { type: 'video/webm' });
  const url = URL.createObjectURL(blob);
  // timeline is an array of { t, type, data }
  const timelineBlob = new Blob([JSON.stringify(timeline)], {
    type: 'application/json',
  });
  // Offer both for download or upload together
};

recorder.start(1000);

// example event logging
function logEvent(type, data) {
  timeline.push({ t: performance.now(), type, data });
}

// anywhere in analytics worker callback:
// postMessage({ type: 'face', data: {...}, t: performance.now() });
// and then on main thread call logEvent(...)
Practical tips for production
- Chunk size: prefer 1s–2s blobs for quick uploads/resumability.
- Check
MediaRecorder.isTypeSupportedand gracefully fallback (e.g., tovideo/webm; codecs=vp8or platform-specific mime types). - Performance:
- Offload CPU work to workers and use OffscreenCanvas.
- Use hardware-accelerated WebGL for heavy filters and LUTs.
- Use
requestVideoFrameCallbackfor precise timing when available.
- Battery and CPU: reduce resolution/frame rate for mobile.
- Synchronization: baseline everything off
performance.now()instead of Date for higher precision. - Privacy and permissions: always request
getUserMediaand inform users how their recorded data and analytics are used.
Compatibility & fallbacks
- Not all browsers support WebCodecs or OffscreenCanvas. Detect and fall back to canvas 2D + main-thread processing.
- On mobile, consider using
MediaRecorderwith lower bitrate and smaller resolution to avoid dropped frames. - For audio, if the browser doesn’t allow capturing system audio, explain limits in the UI.
Conclusion - what you can build now
You can take a standard camera or screen capture and turn it into a far more valuable artifact: clean audio, GPU-accelerated color grading, interactive annotations, and a timeline of searchable analytics. Start small: get video drawn to canvas, pipe audio through Web Audio, produce a MediaStream for MediaRecorder, and log events. Then iterate: move heavy compute into workers or WebCodecs, add object detection for chapters, and embed analytics on the server-side if you need a single-file deliverable.
The web now gives you more than pixels - it gives you context. Ship recordings people can search, brand, and learn from.
References
- MediaRecorder API - MDN: https://developer.mozilla.org/en-US/docs/Web/API/MediaRecorder
- canvas.captureStream - MDN: https://developer.mozilla.org/en-US/docs/Web/API/HTMLCanvasElement/captureStream
- Web Audio API - MDN: https://developer.mozilla.org/en-US/docs/Web/API/Web_Audio_API
- OffscreenCanvas - MDN: https://developer.mozilla.org/en-US/docs/Web/API/OffscreenCanvas
- WebCodecs - MDN: https://developer.mozilla.org/en-US/docs/Web/API/WebCodecs_API