· frameworks · 6 min read
Building Reusable Components: The Ultimate Guide to Angular Content Projection
Master Angular content projection (ng-content, select, ngTemplateOutlet and TemplateRef) to design clean, powerful and fully reusable UI components. Learn patterns, pitfalls and advanced techniques for building flexible APIs.
Introduction
Imagine shipping a UI library where every component is flexible enough to host whatever your application needs - without changing its internal code. You want composable cards, modals, tabs and toolbars that accept rich markup, templates, and complex child components. Read on. You’ll learn practical, production-ready patterns for building reusable Angular components using content projection and template forwarding. Short examples. Deep explanations. Patterns you can copy into your codebase today.
Why content projection matters (short)
- It separates structure from content. Build the container once; let consumers fill it.
- It keeps APIs small and expressive. Consumers pass markup rather than subclassing.
- It improves composition and testability.
Quick refresher: the basics
Angular offers two main approaches to projection:
- Declarative projection via
<ng-content>(single-slot and multi-slot withselect). Easy, fast, declarative. - Template-level projection via
TemplateRefandngTemplateOutlet. More flexible: allows you to pass templates (with context) and re-render them where you want.
Both are invaluable. Use ng-content for simple slot usage and TemplateRef/ngTemplateOutlet when you need to control rendering, pass context, or forward templates to child components.
Core pattern 1 - Single-slot projection (the simplest)
This is the “card” pattern. Component provides a shell; consumer provides the content.
Parent component template (card.component.html):
<article class="card">
  <ng-content></ng-content>
</article>
Usage:
<app-card>
  <h3>Title</h3>
  <p>Body markup here</p>
</app-card>
That’s all. Event bindings, DI and component instances inside the projected content work naturally.
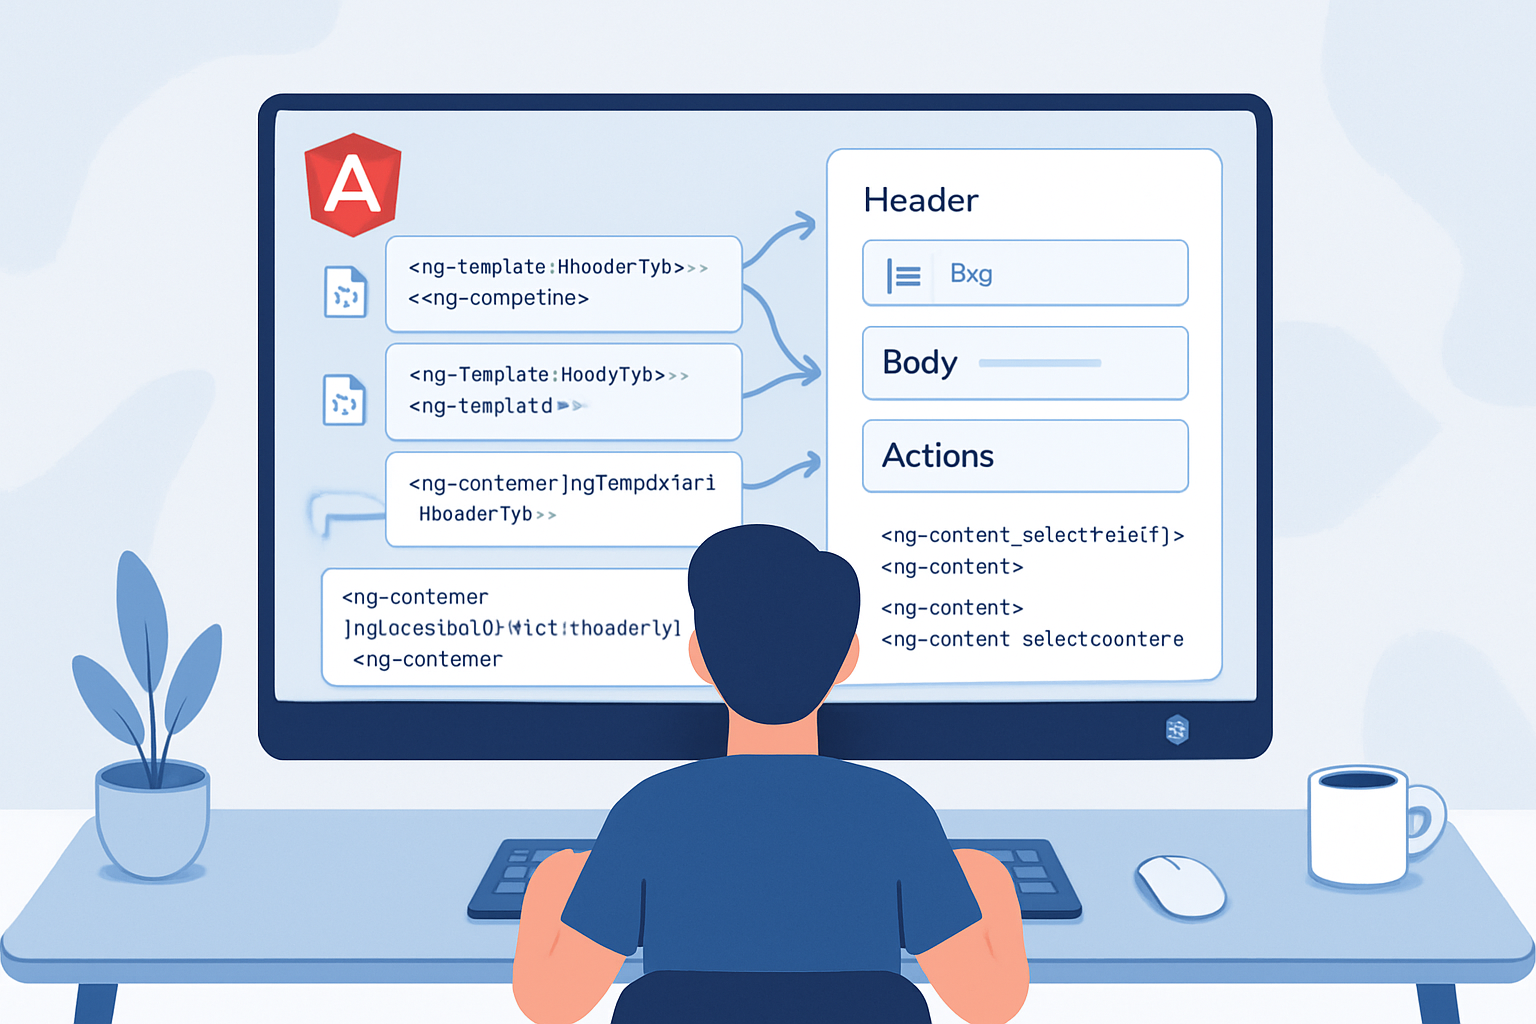
Core pattern 2 - Named slots with select
For more structured APIs create multiple slots with select attributes.
Component template (dialog.component.html):
<div class="modal">
  <header><ng-content select="[dialog-title]"></ng-content></header>
  <section class="body"><ng-content></ng-content></section>
  <footer><ng-content select="[dialog-actions]"></ng-content></footer>
</div>
Usage:
<app-dialog>
  <h2 dialog-title>Are you sure?</h2>
  <p>Deleting this cannot be undone.</p>
  <div dialog-actions>
    <button (click)="confirm()">Yes</button>
    <button (click)="cancel()">No</button>
  </div>
</app-dialog>
Notes:
- Select supports CSS selectors (element names, attributes, classes). See Angular docs for precedence rules.
- Unmatched content falls back to any
<ng-content>withoutselect.
Fallback content
You can provide default content within an ng-content slot by writing content where the slot is defined. That content only appears when nothing matches the slot.
<header>
  <ng-content select="[dialog-title]">
    <h2>Default title</h2>
  </ng-content>
</header>
Overriding selectors: ngProjectAs
When consumer markup cannot (or shouldn’t) be changed, use ngProjectAs to make an element match a selector in the host component.
<!-- Consumer cannot add attribute 'dialog-title' -> use ngProjectAs -->
<h2 ngProjectAs="[dialog-title]">Projected title</h2>
This is handy for third-party content or when HTML semantics limit attribute usage.
Pattern 3 - Projecting templates and passing context (advanced)
Sometimes you want the consumer to pass a template that the component will render multiple times, or render with local context (index, item data, callbacks). For that we pass <ng-template> references and render them with ngTemplateOutlet or via programmatic APIs.
Example: a repeat-list component that lets consumers define how each item renders.
list.component.ts (template access via ContentChild):
import { Component, ContentChild, Input, TemplateRef } from '@angular/core';

@Component({
  selector: 'app-list',
  template: `
    <ul>
      <ng-container *ngFor="let item of items; let i = index">
        <ng-container
          *ngTemplateOutlet="
            itemTemplate;
            context: { $implicit: item, index: i }
          "
        >
        </ng-container>
      </ng-container>
    </ul>
  `,
})
export class ListComponent<T> {
  @Input() items: T[] = [];
  @ContentChild(TemplateRef) itemTemplate!: TemplateRef<any>;
}
Usage:
<app-list [items]="users">
  <ng-template let-user let-i="index">
    <li>{{ i + 1 }} - {{ user.name }}</li>
  </ng-template>
</app-list>
Keys to remember:
- Use
$implicitto simplify the consumer side:let-userbinds the passed-in item. - You can name other context properties (e.g.,
let-i=“index”).
Pattern 4 - Template forwarding (a.k.a. reprojection)
Angular does not natively support projecting content into a projected component’s internal ng-content slots once it’s been projected (no built-in re-projection). But you can emulate forwardable slots by explicitly accepting TemplateRef inputs and re-rendering them inside child components.
Example: Parent wants to allow consumers to supply a header template to a child component.
parent.template:
<app-panel [headerTemplate]="headerTpl">
  <ng-template #headerTpl let-title>
    <h3>{{ title }}</h3>
  </ng-template>
</app-panel>
panel.component.ts:
@Component({
  selector: 'app-panel',
  template: `
    <div class="panel">
      <ng-container
        *ngTemplateOutlet="
          headerTemplate;
          context: { $implicit: 'Panel title' }
        "
      ></ng-container>
      <div class="content"><ng-content></ng-content></div>
    </div>
  `,
})
export class PanelComponent {
  @Input() headerTemplate!: TemplateRef<any>;
}
This pattern is the safe way to forward templates: the parent captures a TemplateRef and hands it to the child as an Input. The child renders it wherever it needs.
Accessing projected nodes programmatically (ContentChild / ContentChildren)
Sometimes you need to inspect or manipulate projected content. Angular’s content queries let you access elements, components or TemplateRefs projected into your component.
@ContentChildgets the first match.@ContentChildrenreturns aQueryListof matches.
Example: find all projected toolbar buttons:
@ContentChildren('toolbarBtn', { descendants: true }) buttons!: QueryList<ElementRef>;

ngAfterContentInit() {
  console.log(this.buttons.length);
}
Important lifecycle detail: content queries are populated after ngAfterContentInit. If you depend on them, implement that hook.
When to use programmatic insertion (ViewContainerRef)
If you need to dynamically insert views (create/destroy templates, attach, detach), use ViewContainerRef.createEmbeddedView.
Example: dynamic tabs where active panel templates are created/destroyed to save memory.
Performance and change detection considerations
- Projection with
ng-contentis very cheap. It does not create an extra change detection boundary. - Rendering many times with
ngTemplateOutletcan create many embedded views. Be mindful of memory and bindings. - For heavy UIs use
ChangeDetectionStrategy.OnPushand immutable inputs. - Avoid querying DOM in hot paths inside
ngAfterContentChecked.
Accessibility (a quick checklist)
- Ensure projected content includes correct semantics (heading hierarchy, ARIA attributes) - your component should not hide semantics.
- For navigational components (tabs, accordions), ensure focus management is implemented in the host component (projected content cannot implicitly manage host keyboard handling).
Testing projected content
- Write shallow host-component tests that project a template and assert how your component renders it.
- For template-forwarding, assert the consumer template receives the proper context values.
Example test sketch (Jest / Jasmine):
- Create a host test component that uses your component and projects different markup.
- Use
fixture.debugElement.nativeElementto inspect DOM contents after change detection.
API design guidelines for reusable components
- Keep your slots explicit and few. Two or three named slots (header, body, footer) go a long way.
- Offer both simple content projection and template inputs for advanced use-cases. Expose
TemplateRefinputs for any slot that might be reused or needs contextual rendering. - Use clear attributes for selectors (e.g.,
[card-title],[card-actions]), and document them. - Provide defaults (fallback content) so components look reasonable without every slot provided.
- Document the component’s contract: which selectors are recognized, what context a template will receive, and lifecycle of any forwarded templates.
Common pitfalls and how to avoid them
- Expecting content queries to be available before
ngAfterContentInit. Fix: use lifecycle hooks. - Trying to re-project already projected DOM. Fix: use
TemplateRefforwarding. - Overusing many
ng-contentslots for minute stylistic differences. Fix: prefer inputs or small structural slots. - Forgetting change-detection implications for dynamically-created embedded views. Fix: use OnPush and emit immutable inputs.
Practical examples you can reuse
- Media card with action slot
card.component.html:
<div class="card">
  <div class="media"><ng-content select="[card-media]"></ng-content></div>
  <div class="body"><ng-content></ng-content></div>
  <div class="actions"><ng-content select="[card-actions]"></ng-content></div>
</div>
Usage:
<app-card>
  <img card-media src="avatar.png" alt="Avatar" />
  <div>
    <h4>Jane Doe</h4>
    <p>Lead engineer</p>
  </div>
  <div card-actions>
    <button>Follow</button>
  </div>
</app-card>- Tabs that accept templates for labels and panels
- Parent defines templates for each tab label and content.
- Tabs component renders label templates in the header and content templates in the panel area using
ngTemplateOutlet.
When to prefer TemplateRef inputs over ng-content
- You need to render the same consumer template multiple times.
- You need to pass a context into the consumer’s template.
- You want to forward consumer templates to descendant components.
References
- Angular content projection guide: https://angular.io/guide/content-projection
- NgTemplateOutlet API: https://angular.io/api/common/NgTemplateOutlet
- ContentChild / ContentChildren docs: https://angular.io/api/core/ContentChild
Conclusion - design for composability
Use ng-content for straightforward slotting. Use TemplateRef and ngTemplateOutlet when you need context, forwarding, or repeatable rendering. Prefer a small, explicit set of slots, provide sensible defaults, and document template contexts. Build the container once. Let everyone else decide the content.
Do this, and your components won’t just be reusable. They’ll be joyful to use. They will provide clear contracts and scale with your app.