· frameworks · 6 min read
Boost Your NestJS Performance: 5 Tips You Didn't Know You Needed
Discover five lesser-known NestJS optimizations-from Fastify+fast-json-stringify to avoiding request-scoped providers-that deliver measurable performance wins for real production apps.

Outcome: make your NestJS app faster, more efficient, and easier to scale. Read on and you’ll walk away with five actionable optimizations you can apply today to cut latency, reduce CPU work, and lower memory churn.
Why this matters up front: small per-request costs multiply quickly. One slow JSON serializer, one request-scoped provider, or one expensive validation pipeline can turn thousands of requests into a CPU bottleneck. Fix those, and throughput rises without changing your business logic.
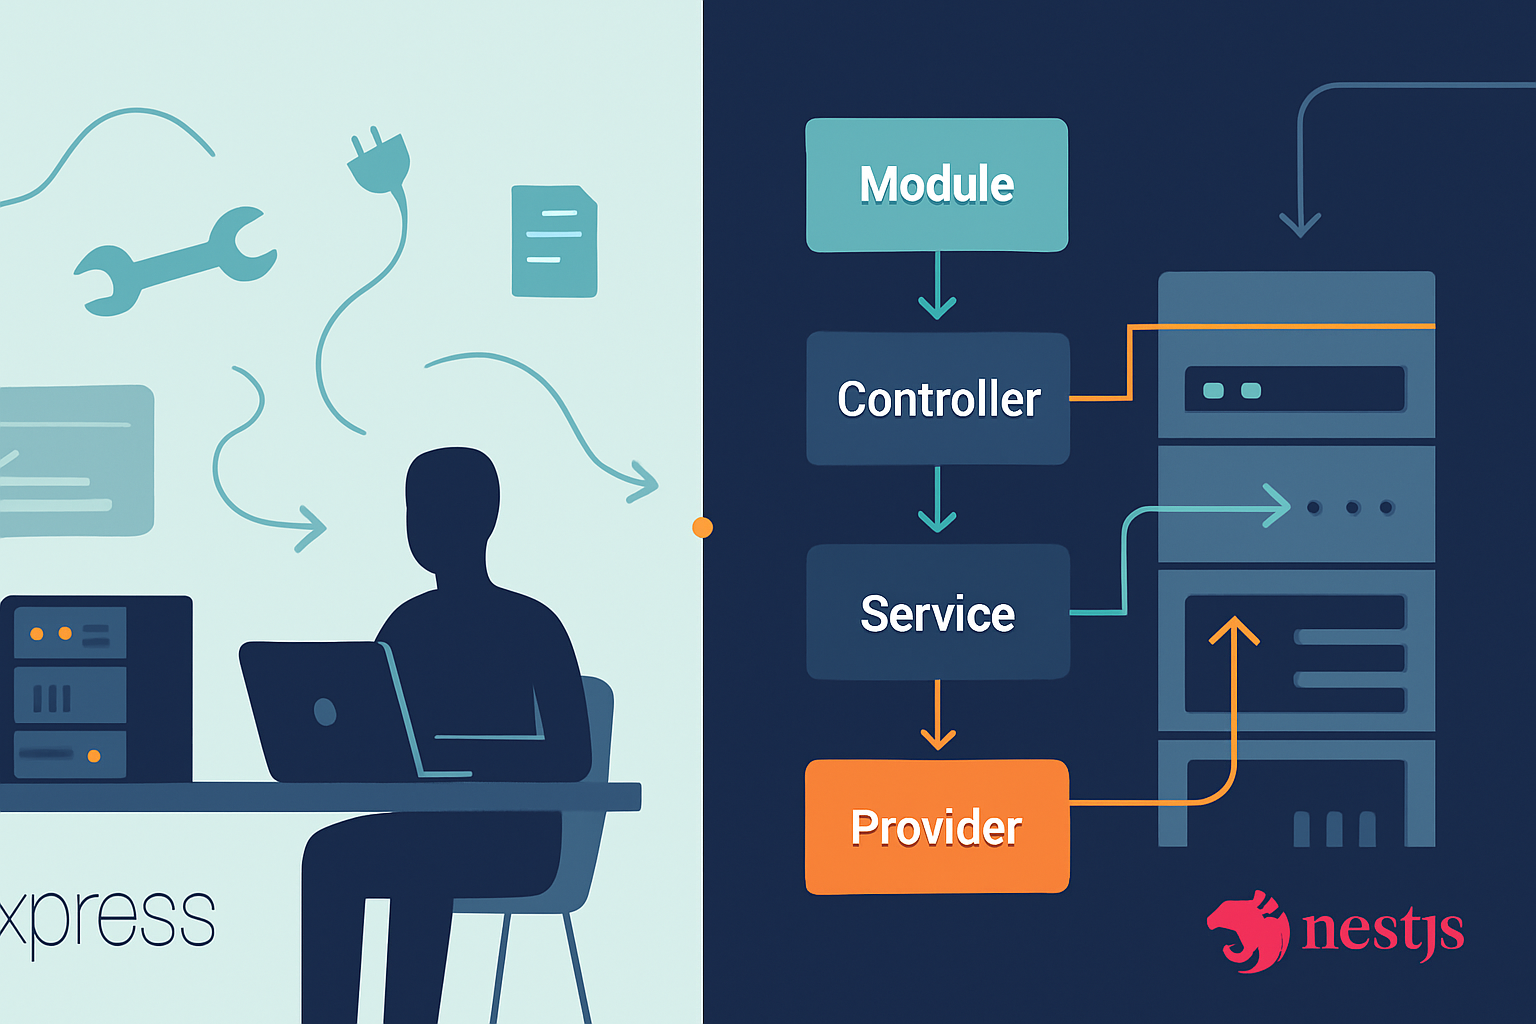
1) Replace Express with Fastify + fast-json-stringify for far faster JSON
Short: swap adapters. Big payoff.
Nest ships with Express by default. Express is familiar, stable, and feature-rich - but when raw JSON throughput matters, Fastify is demonstrably faster thanks to its optimized request/response pipeline and optional fast-json-stringify integration.
Why it’s faster
- Fastify’s routing and serialization avoid some reflection and allocations that Express incurs.
fast-json-stringifycan compile a JSON schema to a serializer, reducing stringify overhead on large payloads.
How to do it
// main.ts
import { NestFactory } from '@nestjs/core';
import {
  FastifyAdapter,
  NestFastifyApplication,
} from '@nestjs/platform-fastify';
import { AppModule } from './app.module';

async function bootstrap() {
  const app = await NestFactory.create<NestFastifyApplication>(
    AppModule,
    new FastifyAdapter({ logger: true })
  );

  await app.listen(3000);
}
bootstrap();
For heavy serialization routes, you can register a precompiled serializer via Fastify route options or create a custom interceptor that uses fast-json-stringify for a known DTO shape.
References: Nest Fastify guidance and the serializer project:
When to use
Use this when your JSON responses are large or your app needs the best possible per-request throughput.
Caveat
Fastify plugins differ from Express middleware, so test middleware and third-party integrations.
2) Avoid request-scoped providers unless you absolutely need them
Short: request-scoped providers are convenient - but expensive.
Nest supports provider scopes: singleton (default), transient, and request. A request-scoped provider is instantiated per incoming request, and Nest uses its DI container and context creation for each instantiation. That per-request work adds CPU and memory churn.
Why it hurts
- Extra allocations per request.
- Reflection and context creation overhead in the DI container.
What to do instead
- Prefer singletons and pass request data explicitly to methods.
- If you need per-request state (e.g., auth session), extract it into a plain object and pass it as a parameter.
- Use AsyncLocalStorage (Node 13+) or a small context utility sparingly when necessary - but measure first.
Example - avoid request-scoped provider:
// BAD: request-scoped
@Injectable({ scope: Scope.REQUEST })
export class RequestService {
  constructor(@Inject(REQUEST) private readonly req) {}
  getUser() {
    return this.req.user;
  }
}

// BETTER: singleton service, request passed explicitly
@Injectable()
export class AuthService {
  getUserFromRequest(req: Request) {
    return req.user;
  }
}
References:
- Injection scopes in Nest: https://docs.nestjs.com/fundamentals/injection-scopes
When to break the rule
If you have a small number of endpoints and the convenience outweighs performance cost, request scope is fine. Otherwise, avoid it in hot paths.
3) Re-think class-transformer/class-validator for high-throughput endpoints
Short: validation and transformation can be surprisingly costly - pick the right tool for the job.
Nest’s ValidationPipe and class-transformer are powerful and convenient, but transform: true and heavy DTO transformation incur object allocations and reflective work. For high-frequency or large-body endpoints consider alternatives.
Options
- Only enable
transformwhere you need it. Usewhitelist: trueandforbidNonWhitelisted: truefor security without always transforming types. - Replace or complement
class-validatorwith schema-based validators like Zod or Joi for faster and more predictable validation. - Perform minimal parsing at the controller boundary and push heavy DTO construction later where it can be batched or cached.
Example: lighter ValidationPipe usage
app.useGlobalPipes(
  new ValidationPipe({
    whitelist: true,
    transform: false, // avoid class-transformer unless needed
  })
);
Example: using Zod at the controller edge (JS/TS)
import { z } from 'zod';

const createSchema = z.object({ name: z.string(), age: z.number() });

@Post()
create(@Body() body: any) {
  const parsed = createSchema.parse(body); // very fast and inlined
  return this.service.create(parsed);
}
References:
- Nest validation pipe: https://docs.nestjs.com/pipes#validation
- Zod: https://github.com/colinhacks/zod
When to use which
- Use
class-validator/class-transformerwhen you rely on decorators and DI in DTOs. - Use Zod/Joi for hot endpoints where speed and predictable allocations matter.
4) Batch DB calls (DataLoader) and cache smartly to avoid N+1s
Short: eliminate repeated work per request.
N+1 database queries and microservice calls are common performance killers. Nest apps using ORMs (TypeORM, Sequelize) or Prisma, or heavy GraphQL resolvers can benefit from batching and caching.
Practical techniques
- Use DataLoader (https://github.com/graphql/dataloader) to batch and cache identical DB calls during a single request lifecycle.
- Add a Redis-backed cache for expensive computations or frequently-requested resources using Nest’s cache manager and
@CacheInterceptor. - Cache at the HTTP edge (CDN) where appropriate.
Example: simple DataLoader integration
// user.loader.ts
import DataLoader from 'dataloader';

export function createUserLoader(userService: UserService) {
  return new DataLoader(async (ids: readonly number[]) => {
    const users = await userService.findByIds(ids as number[]);
    // return users ordered by ids
    const map = new Map(users.map(u => [u.id, u]));
    return ids.map(id => map.get(id));
  });
}
Example: Redis cache
// app.module.ts
CacheModule.register({
  store: redisStore, // via cache-manager-redis-store
  host: 'localhost',
  port: 6379,
});
References:
- DataLoader: https://github.com/graphql/dataloader
- Nest caching: https://docs.nestjs.com/techniques/caching
When to use
Batching and caching shine when you see many repeated calls per request or expensive joins. Measure first; caches can add complexity.
5) Tune Node and the HTTP server: keep-alive, thread pool, and proper production flags
Short: small Node and server tweaks give reliable wins under real load.
A few process-level and server settings often get overlooked but affect tail latency and throughput.
Quick checklist
- Use keep-alive and connection pooling. For external HTTP calls, reuse HTTP agents. For incoming traffic, ensure proxies and load balancers use keep-alive.
- Increase the libuv thread pool if you do CPU-bound or heavy filesystem/crypto work by setting
UV_THREADPOOL_SIZE. - Run a compiled production build (tsc -> node dist/main.js). Avoid ts-node in production.
- Use modern Node LTS releases (newer V8 => faster JS). Test with production flags when necessary: e.g.,
--max-old-space-sizefor memory-limited environments. - Use a process manager (PM2, systemd) and run multiple workers/instances to leverage multi-core. For CPU-bound workloads, use cluster mode.
Example – Node env + threadpool
# set a larger threadpool for heavy IO/crypto
export UV_THREADPOOL_SIZE=16
export NODE_ENV=production
node dist/main.js
References:
When to tune
If CPU or latency spikes appear under load tests, these OS/Node-level knobs often provide immediate relief.
Putting it together: measure, change one thing at a time, and benchmark
Do not apply all five changes blindly. Start by benchmarking your current app (Autocannon, wrk, k6). Pick the biggest offender and fix it. Rerun benchmarks. Repeat.
- Measure: use realistic load and profile CPU/heap.
- Change one thing: avoid confounding variables.
- Re-measure: confirm impact.
Final thought (and the strongest point): the largest wins in NestJS often come from architectural choices - the adapter, provider scopes, and how you validate and access data - not from micro-optimizations. Fix the architecture, and the rest follows.
References and further reading
- NestJS Performance & Fastify notes: https://docs.nestjs.com/techniques/performance
- NestJS Injection Scopes: https://docs.nestjs.com/fundamentals/injection-scopes
- fast-json-stringify: https://github.com/fastify/fast-json-stringify
- Zod: https://github.com/colinhacks/zod
- DataLoader: https://github.com/graphql/dataloader
- NestJS Caching: https://docs.nestjs.com/techniques/caching